Brewing Abroad

Traveling stresses out coffee nerds - how will they get coffee that meets their standards away from home?
This post discusses optimizations, strategies, and considerations for brewing in unfamiliar conditions. The TL;DR - calm your expectations, the water is gonna be your biggest challenge, practice brewing big batches to save yourself time.

Are you traveling to brew coffee?

Or to do something else?
Reframing priorities
Unless you’re traveling where brewing coffee brewing is on the agenda (e.g. cabin trip, picnic), you want to spend less time brewing so you can get out the door sooner. We’re going nowhere if we make 12g V60’s per traveler. Multiple brews is the biggest cost here, so we want to lean towards larger dose brews than usual.
Your brews will be compromised compared to your reference, at-home conditions. Whether due to unfamiliar water mineralization, high/low altitude, humidity of an over-air-conditioned hotel room, or whatever other environmental differences; be forgiving to yourself and ease up on expectations. Go for safe, repeatable, good enough brew approaches rather than risky, all-or-nothing approaches that make you want to try again.
Be kind to yourself and your own expectations. You’ll progressively get better at dialing away from home.
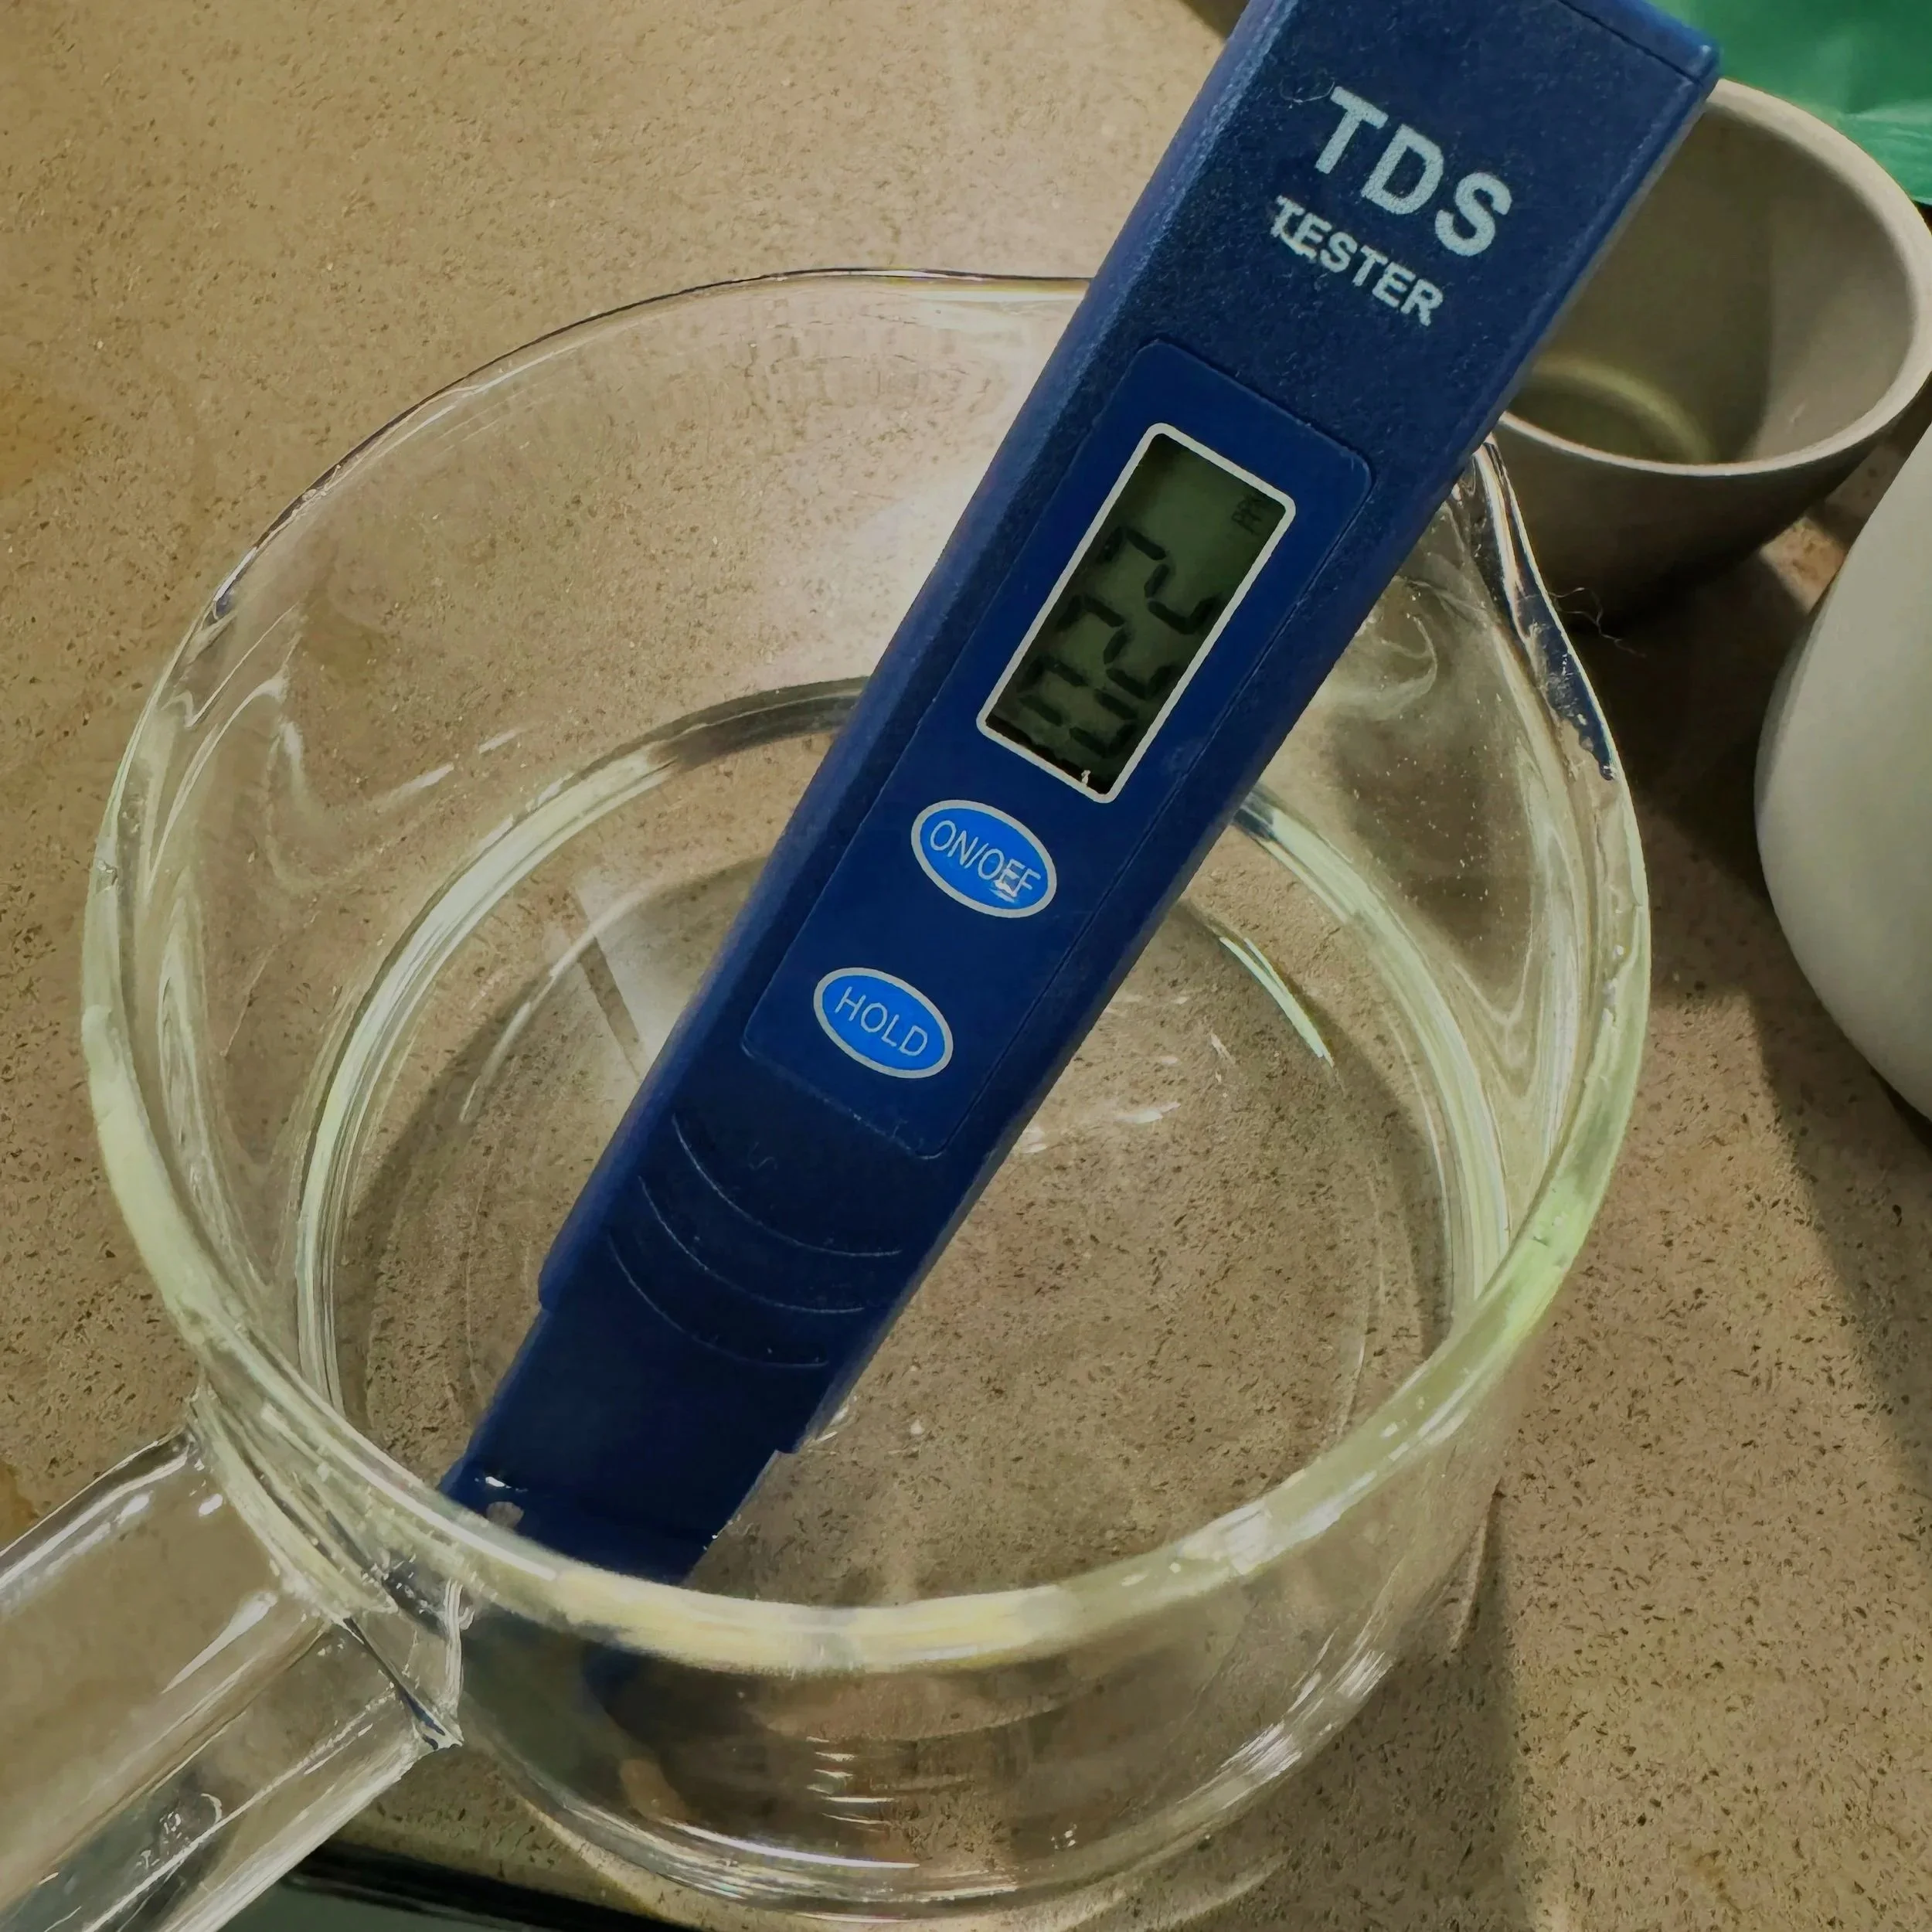
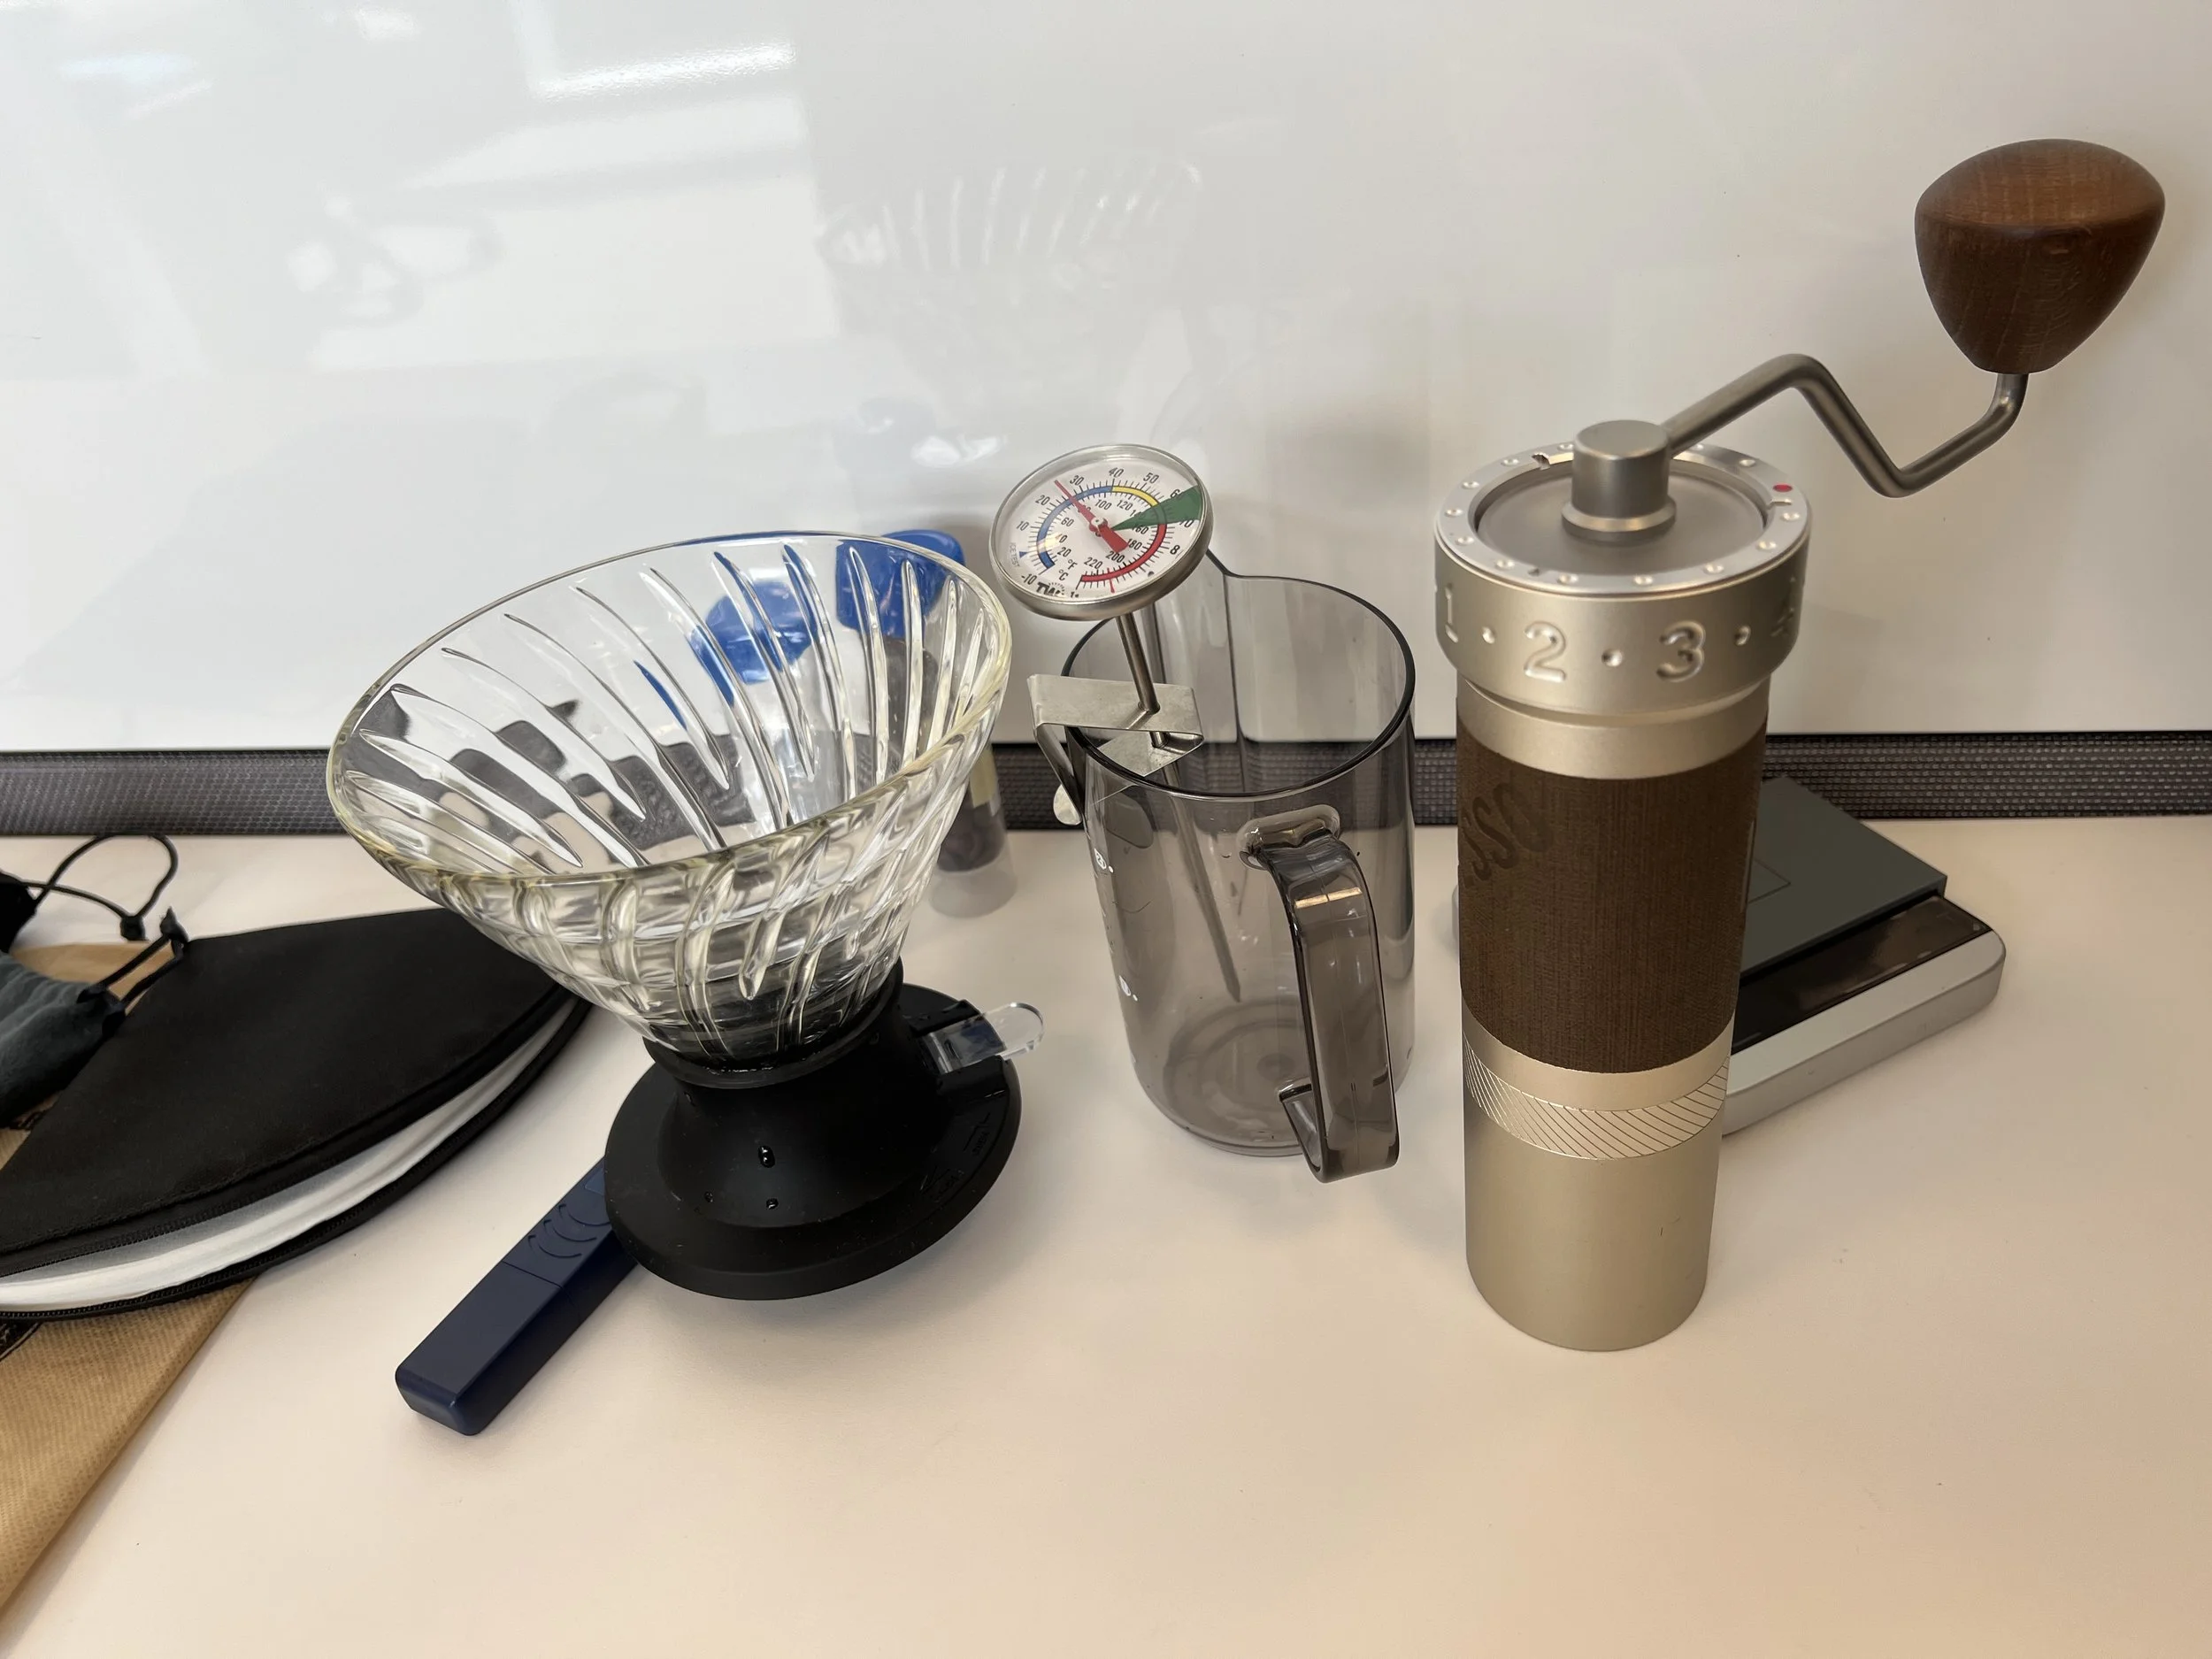
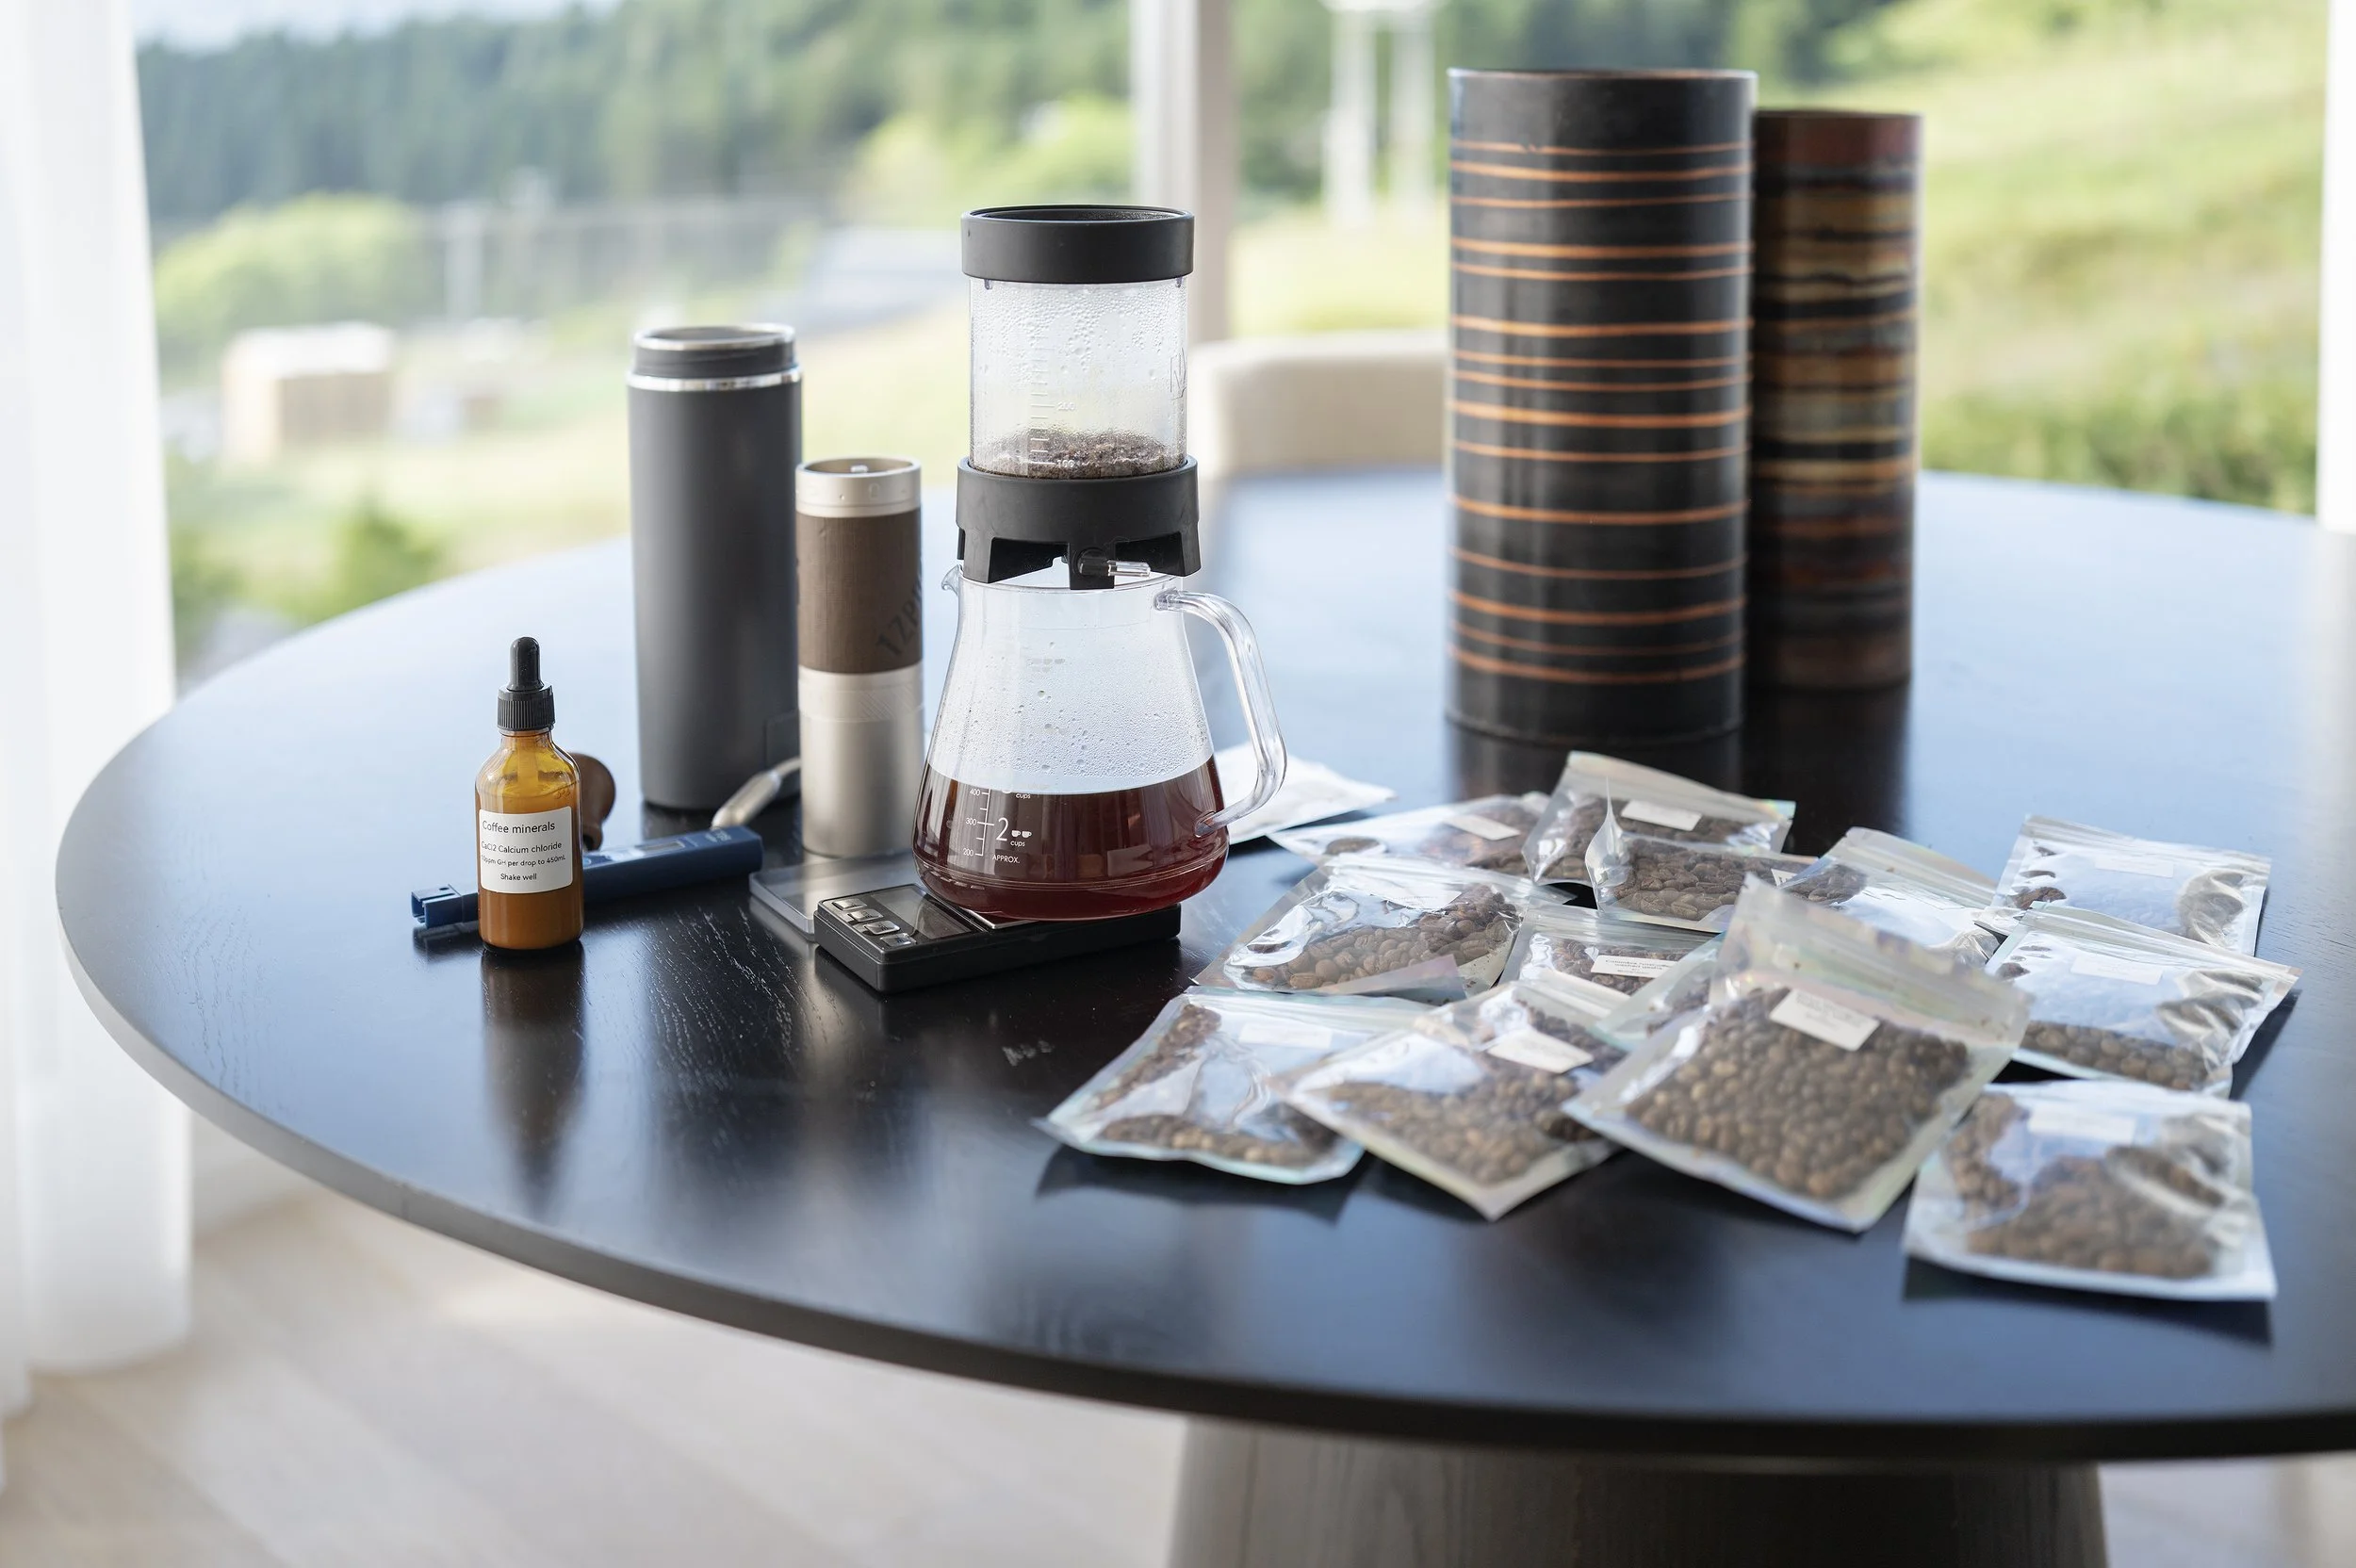
I can’t tell what the 22 is made up of, but a good enough candidate for remineralization
Water - read the back label
Water is important, and this is first up because it’s likely the largest deviation you face while abroad. In many counties, the tap water is not drinkable, and you’re likely not carrying around a ZeroWater filter pitcher with you. The list of cities where you can assume tap water is possibly suitable for coffee is short - Helsinki, Melbourne, Oslo, Portland, New York, San Francisco, Tokyo; perhaps a few more. But that doesn’t guarantee the mineralization is suitable for your beans.
This leaves us with several strategies, mostly revolving around buying bottled water.
Distilled water + remineralize. This seems to only work in America, I’ve not seen distilled water jugs in Asia and Europe.
Thankfully, outside America, mineral water tends to report its rough composition. However, deciphering the label for the first time is unintuitive and overwhelming to comprehend while on the shop floor. In short, try to look for what has the least overall minerality, leaning towards lessening CaCO3. I’ve tried this approach with a spectrum of bottled water types on trips to Japan and Europe, but the annoyance with trying a variety is that you’re dialing with limited volume, possibly running out before you’ve decided whether or not you like an offering before jumping ship to try another brand.
Similar to #2, find mineral water with the lowest total mineral count and remineralize with Apax Lab, Lotus Drops, or your own dropper concentrates. If it reads low enough, e.g. 30TDS, you could likely get by using it as a base. I travel with custom dropper bottle solutions of calcium chloride and epsom salt that adds 10ppm per drop for my brew batch size.
Assuming the tap water is generally safe to drink, a risky strategy is to bring a TDS pen and cross your fingers that it reads relatively low (<40TDS: Maybe great. <80: Maaaybe survivable. 100+: go bottled.) and doesn’t contain mystery materials that we don’t know tastes horrible for coffee.
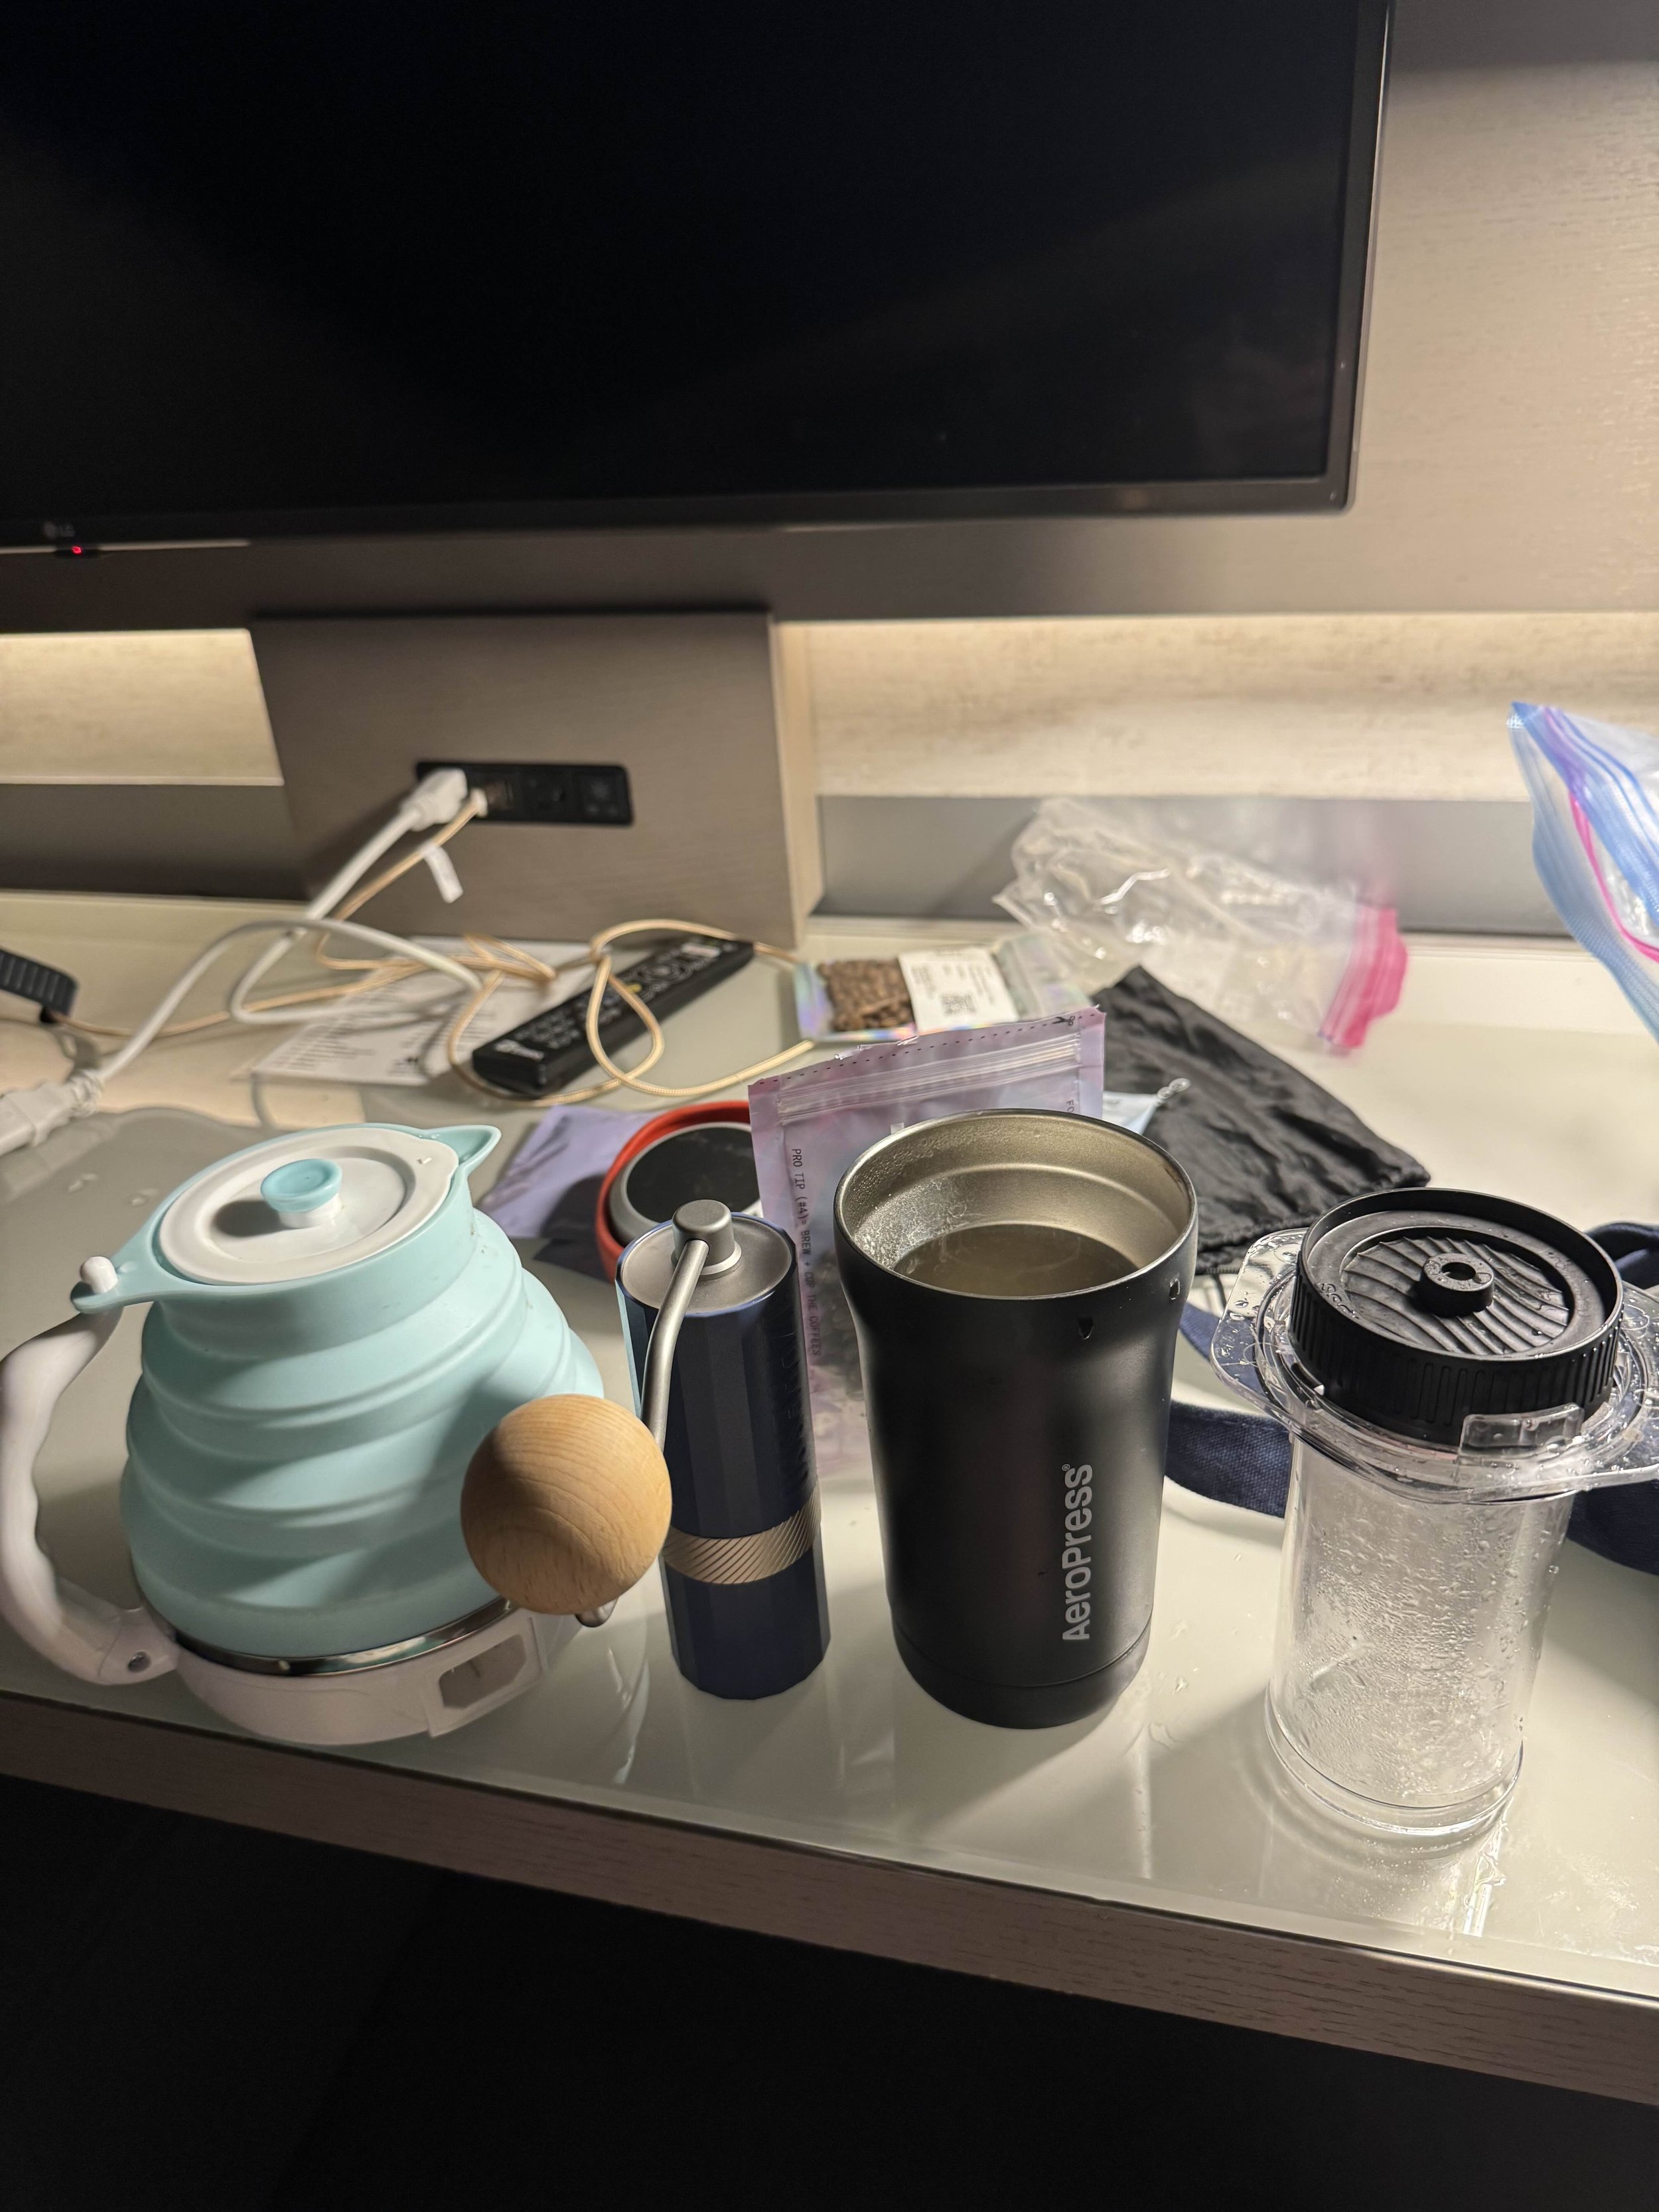
No gooseneck spout, no problem
Kettles - find ways around the precision spout
Your hotel may have a tea kettle, but look inside and perhaps it’s formed thick layers of scale. To consolidate appliances, they may provide a Keurig brewer with a hot water function, but who knows if a guest has dumped coffee into the water tank somehow.
Don’t think about bringing your usual gooseneck kettle, it’s not worth the bulk. It’s fragile and will snap in a few trips. While there’s the upcoming Palatti kettle with a interchangeable, removable spouts, I fundamentally think packing a full kettle for trips is misprioritizing your luggage space, let alone concerns on its power draw.
Some suggestions:
Bring your own predictable water heating source
Be kind to your pack size, bring fewer bulky items like kettles
Re-heating water can be clumsy, slow, and going back and forth from hotel bathroom sink to room outlet is undesirable. We want to keep cycles of refilling and reheating to a minimum
Pick a dripper that doesn’t rely on precision for how it drops water (more on this below)
If you must use a traditional dripper, consider using a spoon, drip assist screen, or Melodrip to deflect and slow down the clumsy, aggressive pours from imprecise spouts
You’ll want your own heating source that isn’t so bulky. A couple options exist:
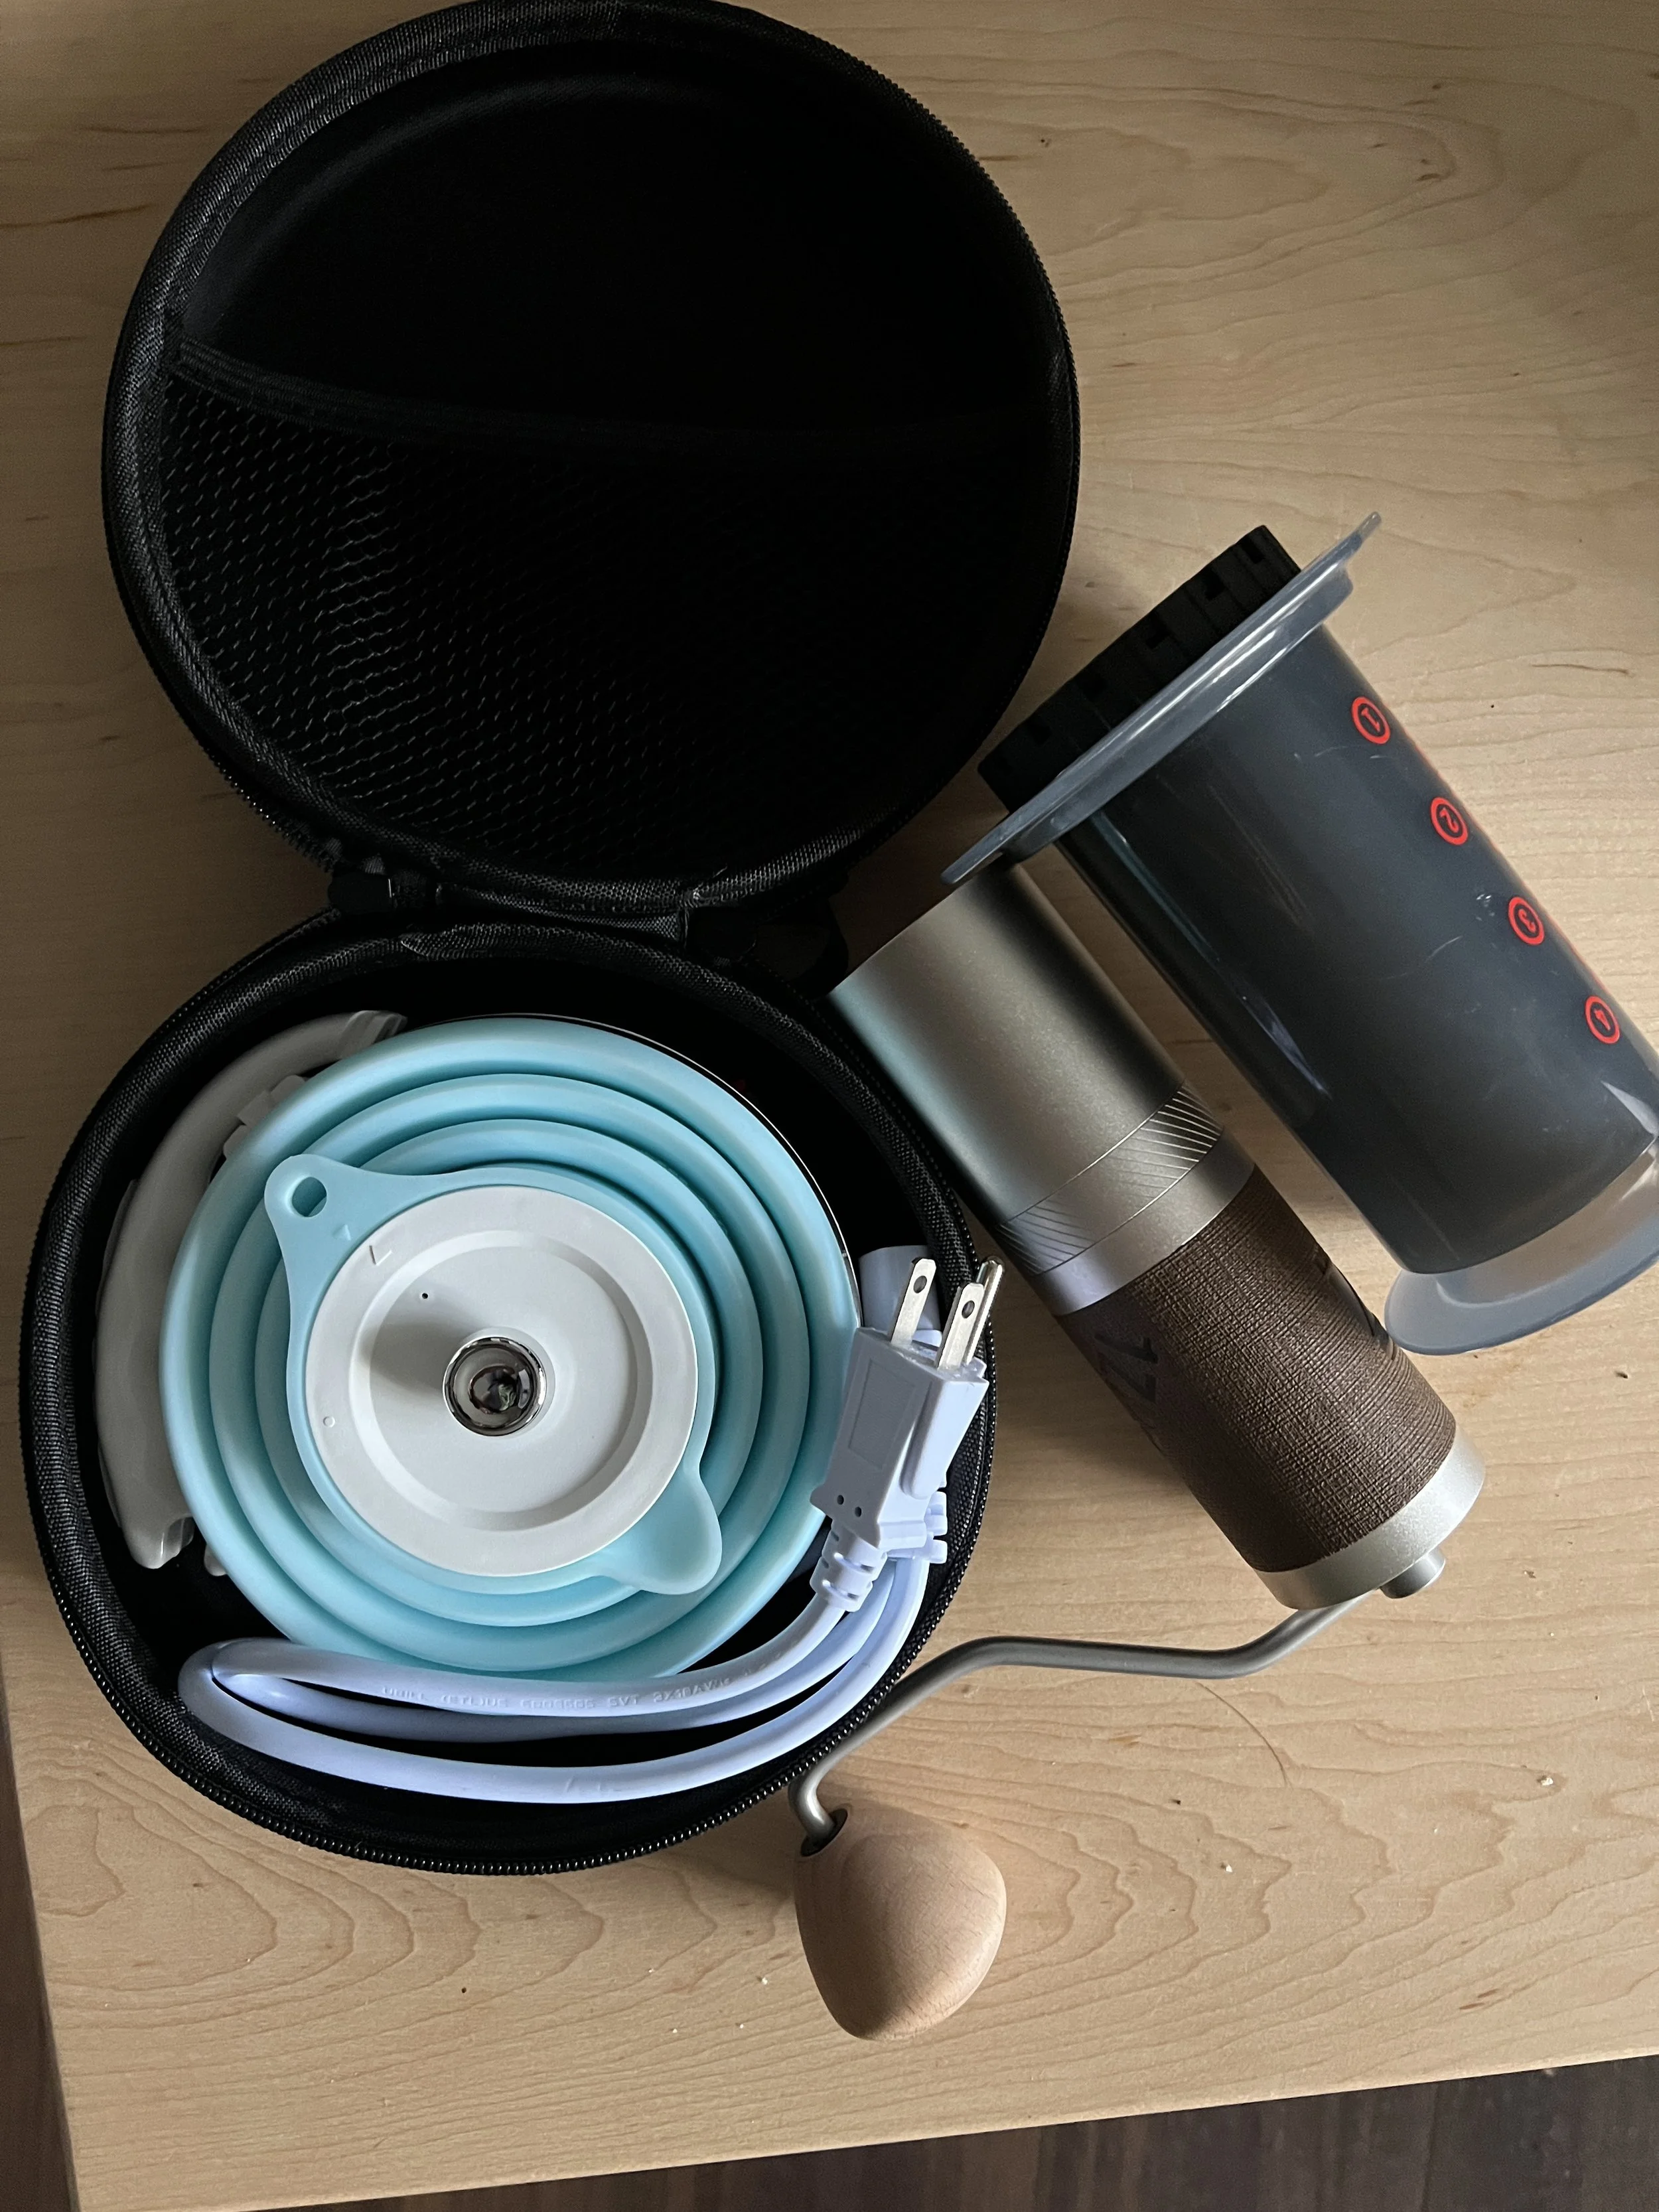
Silicone collapsible kettle - These pack down to a size similar to overhead headphone cases. They heat reasonably fast, hit boiling temps, and hold reasonable volumes (~800mL). They use common C13 plugs so you can run a shorter or longer cable, or an international plug shape. Look for one with a dual voltage switch. Personally I am not concerned with taste effects from the kettle body material.
Thermos heater - A thermos that plugs into the wall and heats the water quite slowly. Something like 6-8min for its 400mL capacity. If packing space is a concern, you can get creative with cramming clean clothes in it during transit.
If you’re camping or outdoors where a gas canister is usable (not plane travel), you’d want something something like a Jetboil or insulated sleeve pot relative to your environmental conditions and how much passive heat loss is a concern.
If you’re out on a day trip, you can boil water and transfer it into a thermos until you brew at your destination. This approach throws precision at the window, as it’ll come down to the insulative properties of your thermos and how long it stays there.
I used to use the Hario Air Kettle, but I don’t suggest it anymore. Though its PCT resin is rated to 100C, it’s not rated to be microwaved (i.e. you need another heat source anyway), and you don’t have that much control over temps if transferring from another source; it’s a mediocre spout that takes up space.
The Cafec Osmo is an upcoming product made of Tritan plastic that folks could look forward to as a spouted solution. It borrows the spout curvature of their higher end Tsubame Pro kettle at a lower price point and way more durable. Note that it’s a slow pouring spout by design and laser beams through the grounds bed at higher flow rates.
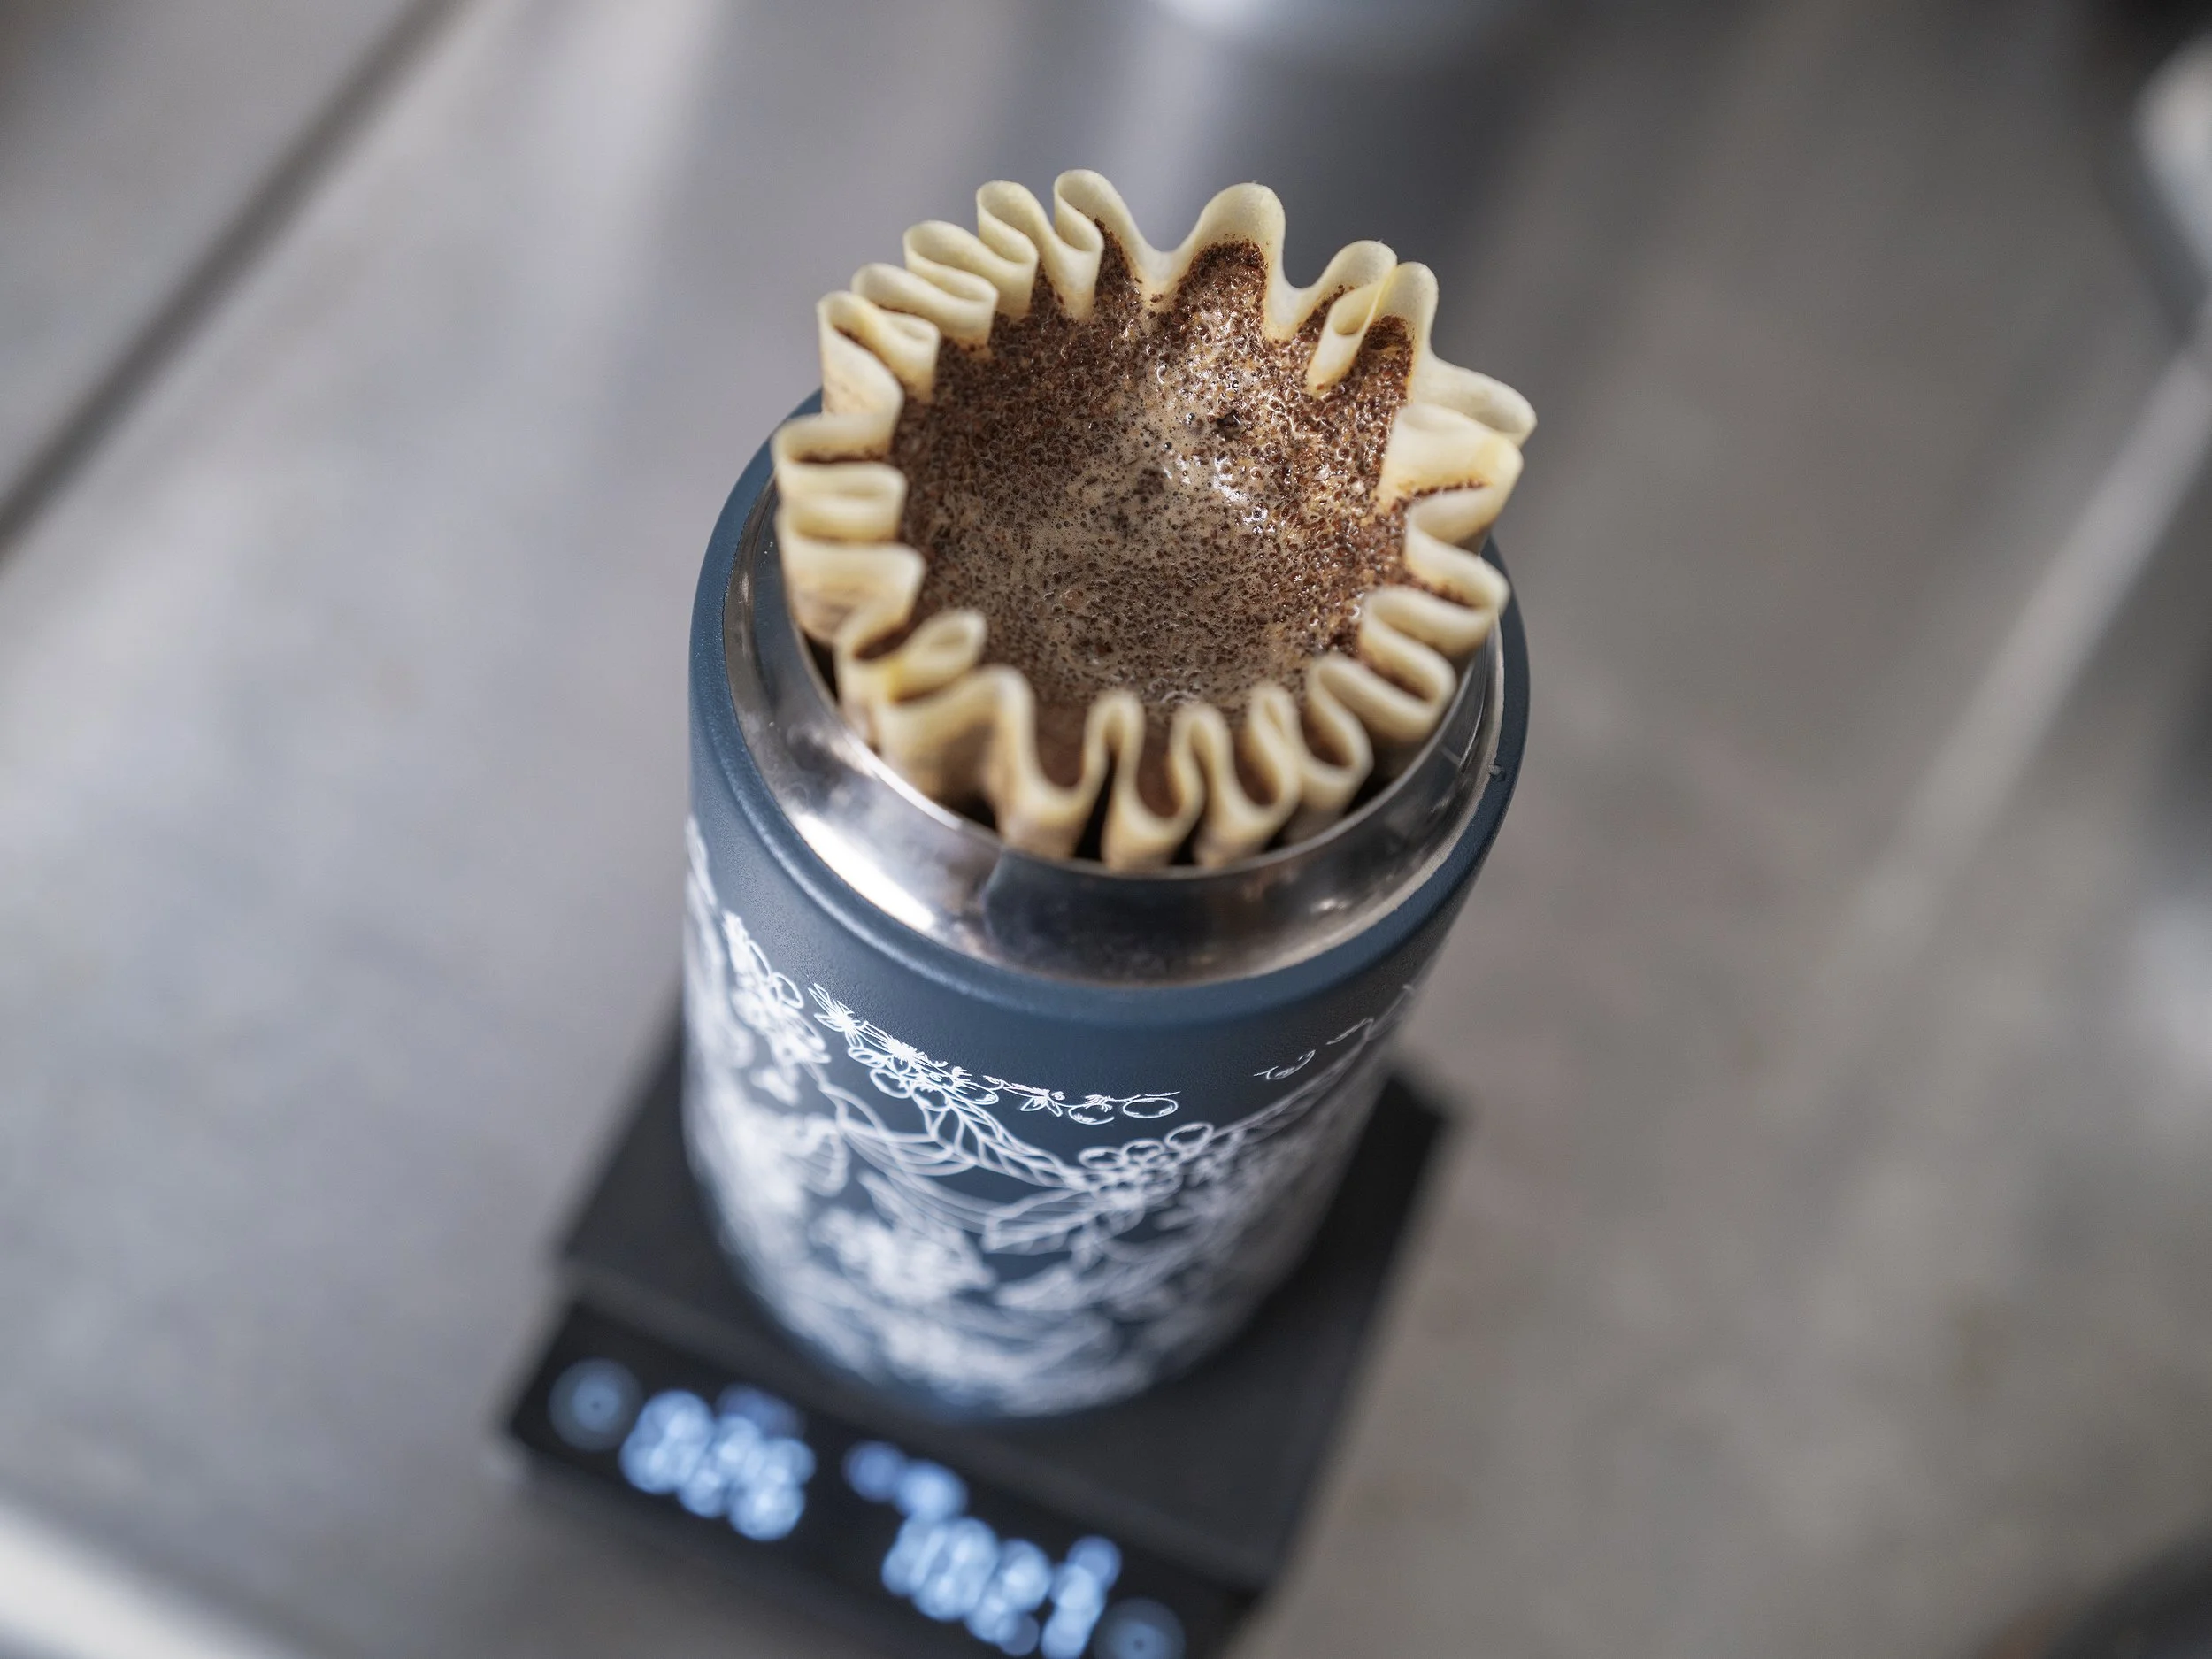
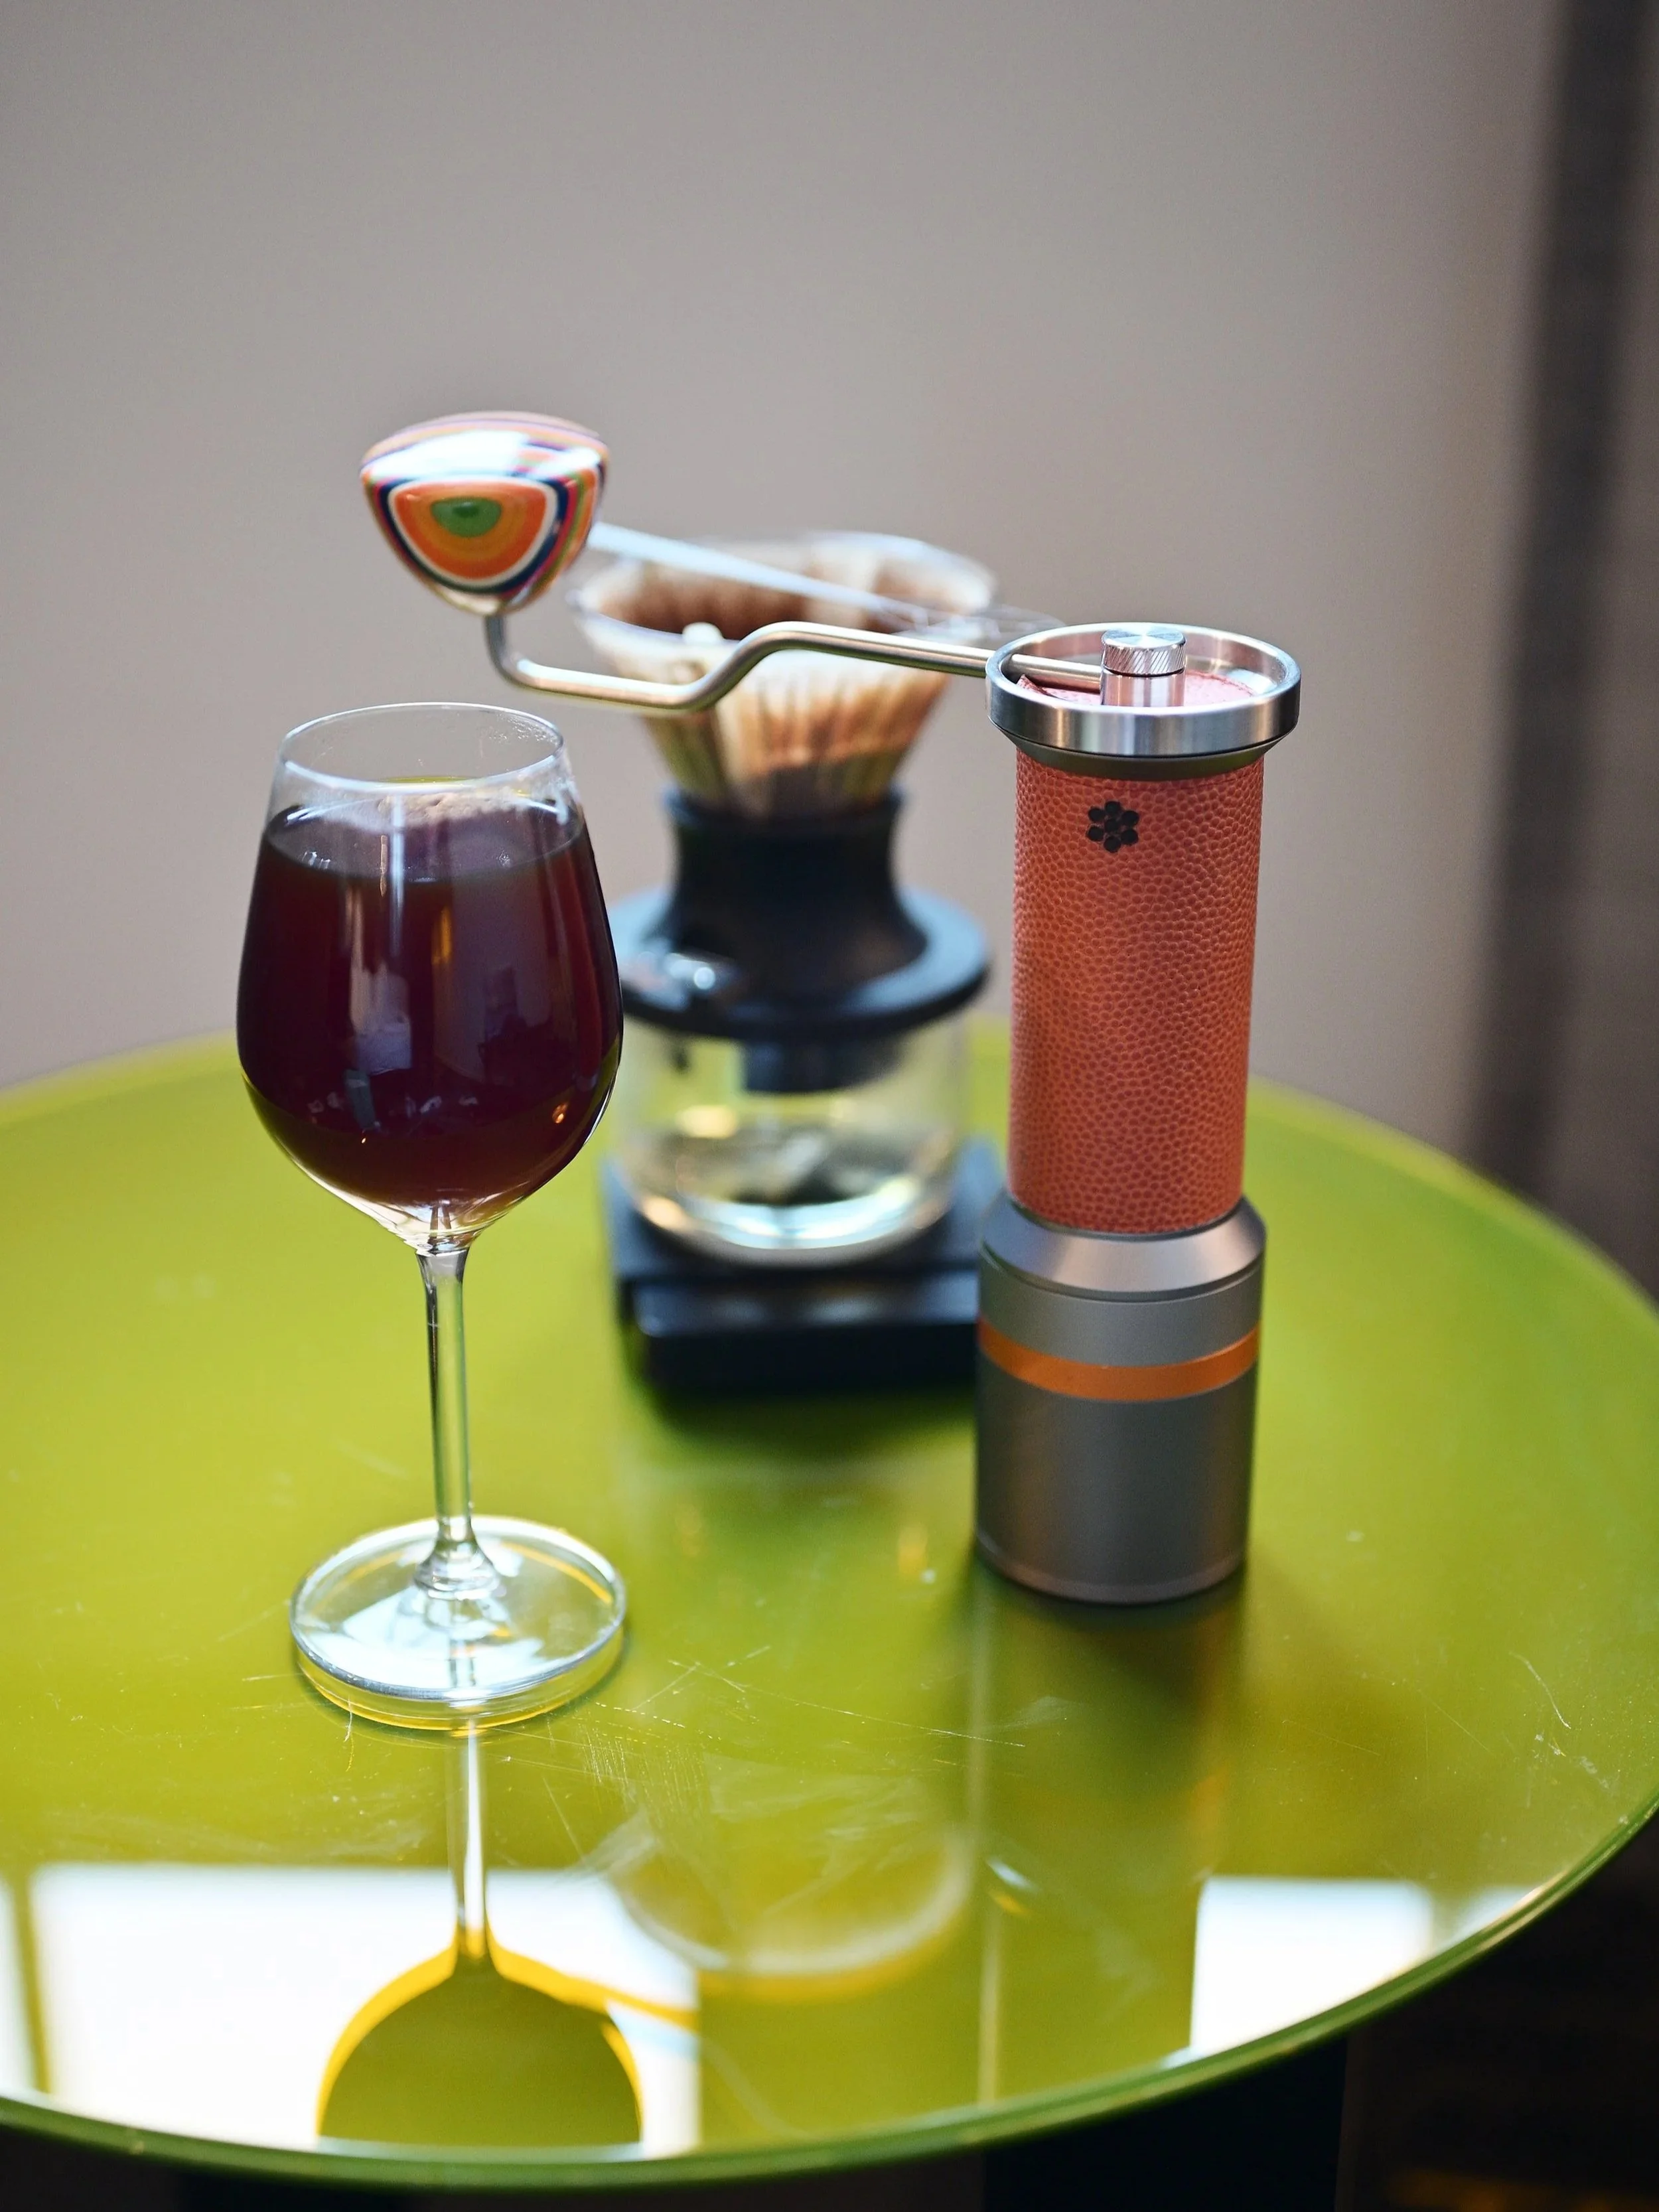
I don’t often use it at home, but the Pulsars excels at 20g-40g brews
Drippers - Skip the V60
A Hario V60 size 03 with gooseneck kettle is not my suggested go-to due to the precision it demands (and rewards); it is not the optimal tool for travel brews You could make it work, but I would not suggest buying one if you don’t already have one. On one hand, coffee nerds tend to buy too many drippers with poor justifications, but this travel use case is a fair reason to grab an alternative brew method.
We want fewer brew iterations, so consider drippers that are made for larger volumes. Even better, if it matches the size of water containers, e.g. 30g:500mL brews to neatly use up a 500mL bottle (or half a 1L). If you have your dose pre-weighed and water volume fixed, it’s even possible to travel without a scale.
Immersion brewers are a good choice to “catch” heavier streams from clumsier spouts to let the bed settle before releasing the flow.
Ceramic/glass drippers are automatically disqualified due to their inherent fragility.
With too many dripper options on the market today, there are better alternatives than a V60. The following is not an exclusive list of valid options, but consider what common qualities below make them suitable candidates.
Aeropress: Good for solo travel volumes. Overwhelming amount of brewing options, especially with Prismo attachment. Shove your (clean) socks or something inside to minimize its packing bulk.
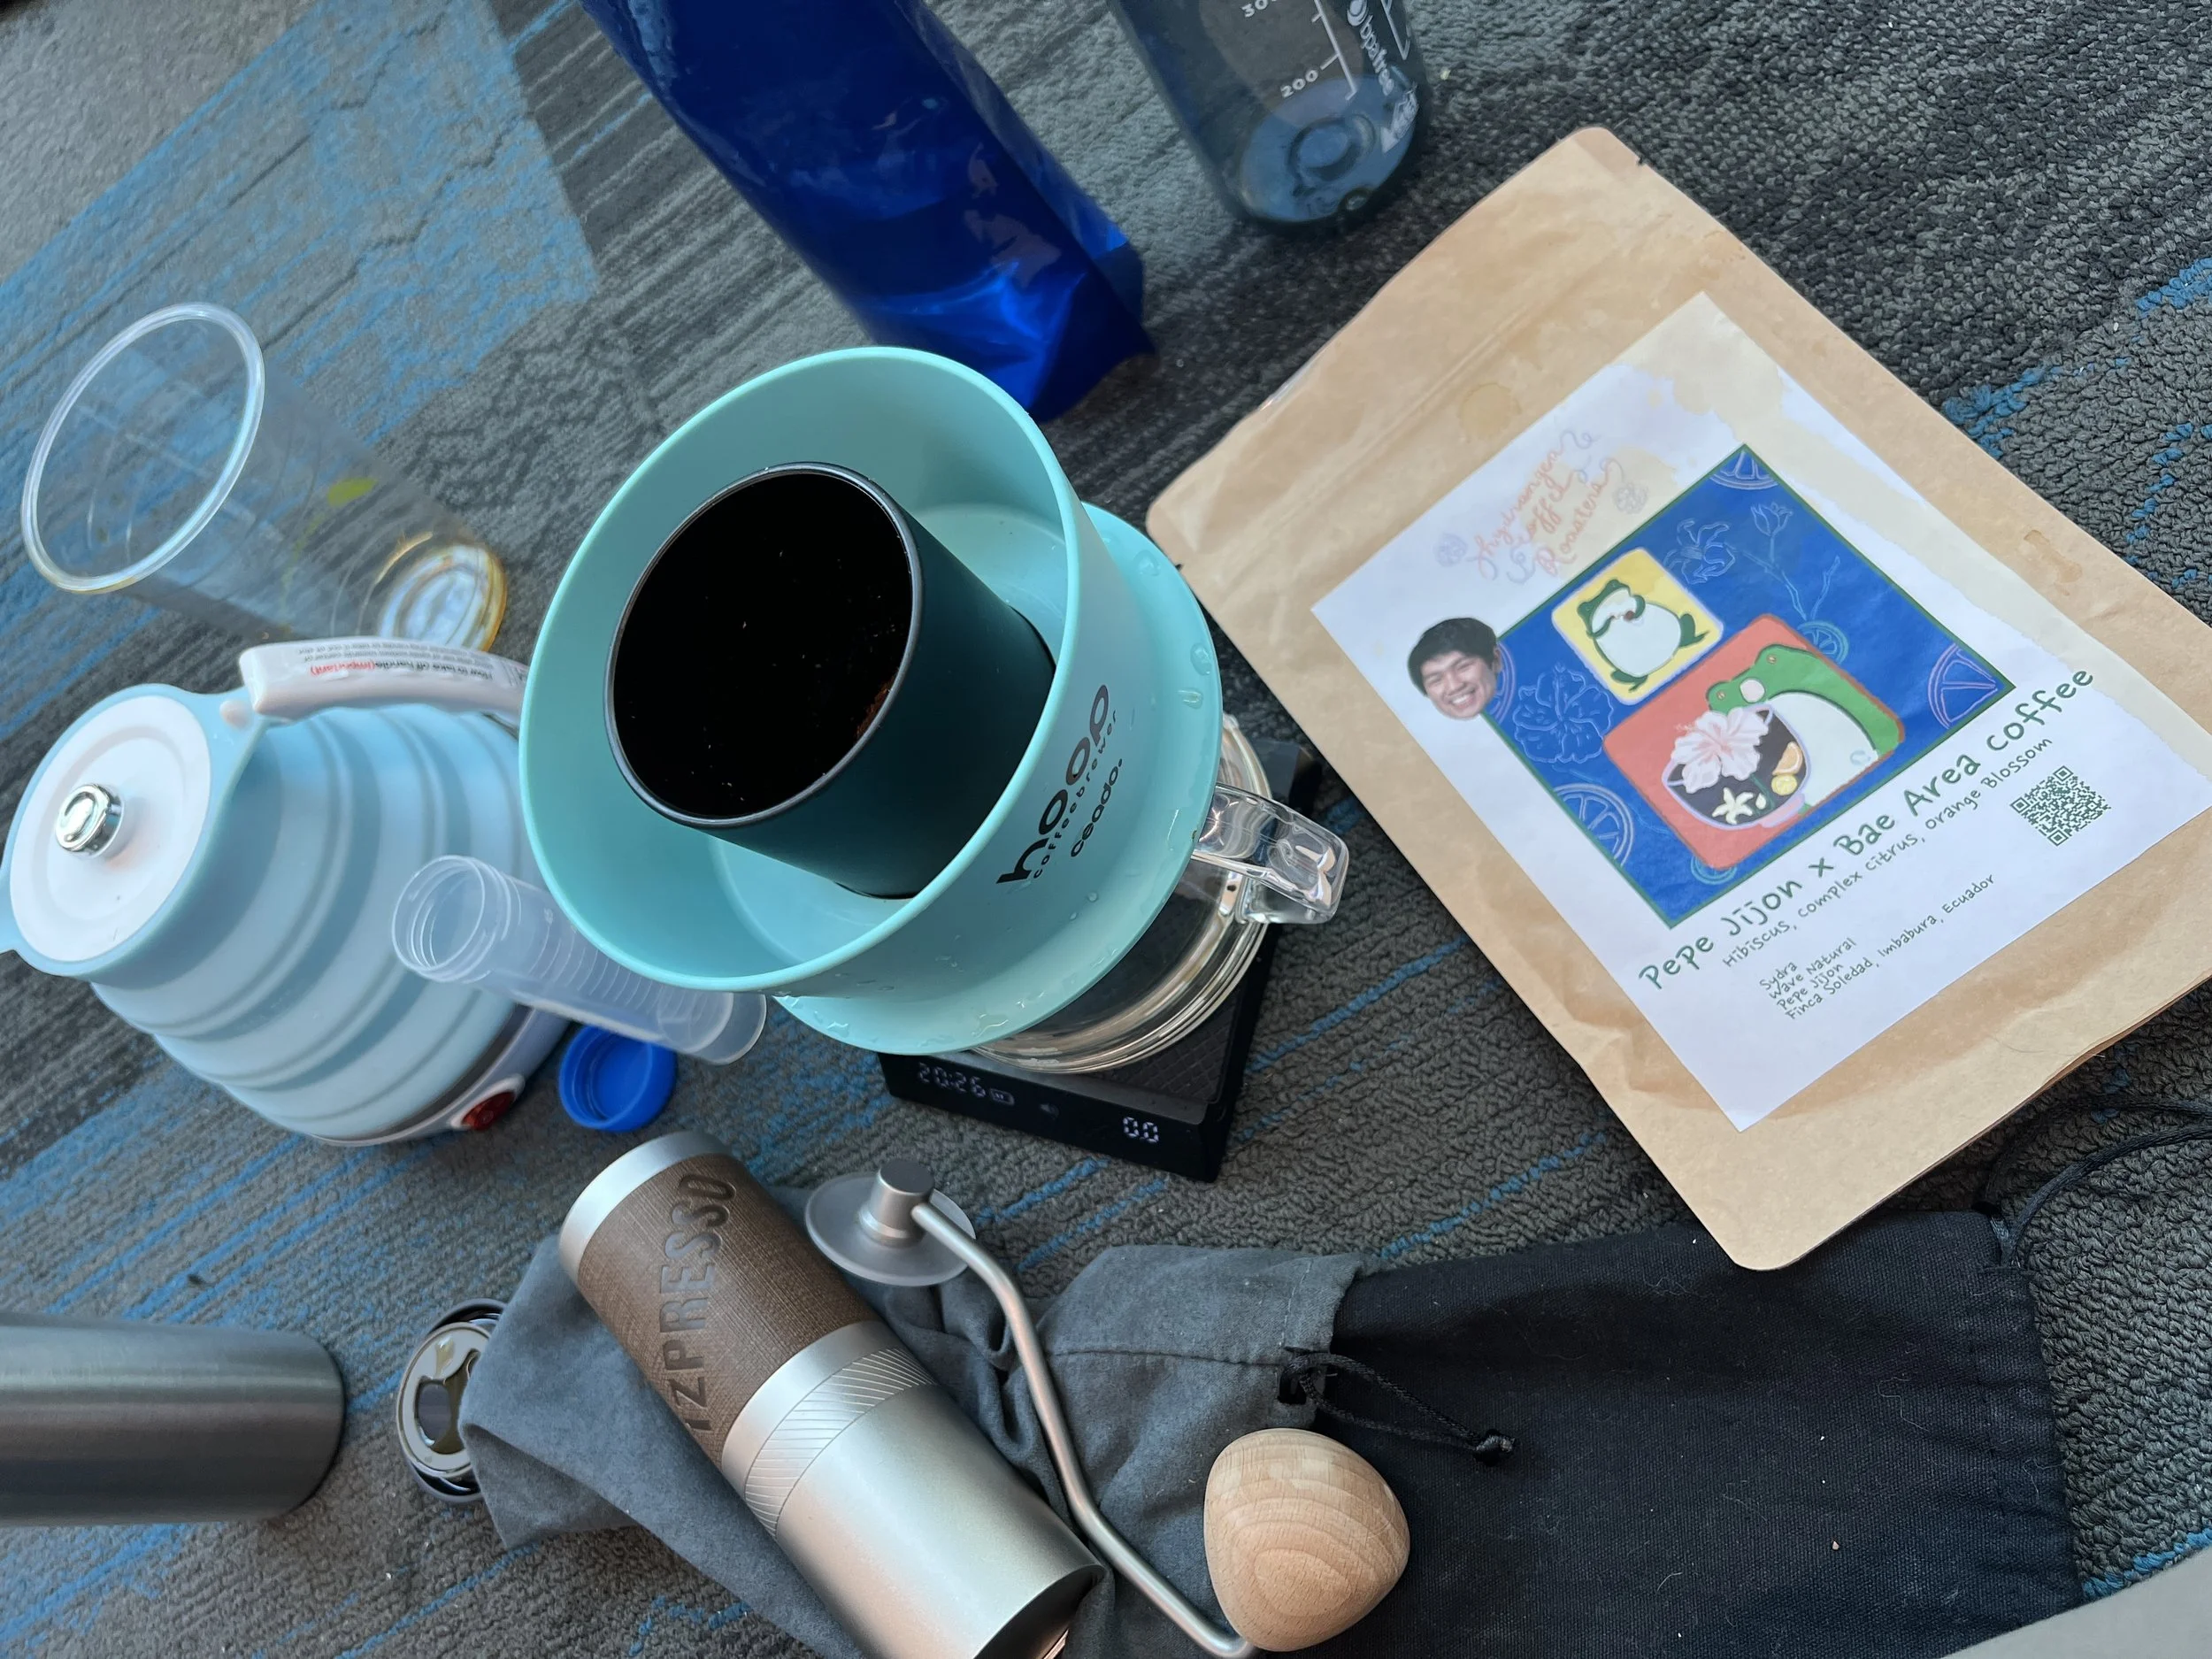
Ceado Hoop: Not my favorite dripper at home, but ideal for ease-of-use and forgivingness we want during travel. I’m comfortable with it up to 20g doses, but haven’t tried beyond this. It’s durable and its packing size can be lessened if you shove clothes among it, minding residual surface oil transfer.
Clever: One of the standards in immersion brews. Handles high volume well, but a bit bulky, so consider jamming clothes to reduce its volumetric footprint.
Gabi Master A: The integrated drip-assisted upper water chamber means pouring from the jankiest of spouts will work out fine. Collapses down quite a bit, but can be annoying to re/assemble if moving around daily. I would not run more than 20g on this dripper.
Hario Mugen Switch: A slower V60 but justified due to the immersion base. I consider it a volumetrically inefficient design to pack, and would say 25g is an optimistic maximum dose. Once the Hario NEO is widely available, this suggestion will shift to that dripper geometry.
MHW-3Bomber Eggonaut: Cute shape, perhaps useful up to solo brewing at a picnic thanks to the built-in shower screen. It’s got numerous stacked parts, is surprisingly chunky to pack, and is barely a meaningfully designed dripper.
Orea Big Boy: Designed for huge volumes, I’ve managed to get up to 750mL brews out of this, though it takes a bit of practice at home first. If I’m brewing for very large groups, I’d do 2-4 brews off this rather than 5-8 on a smaller dripper.
Orea Z1: Holds up to 20g with some effort, this is more suggestible for solo consumption volumes due to its forgiving nature and built-in drip screen.
Next Level Pulsar: Great for large volumes, personally what I use. I’d go up to 30g, though I’ve seen some folks run 40g recipes. It extracts efficiently, has a drip assist lid, and is durable and easy to cram stuff into during transit to effectively take very little packing volume.
Verve Dwell: Unlike other flexible drippers, this one gets a pass since it’s rigid enough to normally be a good dripper. Still, in travel contexts, I’d pair it with a dispersion screen or spoon since we’re assuming subpar kettle spout pouring.
Of note, the various silicone/metal pourover drippers don’t make it on this list. They technically work, but they are designed to first be marketable as travel-friendly without as much emphasis on being designed with extraction theory.
An unconventional approach I learned from AaronLycan, you can remove the plastic screw in a Fellow Carter’s inner lid as a flat bottom base to fit a Kalita 155 wave filter loaded with 20g. If you’re really tight on packing space, this approach wasn’t bad at all.


Espresso - You gotta really want it
When I started playing with coffee I was primarily brewing espresso, and I enjoyed the idea of brewing espresso in funny places. While that phase is behind me, I understand espresso is a priority for many, and things have thankfully gotten better there as well. I cannot recommend it for travel because of the inefficiency of not being able to produce more than a solo serving per preparation, combined with increased grind time and puck prep + workflow inefficiencies. But if you must…
Cafelat Robot: It’s a bit much for plane travel, I don’t know if TSA would like seeing one in your carry-on. But it’s feasible for camping or a cabin trip to deliver high quality results.
Flair GO: Before this was introduced, I’d use the Flair Pro 2, which has quite a bit of assembly involved in a relatively compact kit. With this travel-first build, this is a no-brainer for a “real” espresso machine on the go.
Uniterra Nomad: This used to be my travel brewer of choice when space permitted, since it could both accomplish standard and long-ratio shots with great control, as well as sprovers for higher volume brews thanks to its ~300mL tank. It’s awkwardly shaped, so check it in or suffer an uncomfortable backpack. Its main downside is the workflow of cleaning out the drawer tray between rounds.
Outin Nano: I’ve only handled and poured from one once, but this seems to be where peak travel technology is at currently. It’s… sufficient, but not great; keep expectations reserved. Temperature is limited, not so great for lighter roasts. You don’t have control over the pressure. It’s not hollow enough to hide away its mass by cramming clothes into its chamber. You’re not getting too many shots if you’re using the internal heating function. But it does what it says it’ll do on the box.
Oxo Rapid brewer: The trendiest brewer at the time of this writing, perhaps the modern successor to the Aeropress. You have a wide range of control and gear-based optimizations to output various beverages styles. It’s kinda big, and there isn’t much hollow space to cram clothes to hide its bulk unlike an Aeropress. It’s a versatile solution that can realistically feed a couple mouths per brew round.
Picopresso: The sneakiest of espresso makers. It cleverly hides away its parts into its body and can be deployed easily, such as in an airport terminal after a flight delay. Unlike some others, it doesn’t need to be operated on a flat surface.
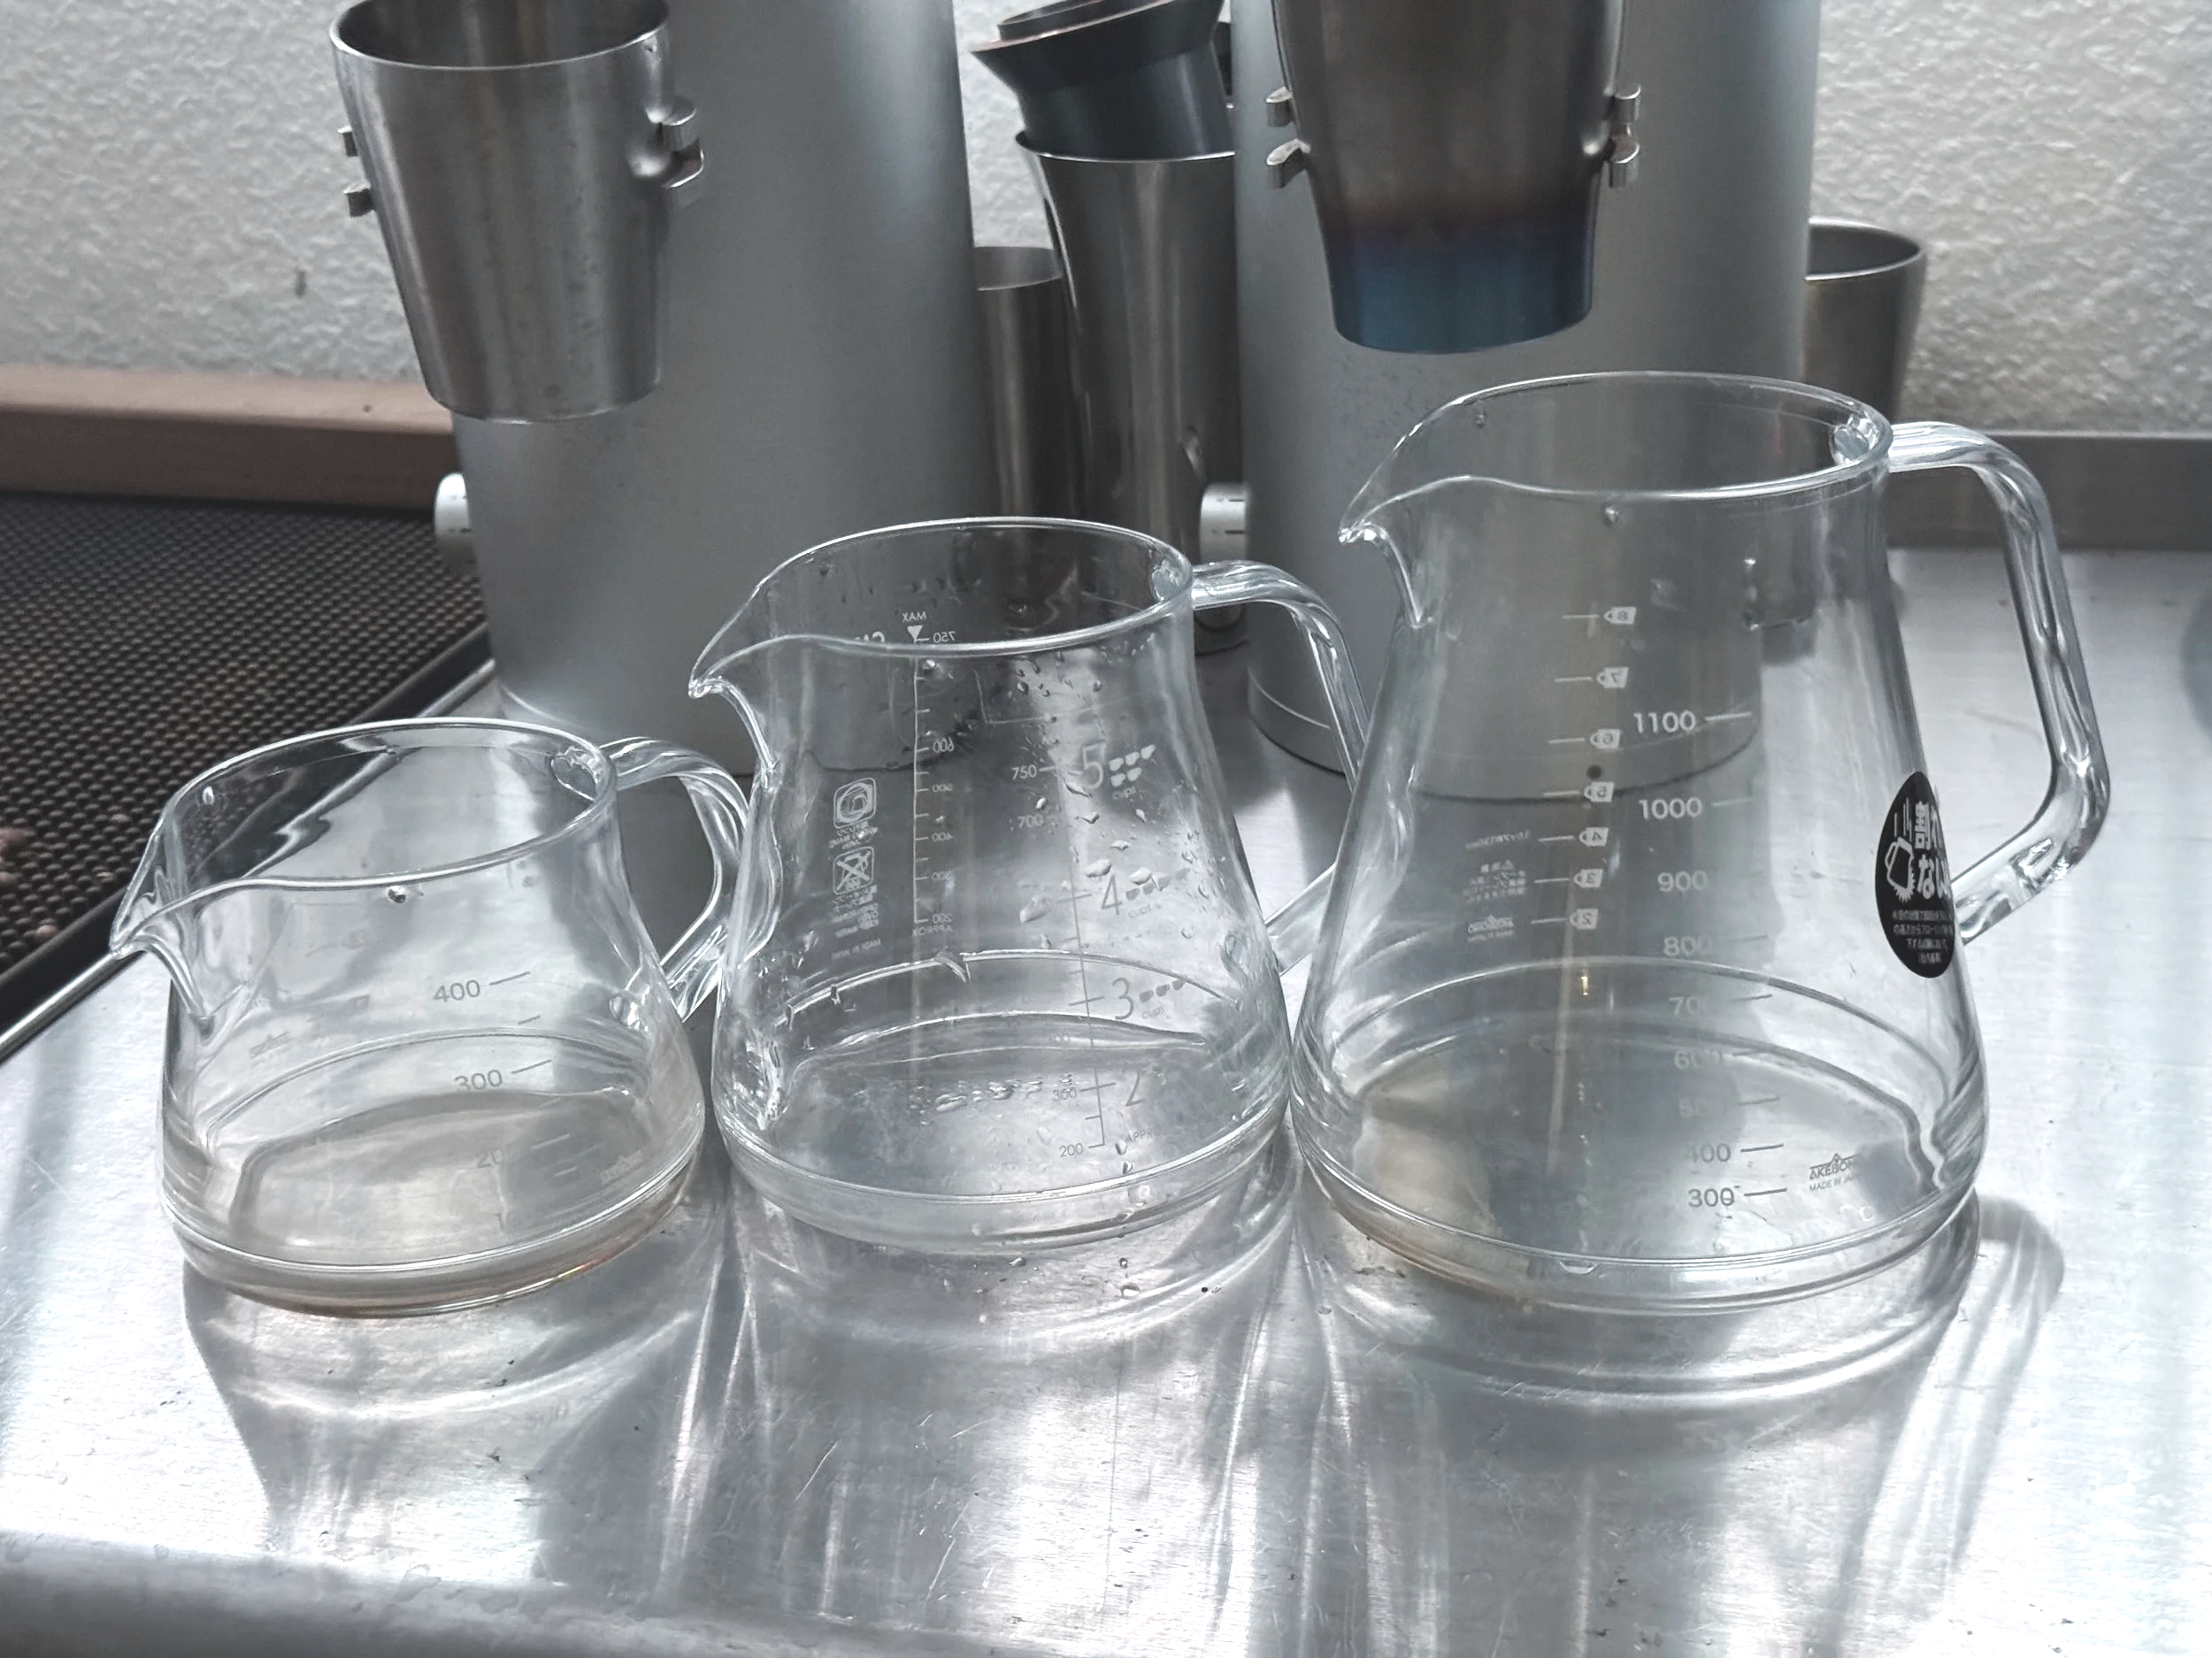
Tritan carafes from Akebono/Kogu come in 400mL/750mL/1L sizes
Other tools/gear
Once you’ve got your coffee brewer picked out, there’s a few more items to consider. This list is in loosely descending order of suggestion.
Tritan carafe: It sucks to be limited by size and spillage of hotel mugs, especially if brewing for two or more. I travel with a 750mL carafe so I can swirl 4-500mL brews. I shove clothes into this during transit so the volume it occupies is almost nothing.
Travel scale: If you’re bringing whole bags of beans, you’ll still need to weigh out your dose. Don’t spend an extra $50 for an Acaia Lunar case. Don’t bring an expensive scale, and certainly don’t bring an unprotected scale that can get damaged by compression in transit. Get a ~$13USD Weightman scale, since it’s got an integrated cover which doubles as a dosing tray.
Drip tray/dosing tray: If bringing whole bags to get weighed, you probably need something to weigh into. Or depending on the dripper, you need somewhere to let it dribble out the rest of its drops. I’ve ran into scenarios where every last cup in the hotel was being used for shared brews and had nowhere to weight the next dose or to leave the dripper; the lightest and thinnest of plastic or metal trays can save your sanity.
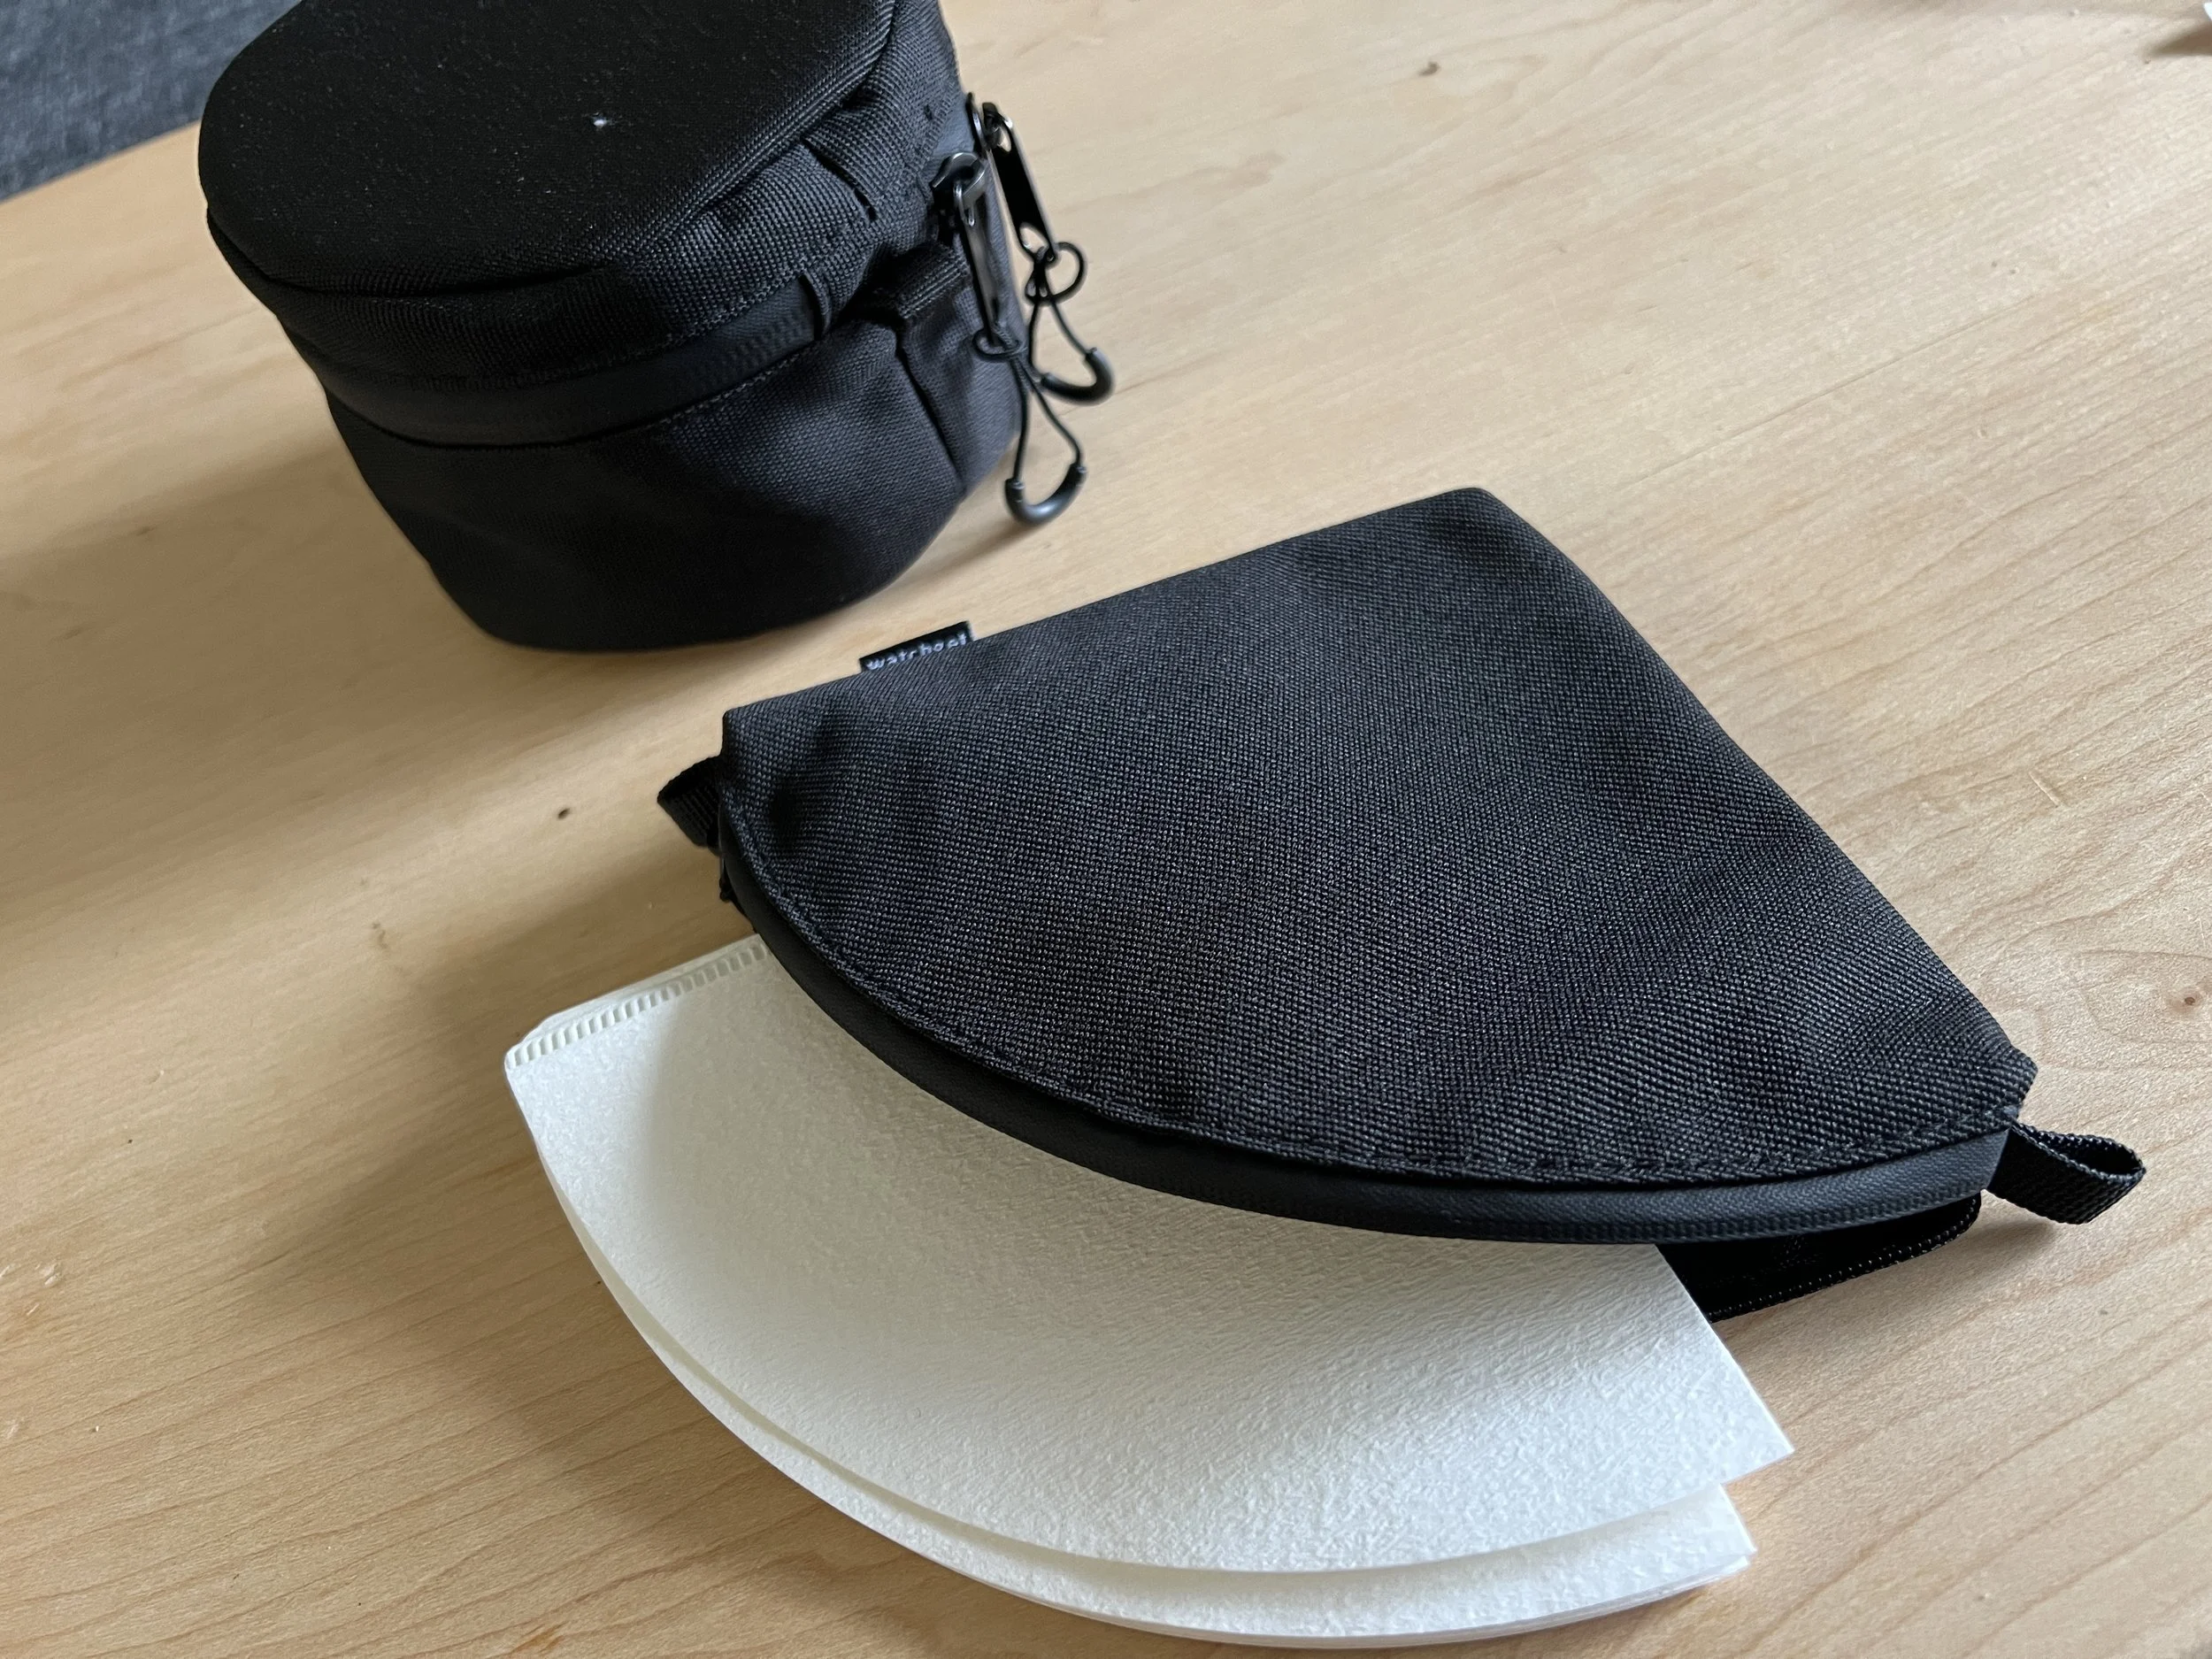
Filters: I prefer conicals over flats bottoms since the wave ridges are going to get crushed without a container that takes up more total packing volume. Cheap nylon pouches can be found to fit each filter type. I wouldn’t purchase a filter type I wouldn’t normally use at home, e.g. Cafec Abaca/T90’s. For circle paper filters like the Pulsar or Hoop, find the smallest plastic bag.
Melodrip: Use this it with even the crappiest of kettle spouts to get a gentle pour into your bed.
Spoon: Similar consideration as the Melodrip, but way cheaper and surely already on hand. Also useful to take a large brew and stir it up for homogeneity.
Hario drip assist: Originally made for the V60, but compatible with some other diameters as well. Same goal as the Melodrip, but stays on top of the dripper.
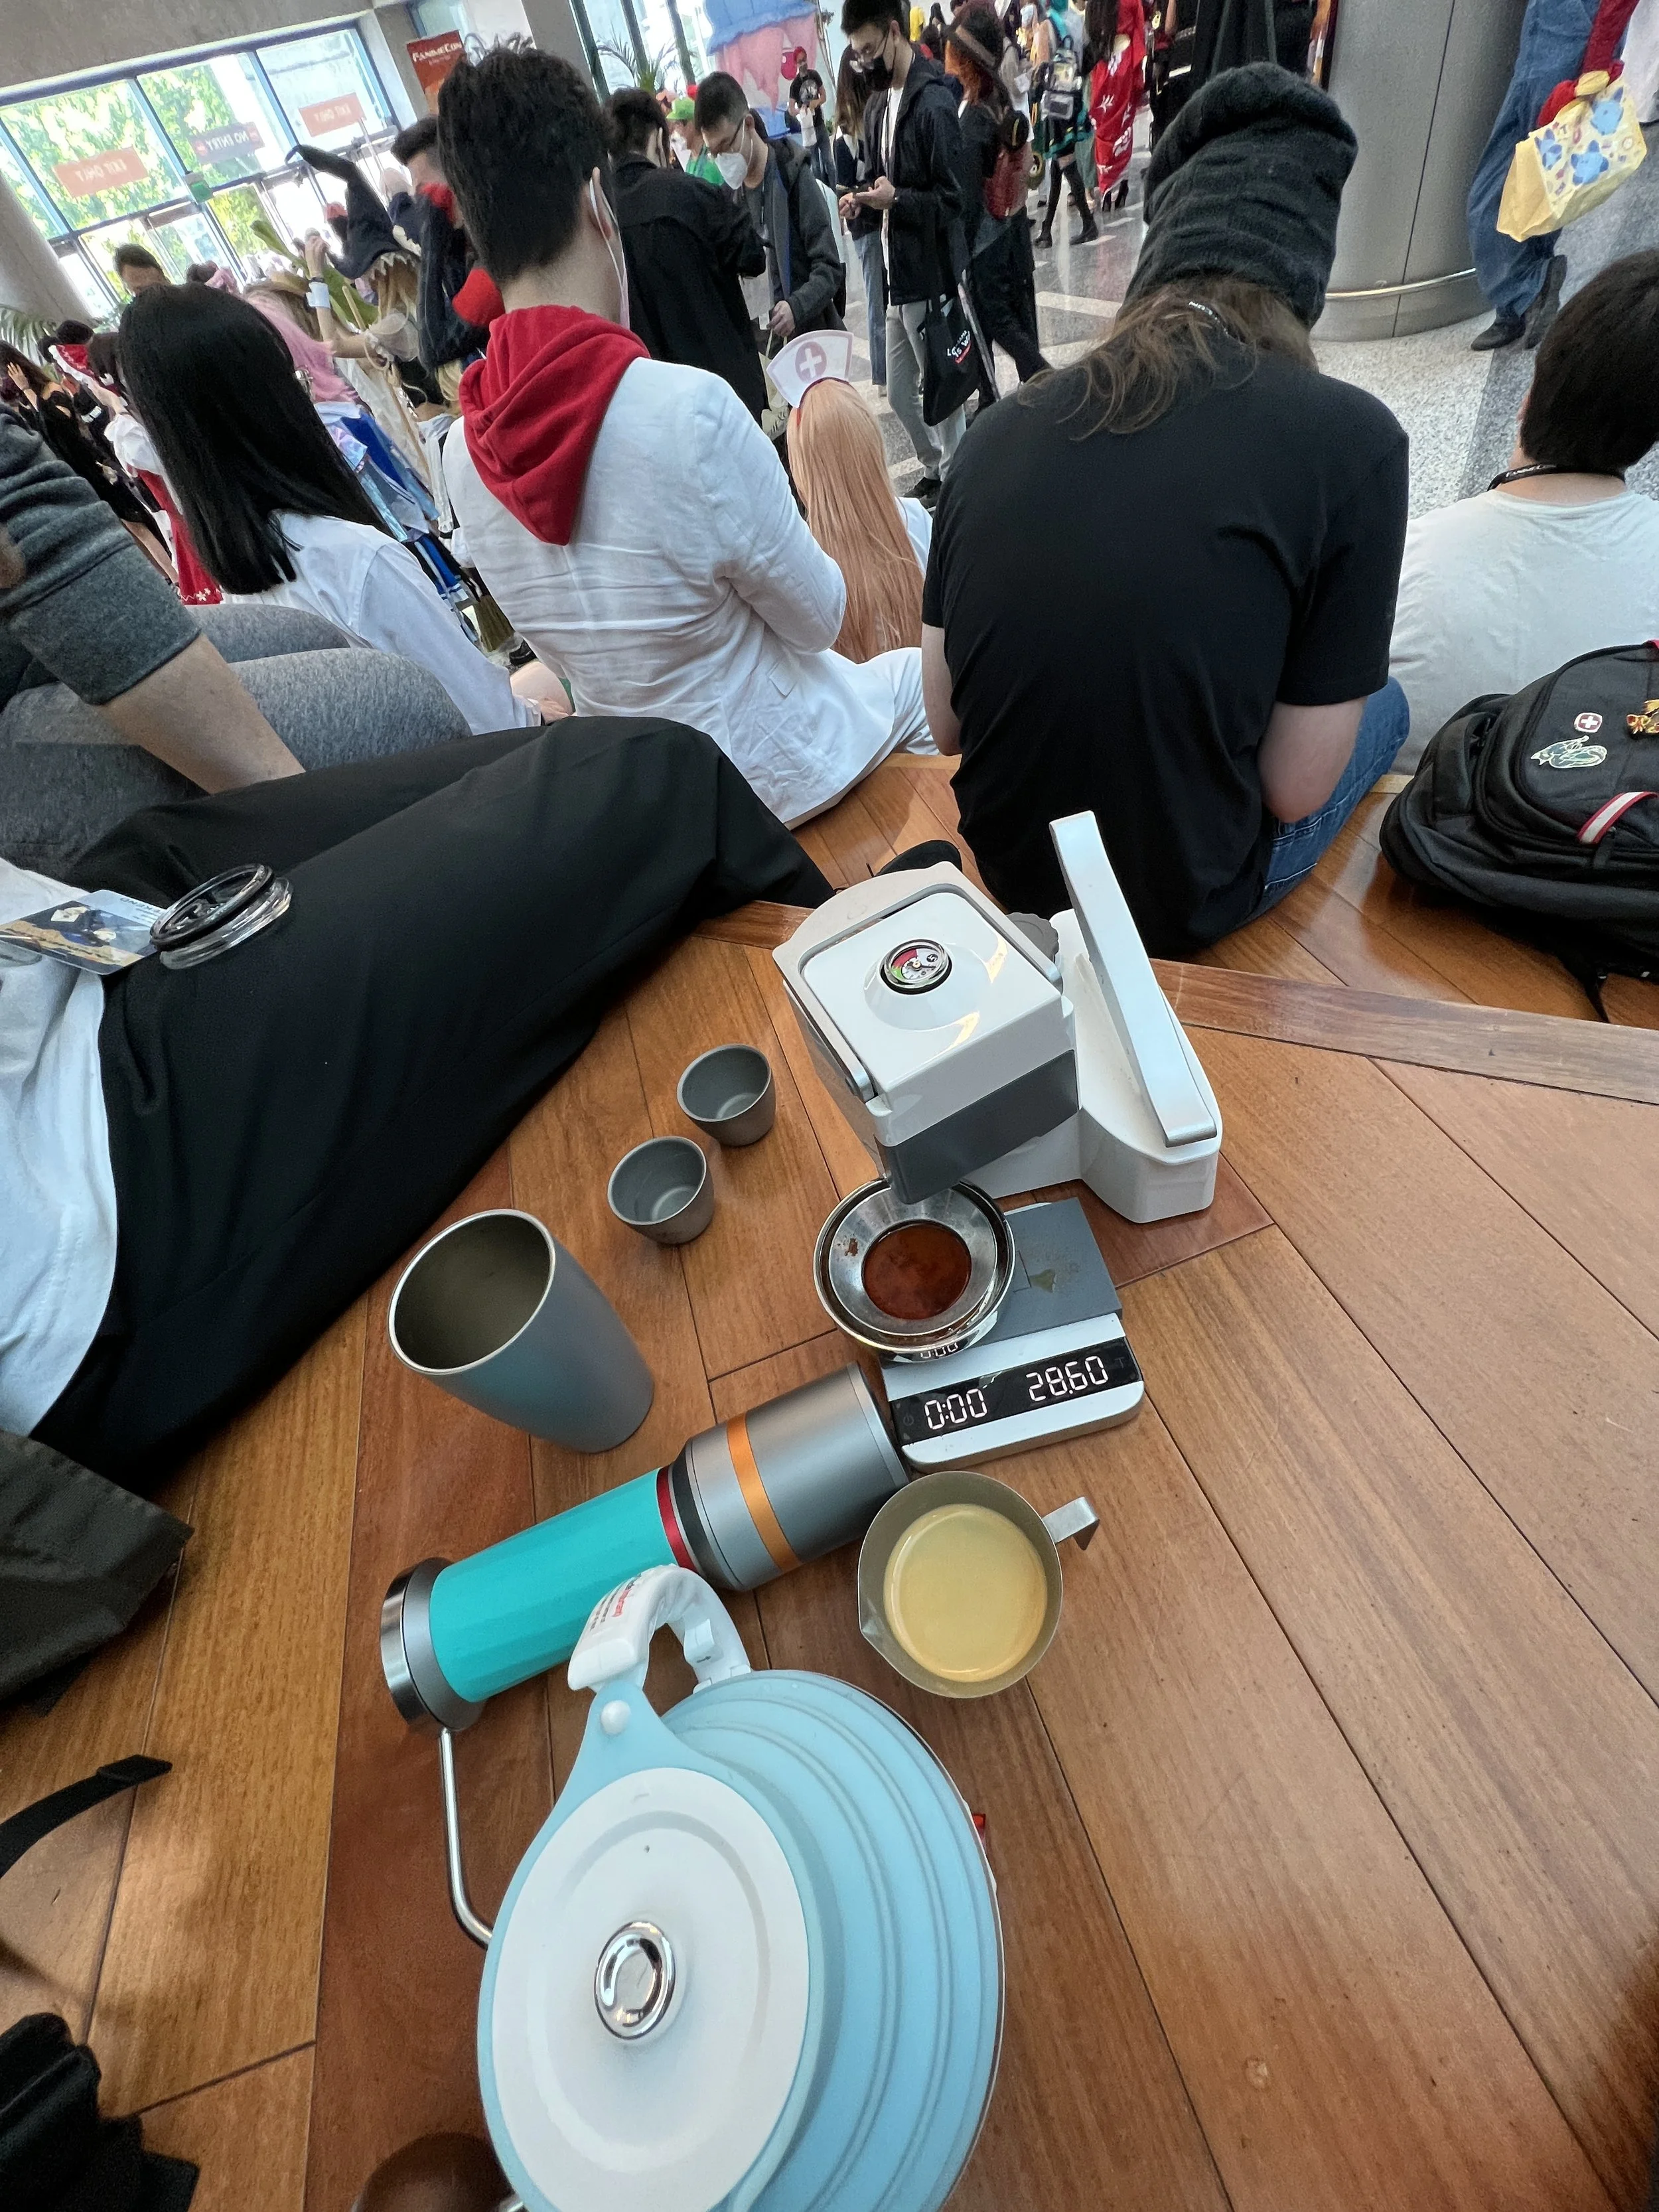
Nesting cups: Nesting camping cups can either be the same size (e.g. sierra camping cups) or matroshka-ing, e.g. 200, 350, 450, 600mL. It is important to consider as your travel party size increases. People will take the hotel cups as toothbrush storage, leaving you with fewer ways to serve them in the morning. Alternatively, you may need something to rest your finished dripper onto when you have nowhere to place it in your hotel room.

Grinders for travel
Grinders are usually one of the more exciting pieces of coffee kit, but not so much in this context. For travel, I suggest grinders that are a bit blendier and have a wider sweet spot; we’re not at home, and we’re frankly out of our usual element of being dialed in. We want to avoid feeling the need to make another brew, and we should prioritize balance and high hit rates over peak performance. While something like a ZP6 might be great dialed in at home, it’s not what I’d suggest first for travel. You could certainly make it work, but I’d rather have the blendier, rounded, forgiving output of the 1Z K/Q2 series conical heptagonal burrs.
Given the availability of grinders like the Femobook A2, I think the age of hand grinding, especially during precious vacation time, is a waste of effort. If the ritual and motion is valuable to you, crank away. I’m the first to say “don’t buy more”, “it depends on your goals”; here I am confidently saying to get something like an A2 and call it a day.
If you must hand grind, I’d keep them packed in whatever random cloth pouches I’ve collected from other electronics, minding the metal-on-metal contact between the grinder barrel and handle shaft. Even a long sock (that you don’t plan to wear) would be fine. The stock cases that 1zpresso grinders come with are far too bulky for the protection I consider necessary. I’ve periodically had my carry-on bag pulled aside for further inspection for the coffee grinder, but I make sure to keep bags of coffee packed next to it for context, all placed near the top of the bag so it’s easier for the attendant to access. The most significant follow-up I’ve had was with the LingLong 64mm flat burr hand grinder that visually looks like a lightsaber handle, but I’ve not come close to having a grinder confiscated.
If you’re doing espresso, I’d really suggest electric, like a Lagom Mini. Not everyone is in the mood for a light workout before their coffee, and hand-grinding espresso first-thing in the morning takes the right personality.
This list is certainly not comprehensive. Consider what qualities put them on this list, rather than the specific models. I’ve traveled with a Pietro, Weber Workshops EG-1, and a P100. It’s doable depending on how you travel, but those are not what I’d suggest for a travel kit.
Hand grinders:
1zpresso Q2/Q2 Air/X-pro: Lumped together since it’s basically the same 38mm Comandante-like heptagonal burr in various compact bodies. If trying to save extra weight, get the Air. If you want external adjustment, the X-pro. Note that this burr is quite slow to feed for espresso, so not recommended for that.
1zpresso K-Pro/Plus/Ultra: Similar burr as above 38mm for filter performance, but sized up to 48mm. This burr is faster at crushing for espresso fineness, but it’s still quite an ordeal and will snag on light roasts. Significantly larger and heavier, I’d rather travel with the Q2 series.
Kingrinder P2: Similar filter performance as the above offerings, but in a cheaper plastic shell from Kingrinder.
Timemore Miilab M01: It’s bulky and heavy. But if you can accept that, there’s quite a dialable range on the pineapple burr. Practically, to me it’s smoother than the larger 48mm version of the Q2 burr in the K-Pro/Plus/Ultra, especially important for espresso fineness.
Electric:
Baratza Vario: Surprisingly, this thing is neither that big nor heavy, it’s pretty reasonable to load into a car trip.
DM47: A bit long in length, but light enough to shove into a checked-in bag. The stock burr is capable of espresso fineness, and is ok at filter. I swapped in Kinu pour-over burrs into mine for a few trips.
Femobook A2 (most recommended): For ~$100USD, you’re getting a motorized 48mm heptagonal burr for slightly more weight than an 1zpresso Q2. It packs much nicer than trying to store a handle and not have it scratch the body. Visually, it’s terribly unsexy and feels quite cheap. In my use for filter it does not stall and delivers plenty punchy results. It’s not a fast grinder, but it frees up my hands to prep the rest of the brew. Notably, it is quite staticky, especially in dry hotel rooms, so this would benefit from RDT. I do have slight concerns that the touch power button might activate while it’s in my overhead luggage, but it’s yet to happen. It’s a no-brainer, and if you’ve tried to get recommendations from me, you’ll know how hard it is to get a straight answer.
Femobook A4Z: I’d suggest this for longer-term vacations where you might have access to a real kitchen. The 1Zpresso ZP6-esque burr profile is not one I’d recommend for general travel since it prioritizes delicate notes and will be limited by available water. But if you can sort out the water, you’re perhaps in a locale/accommodation where this burr style also makes sesnse.
JT64: Much heavier than its small size suggests, I’d consider it for car-camping or car-based trips only. With the freedom of 64mm burrs, you could make it run for espresso or for filter, though due to water finnickiness, I don’t suggest SSP MP/Brew v1’s.
Option-O Lagom mini 2: For me, this is the winner in this category. Small, versatile in brew methods, runs off a laptop USB-C charging block. A great, forgiving set of burrs that are still plenty punchy.
Timemore Whirly/MiiLab: A modern contender, these are great on practicality at a reasonable price point, though the burrs are not my personal favorite. If we could get a M01 pineapple burr in there it might dethrone the A2 for best travel grinder.
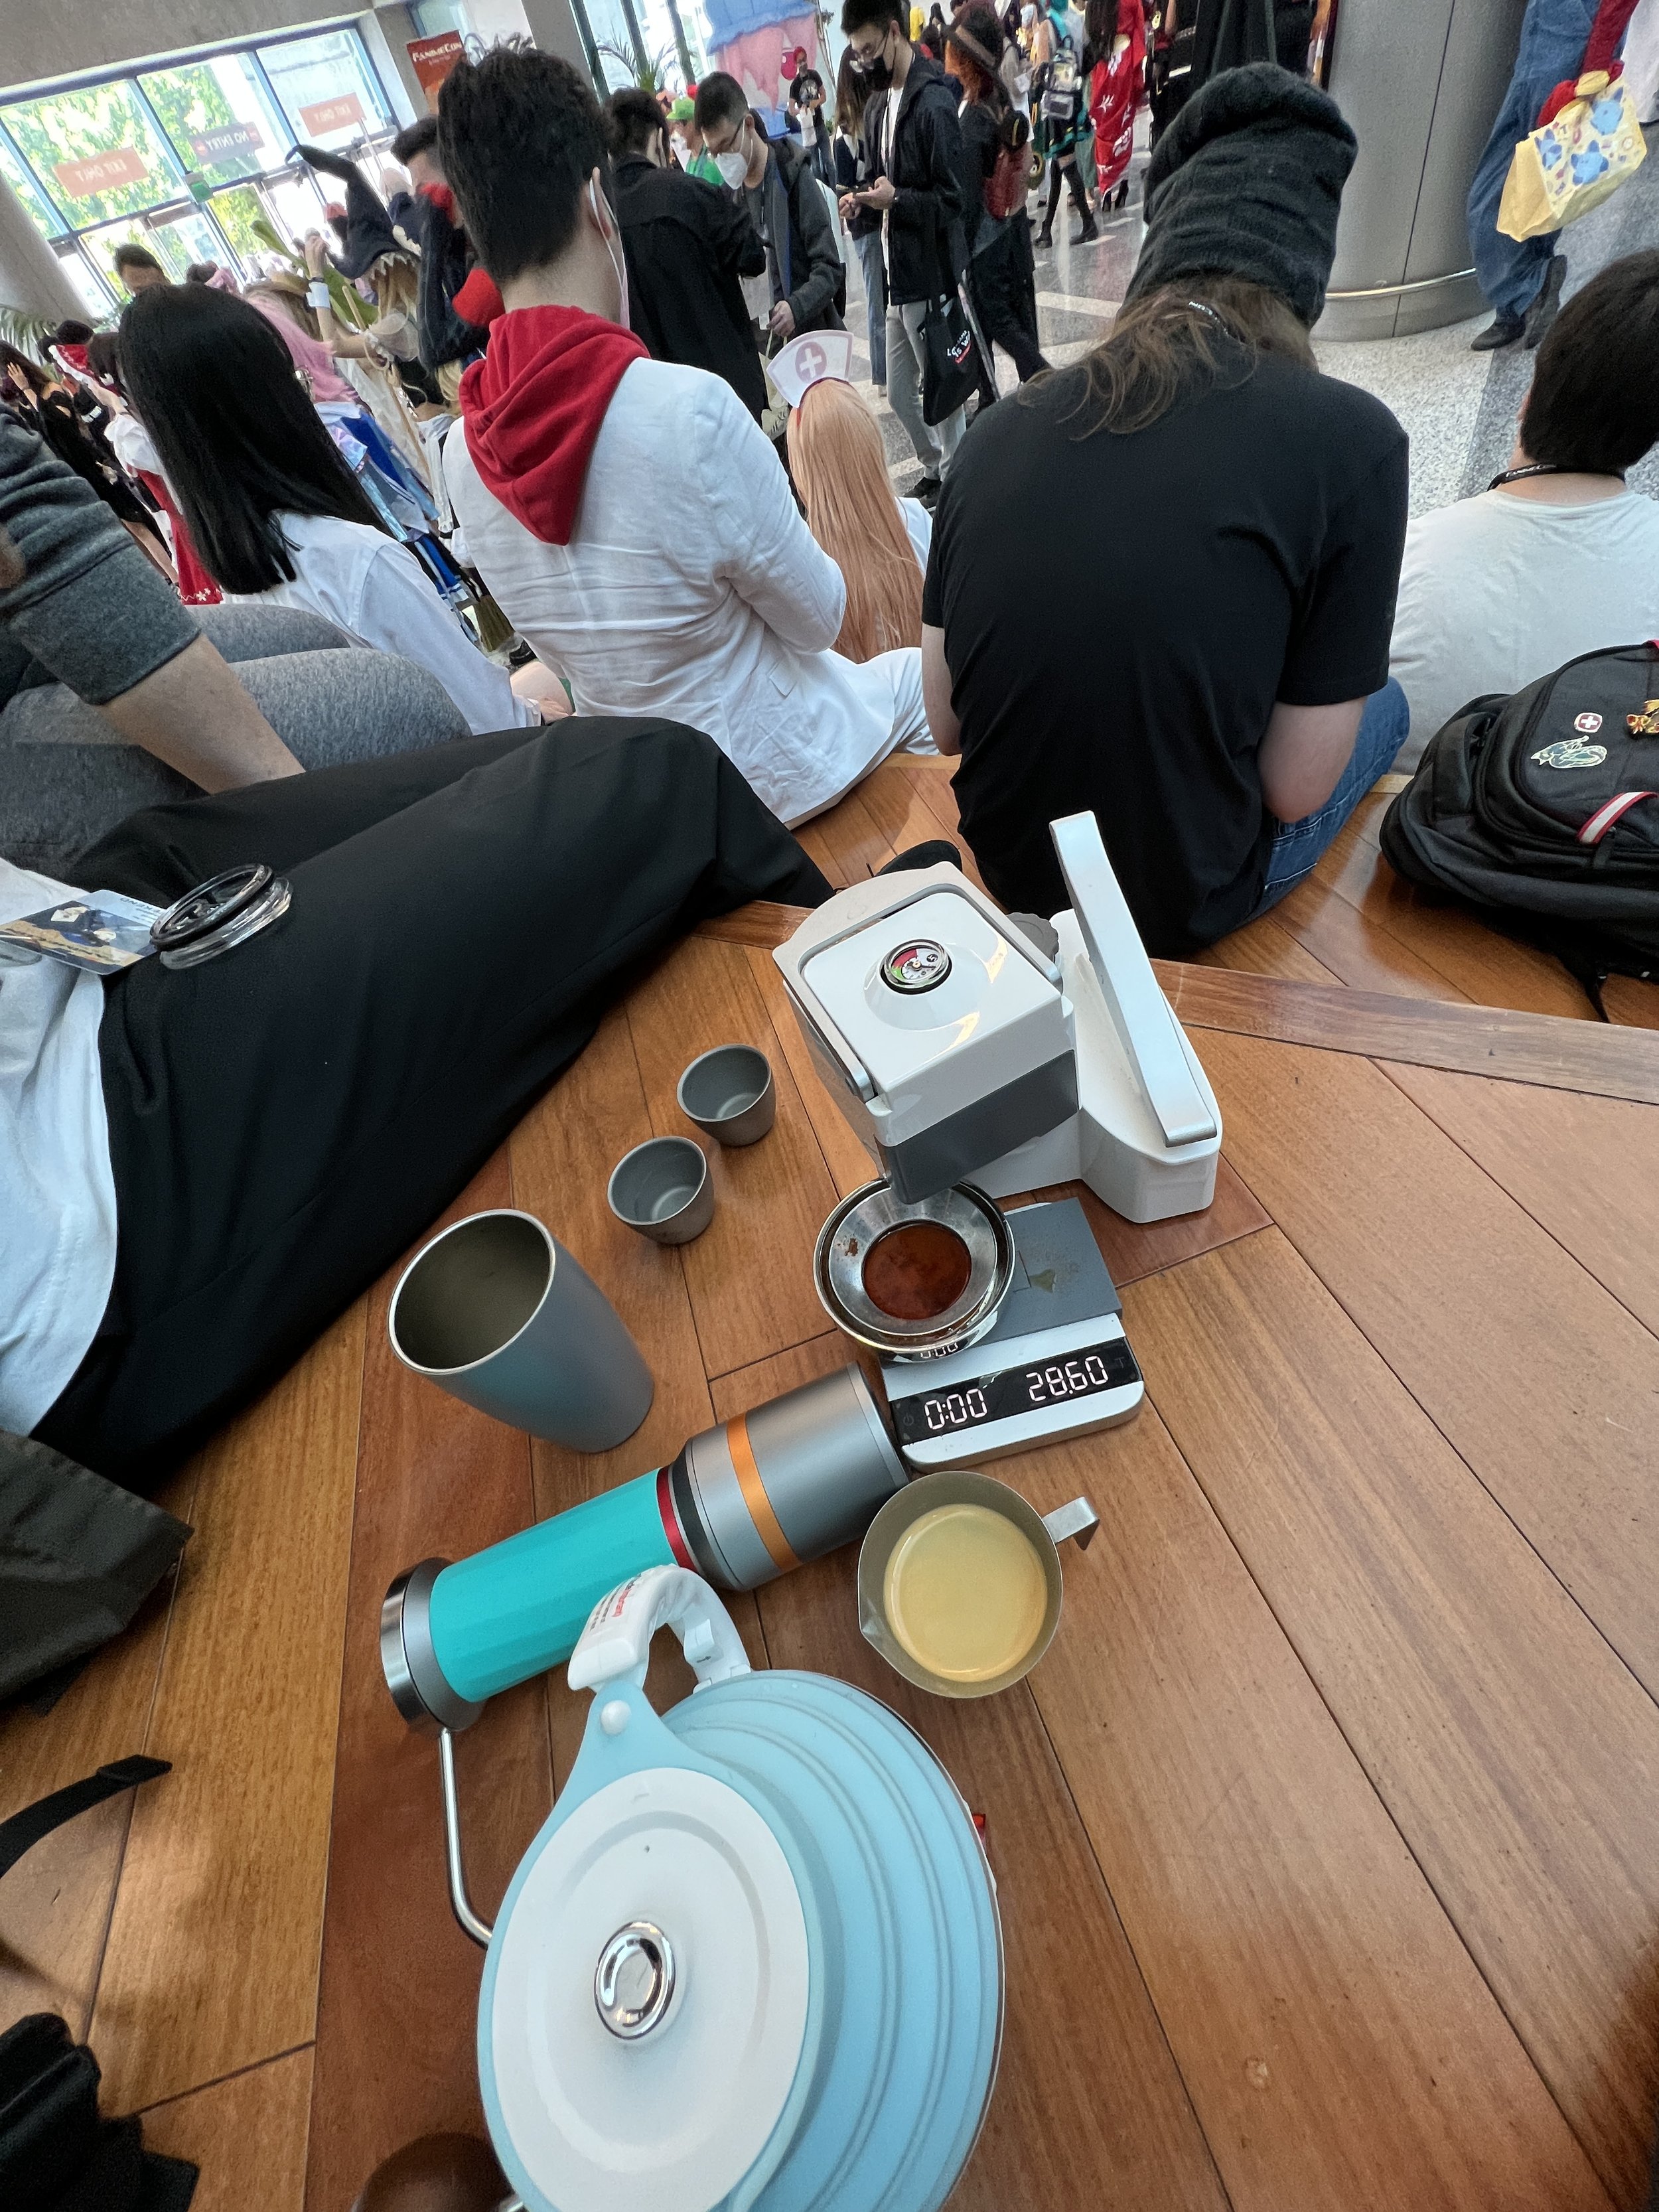
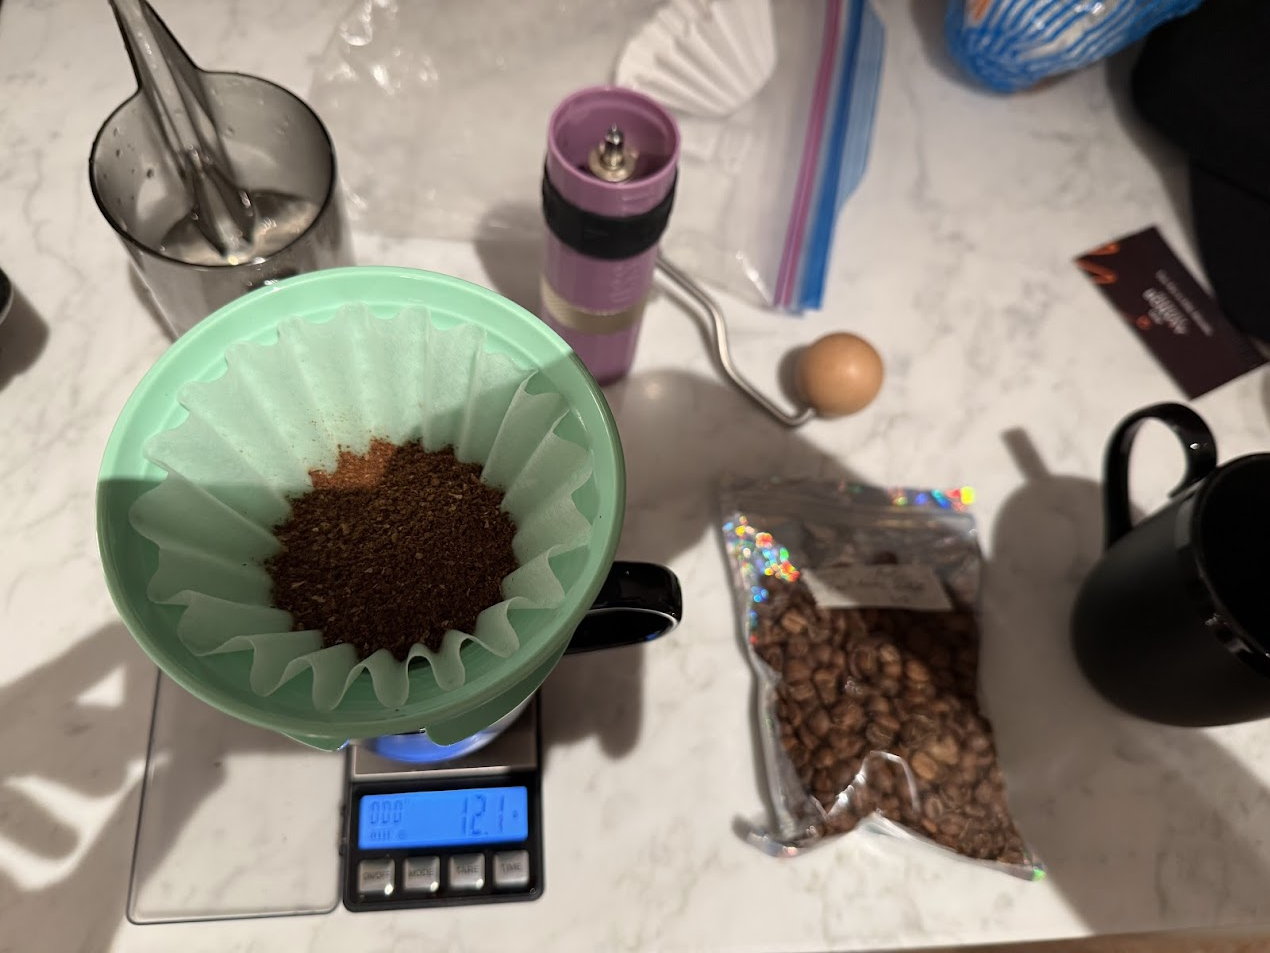
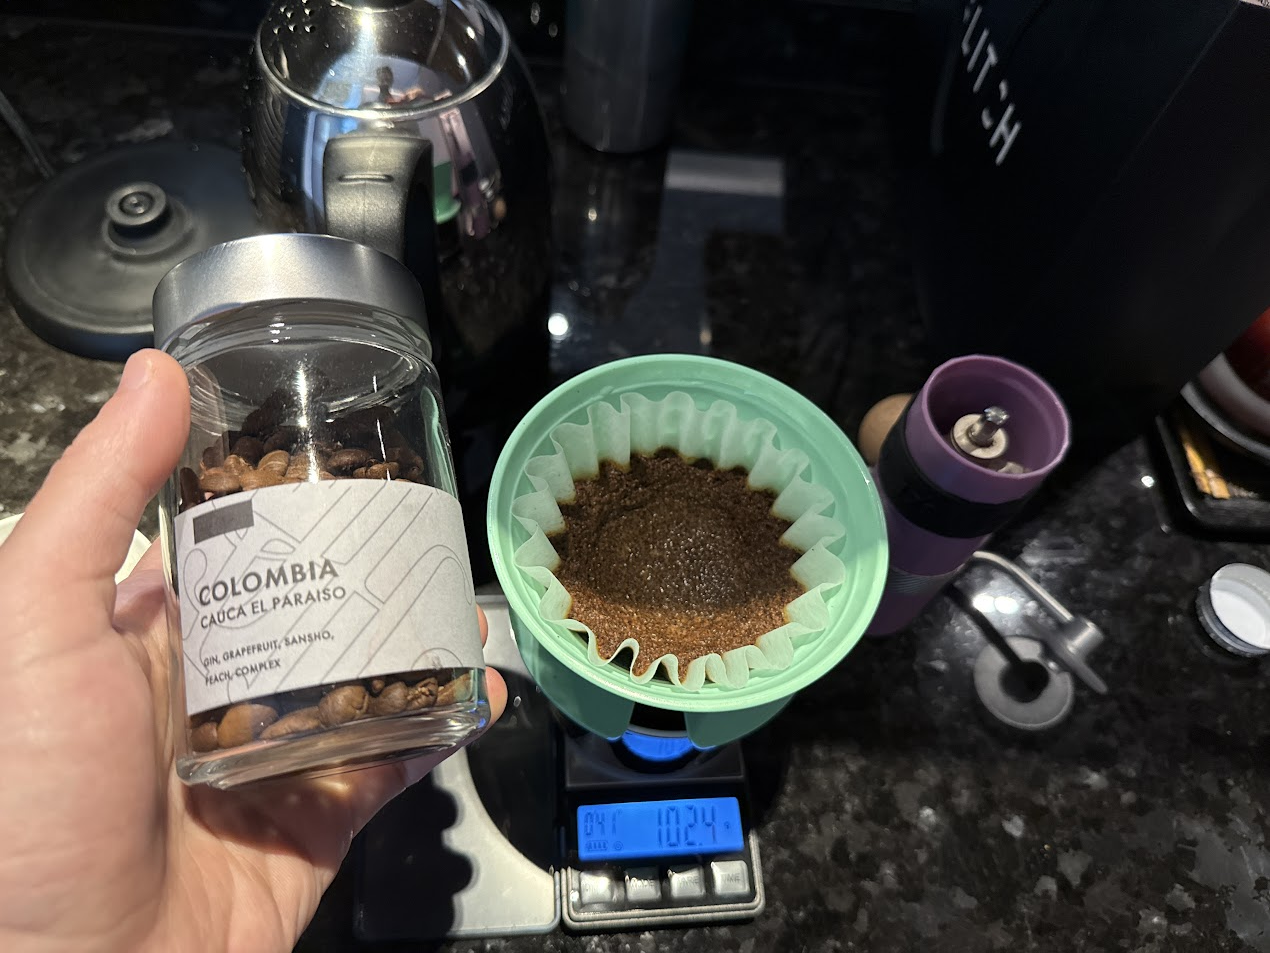
Predosed 30g beans to 500mL water, no scale needed
Beans abroad
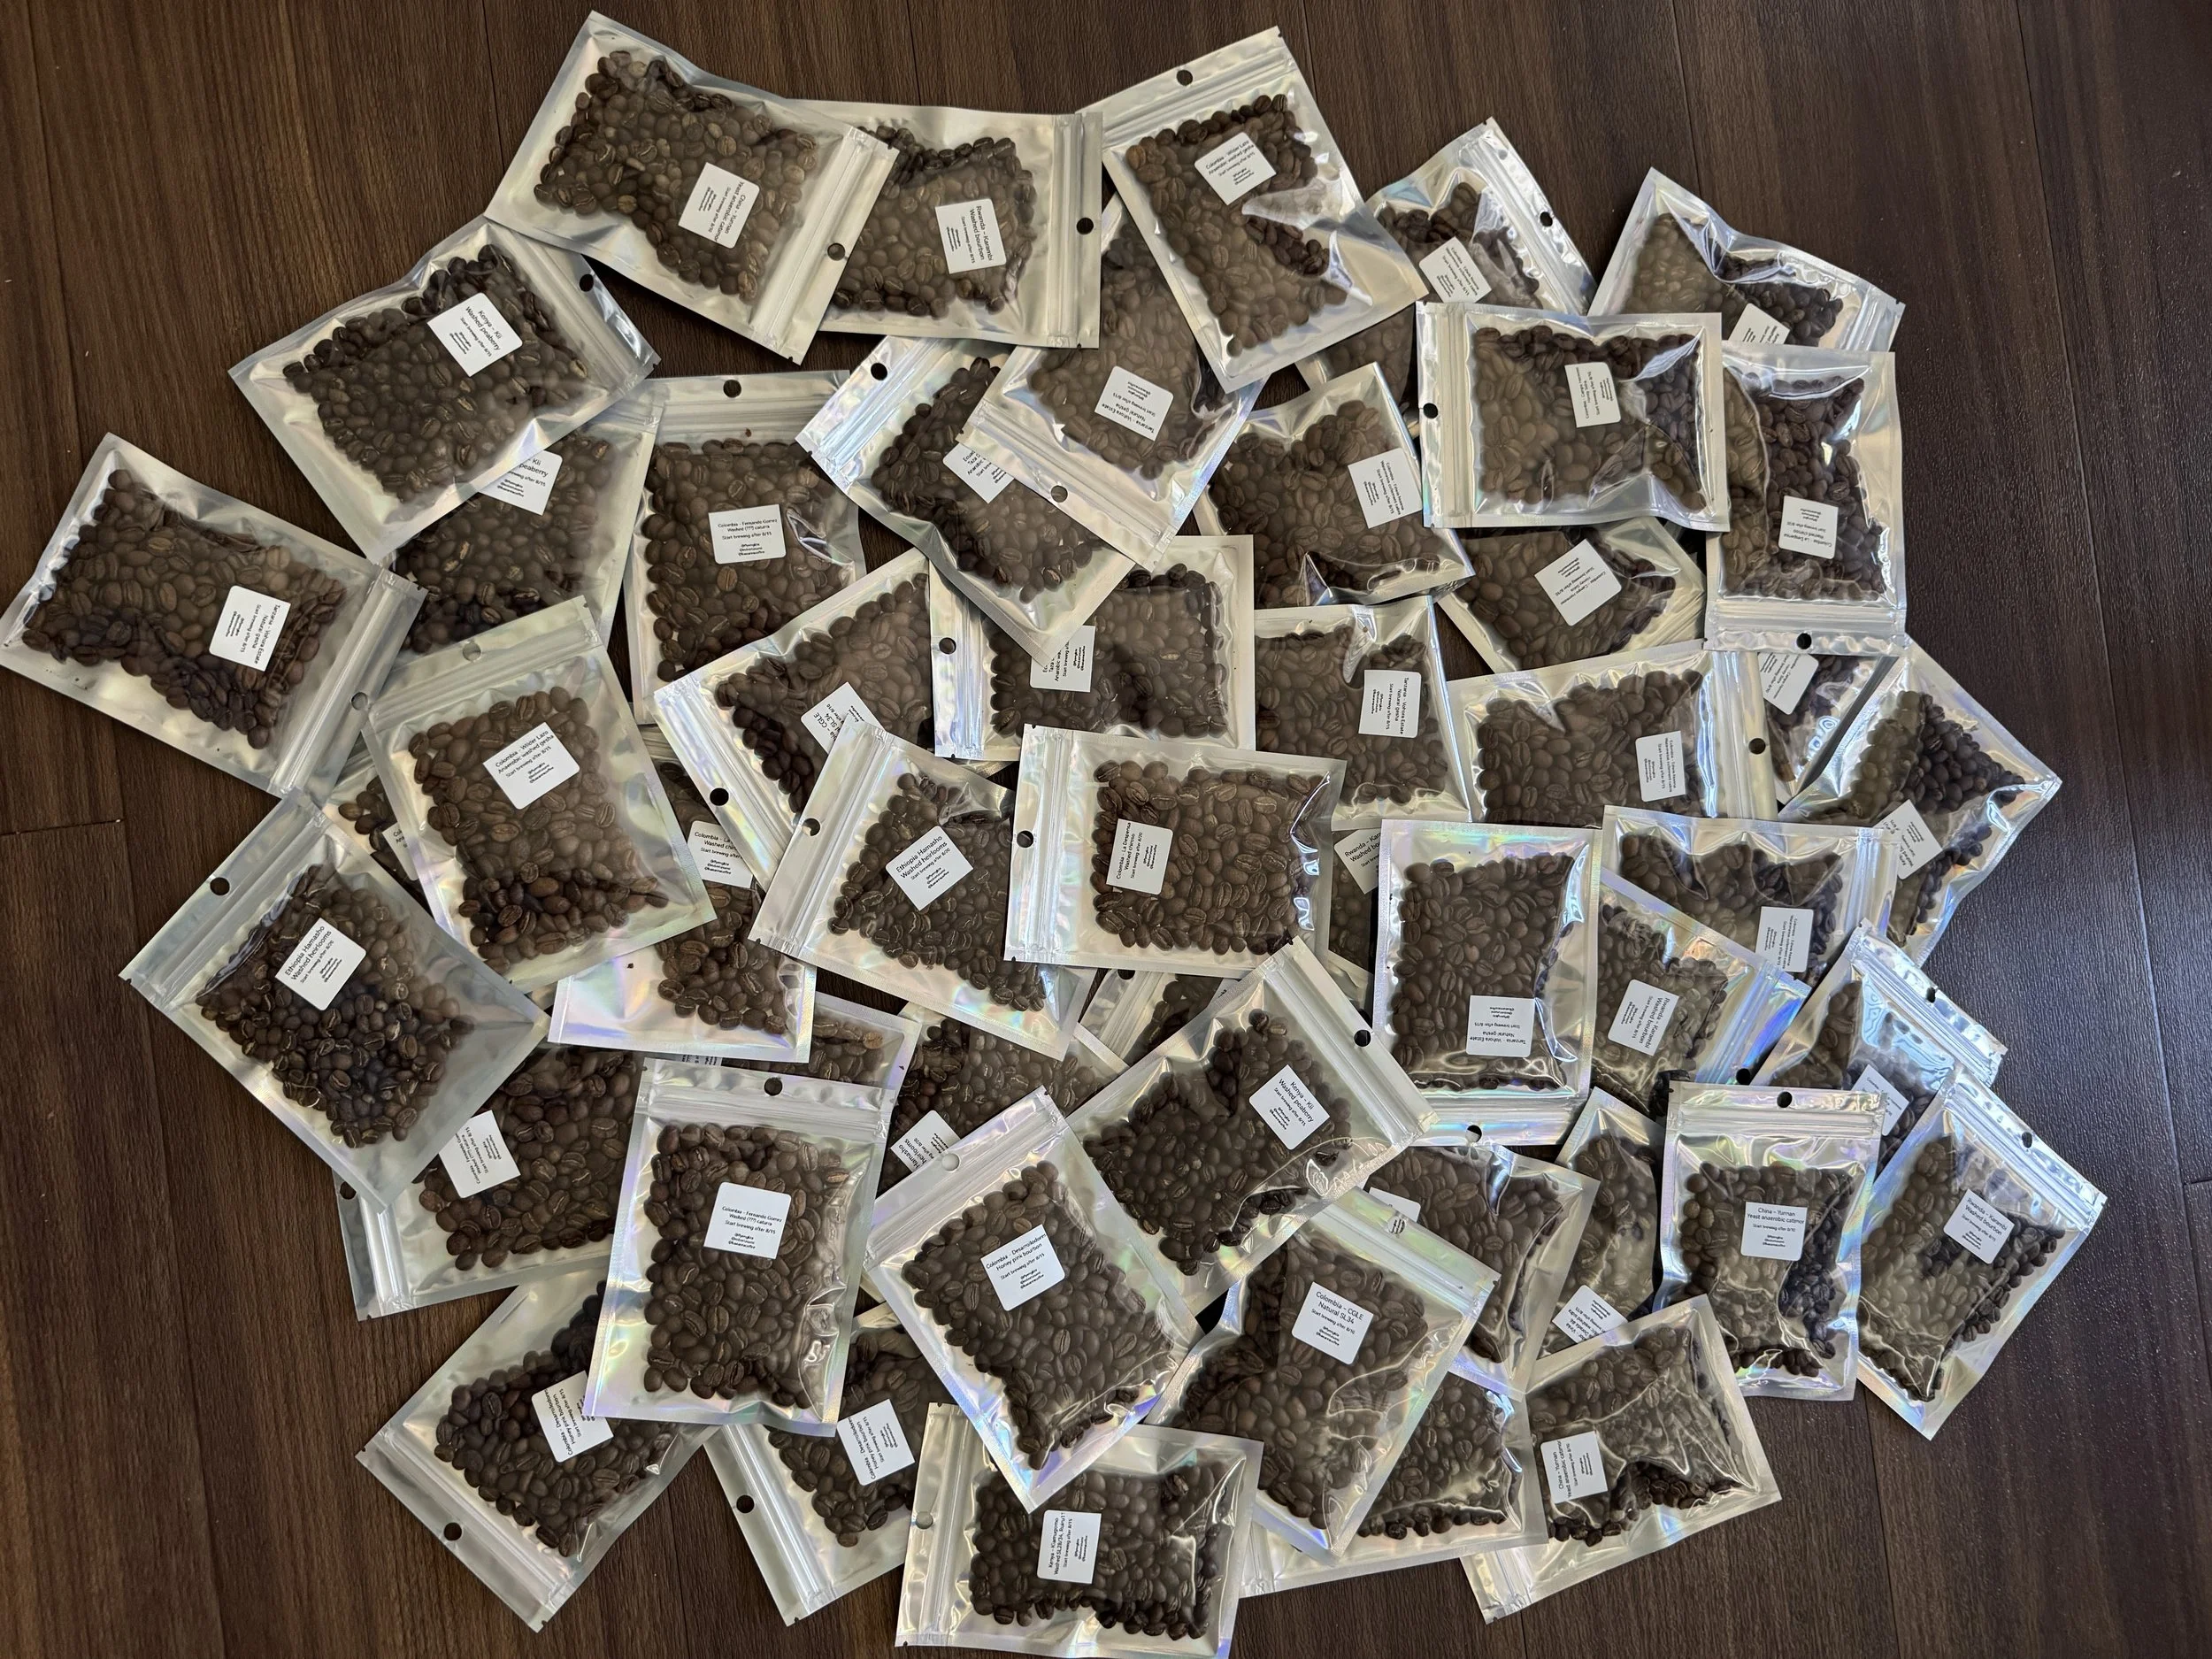
Given we’re aiming for forgiving brews, I tend not to bring ultralight, delicate-noted beans. Sometimes, your available water selection simply won’t cooperate. I’d opt for something punchier, straightforward, and easy to dial in. Beans with more processing like a thermalshock or coferment makes a lot of sense in this context, or a natural Ethiopian to keep something fruity and punchy but with less processing.
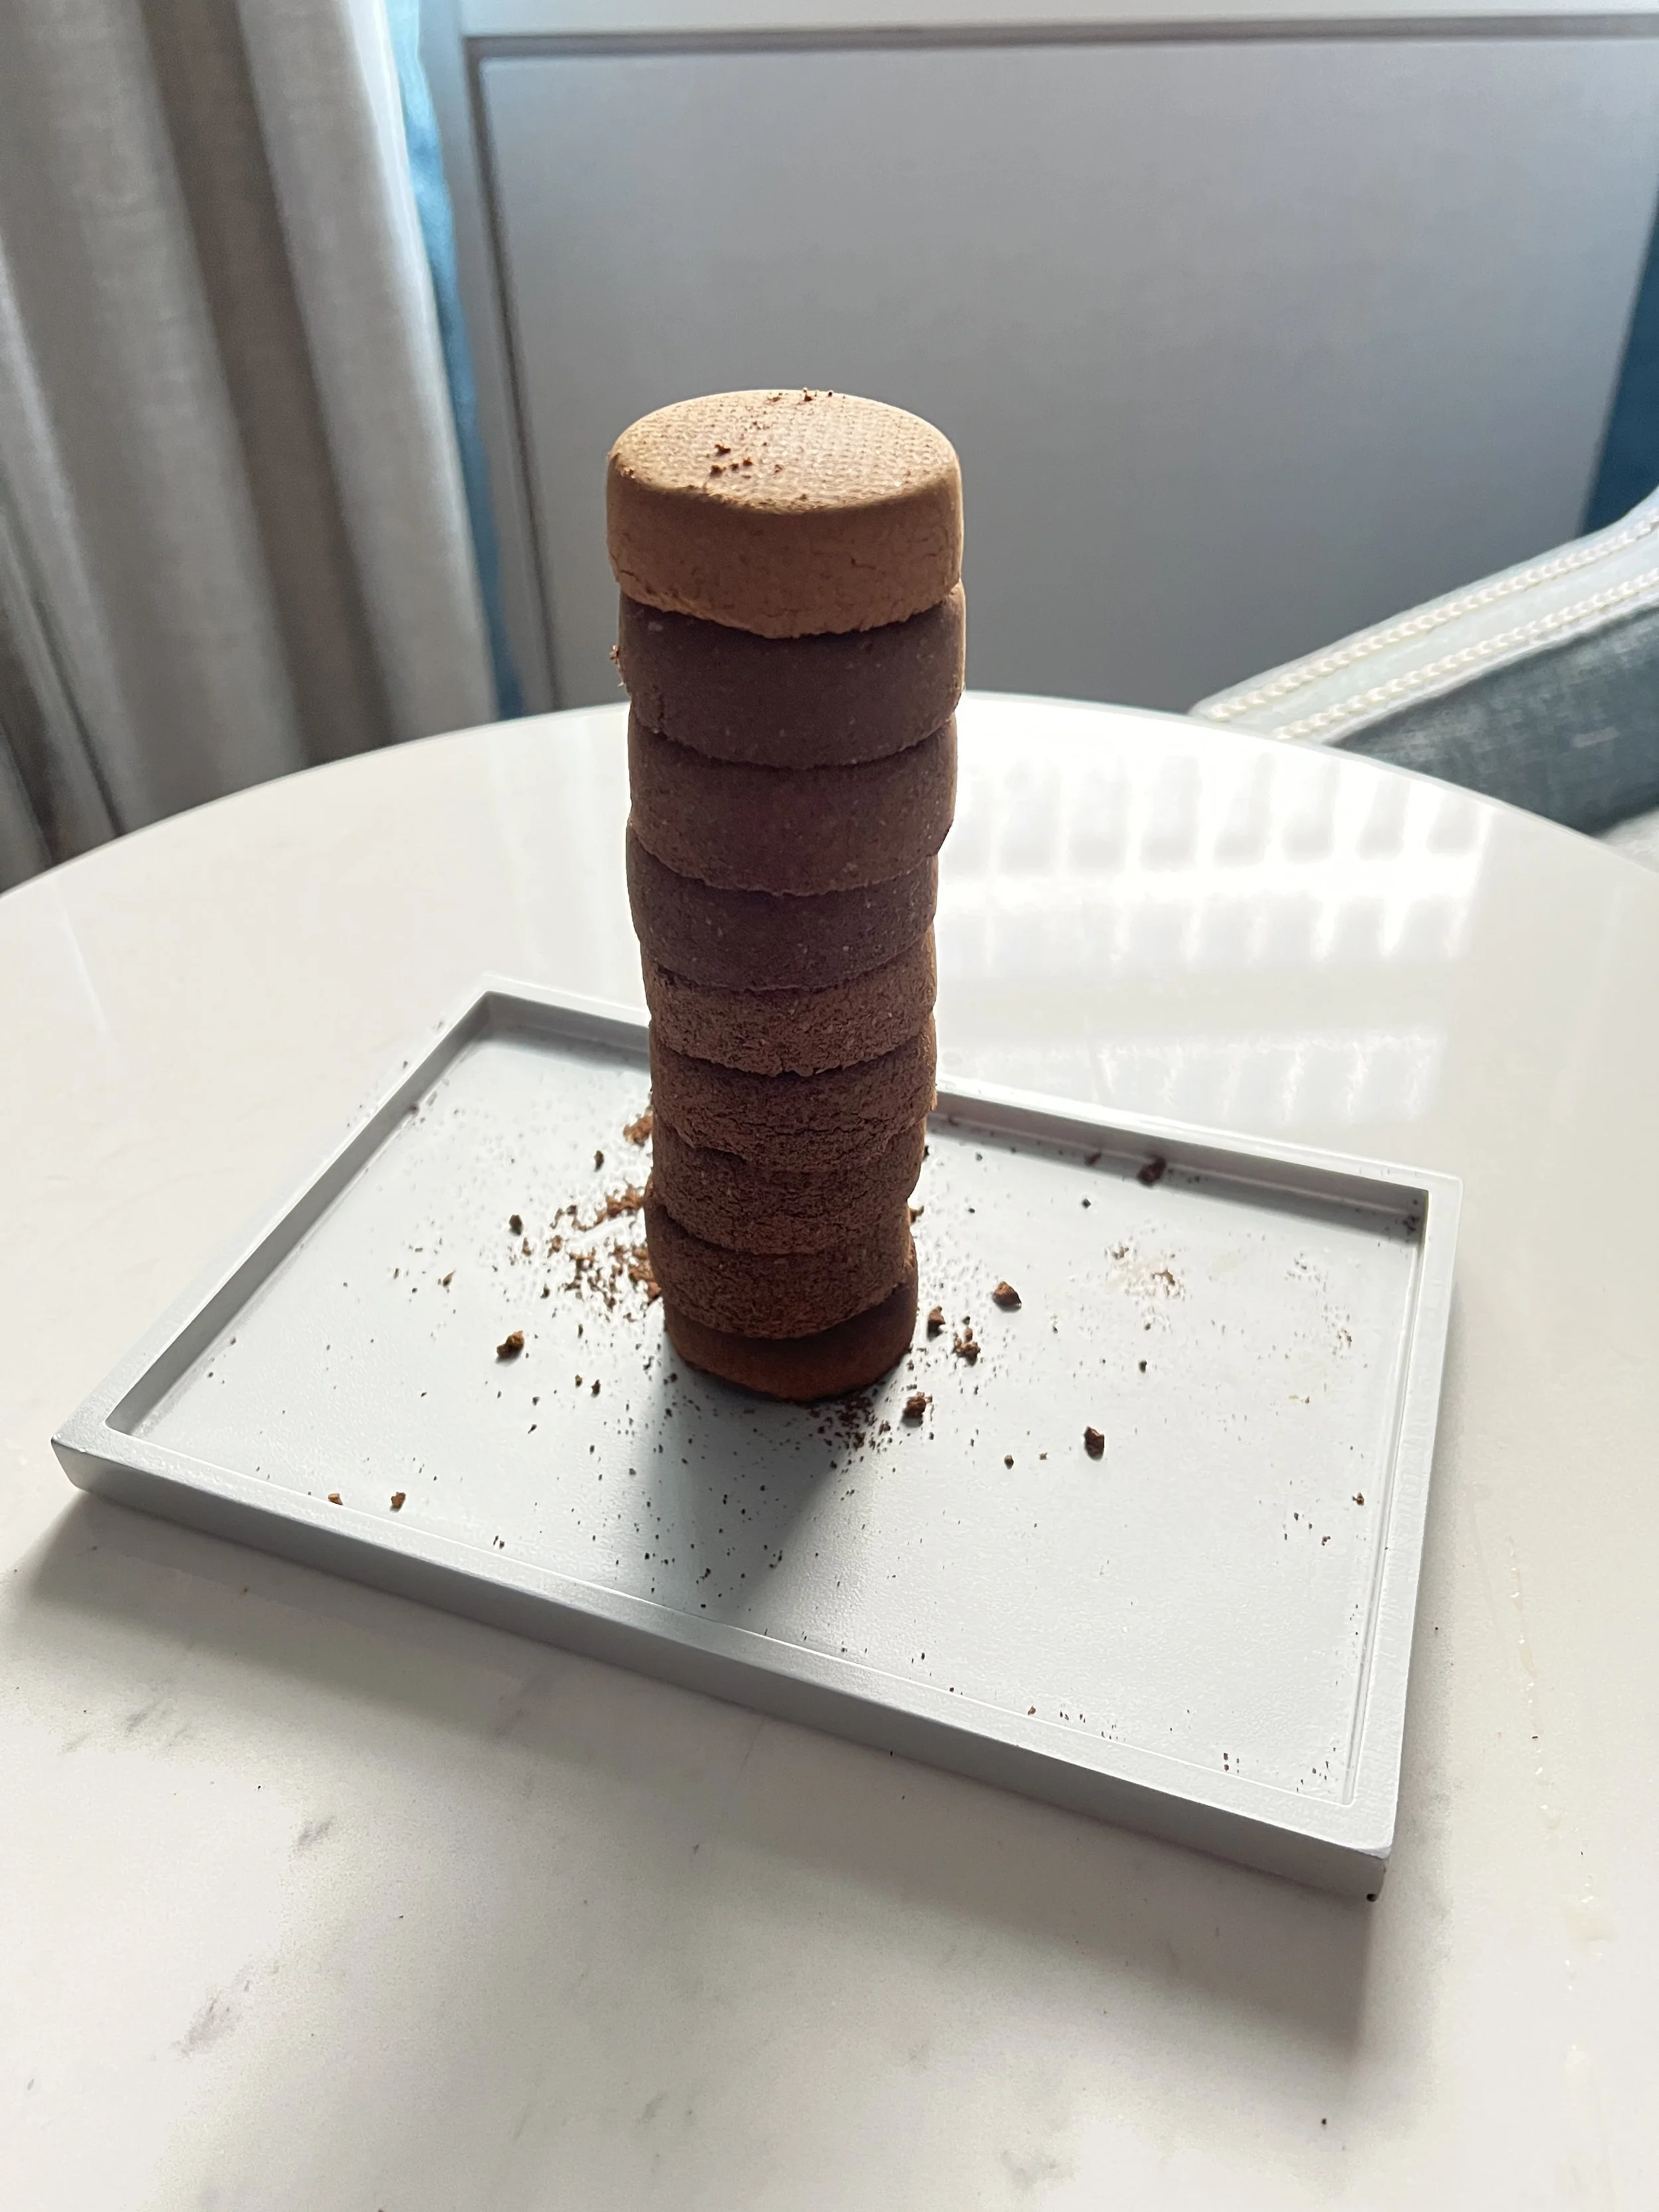
I like to travel with a rough idea of how many beans I’ll need, and pack them up in single doses in the comfort of my own home. 5min of packing single doses in the comforts of home will save me a couple steps in my brews in the hotel room. I don’t recommend test tubes since they take up the same space when full vs. empty. Instead I use mylar bags that pack flat. 3x4” bags hold up to 20g, 4x6” bags hold a little over 60g.
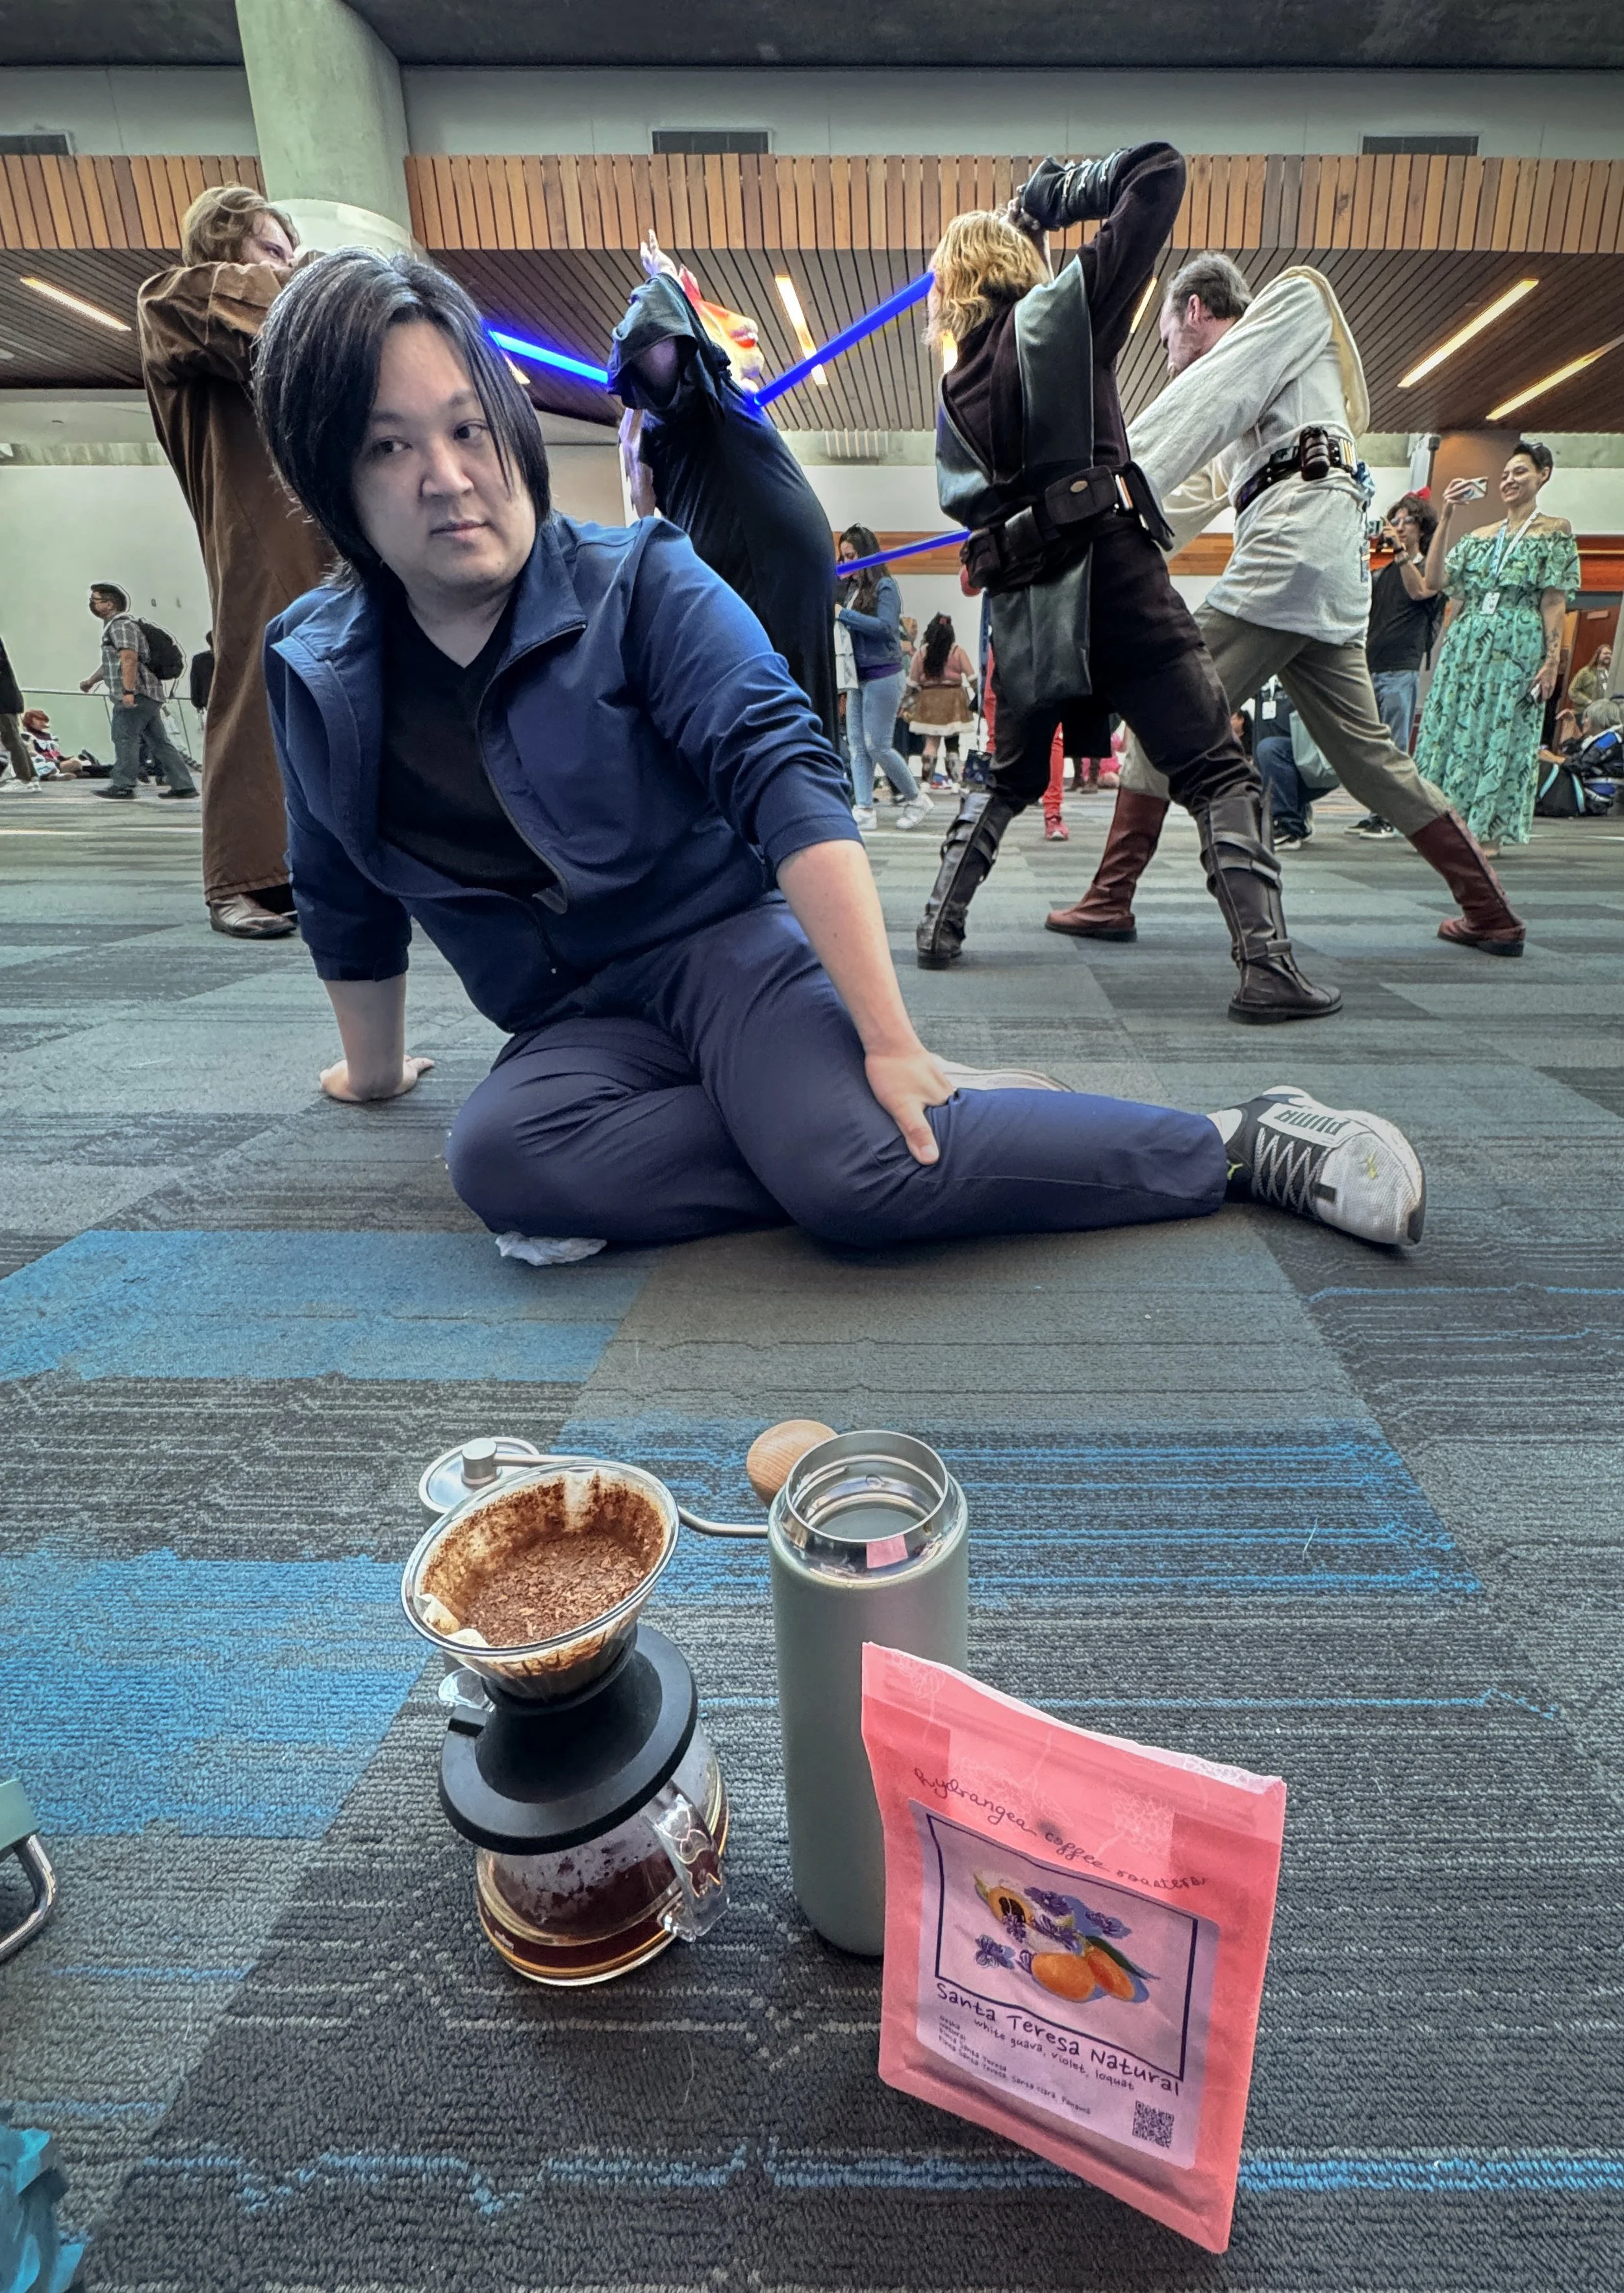
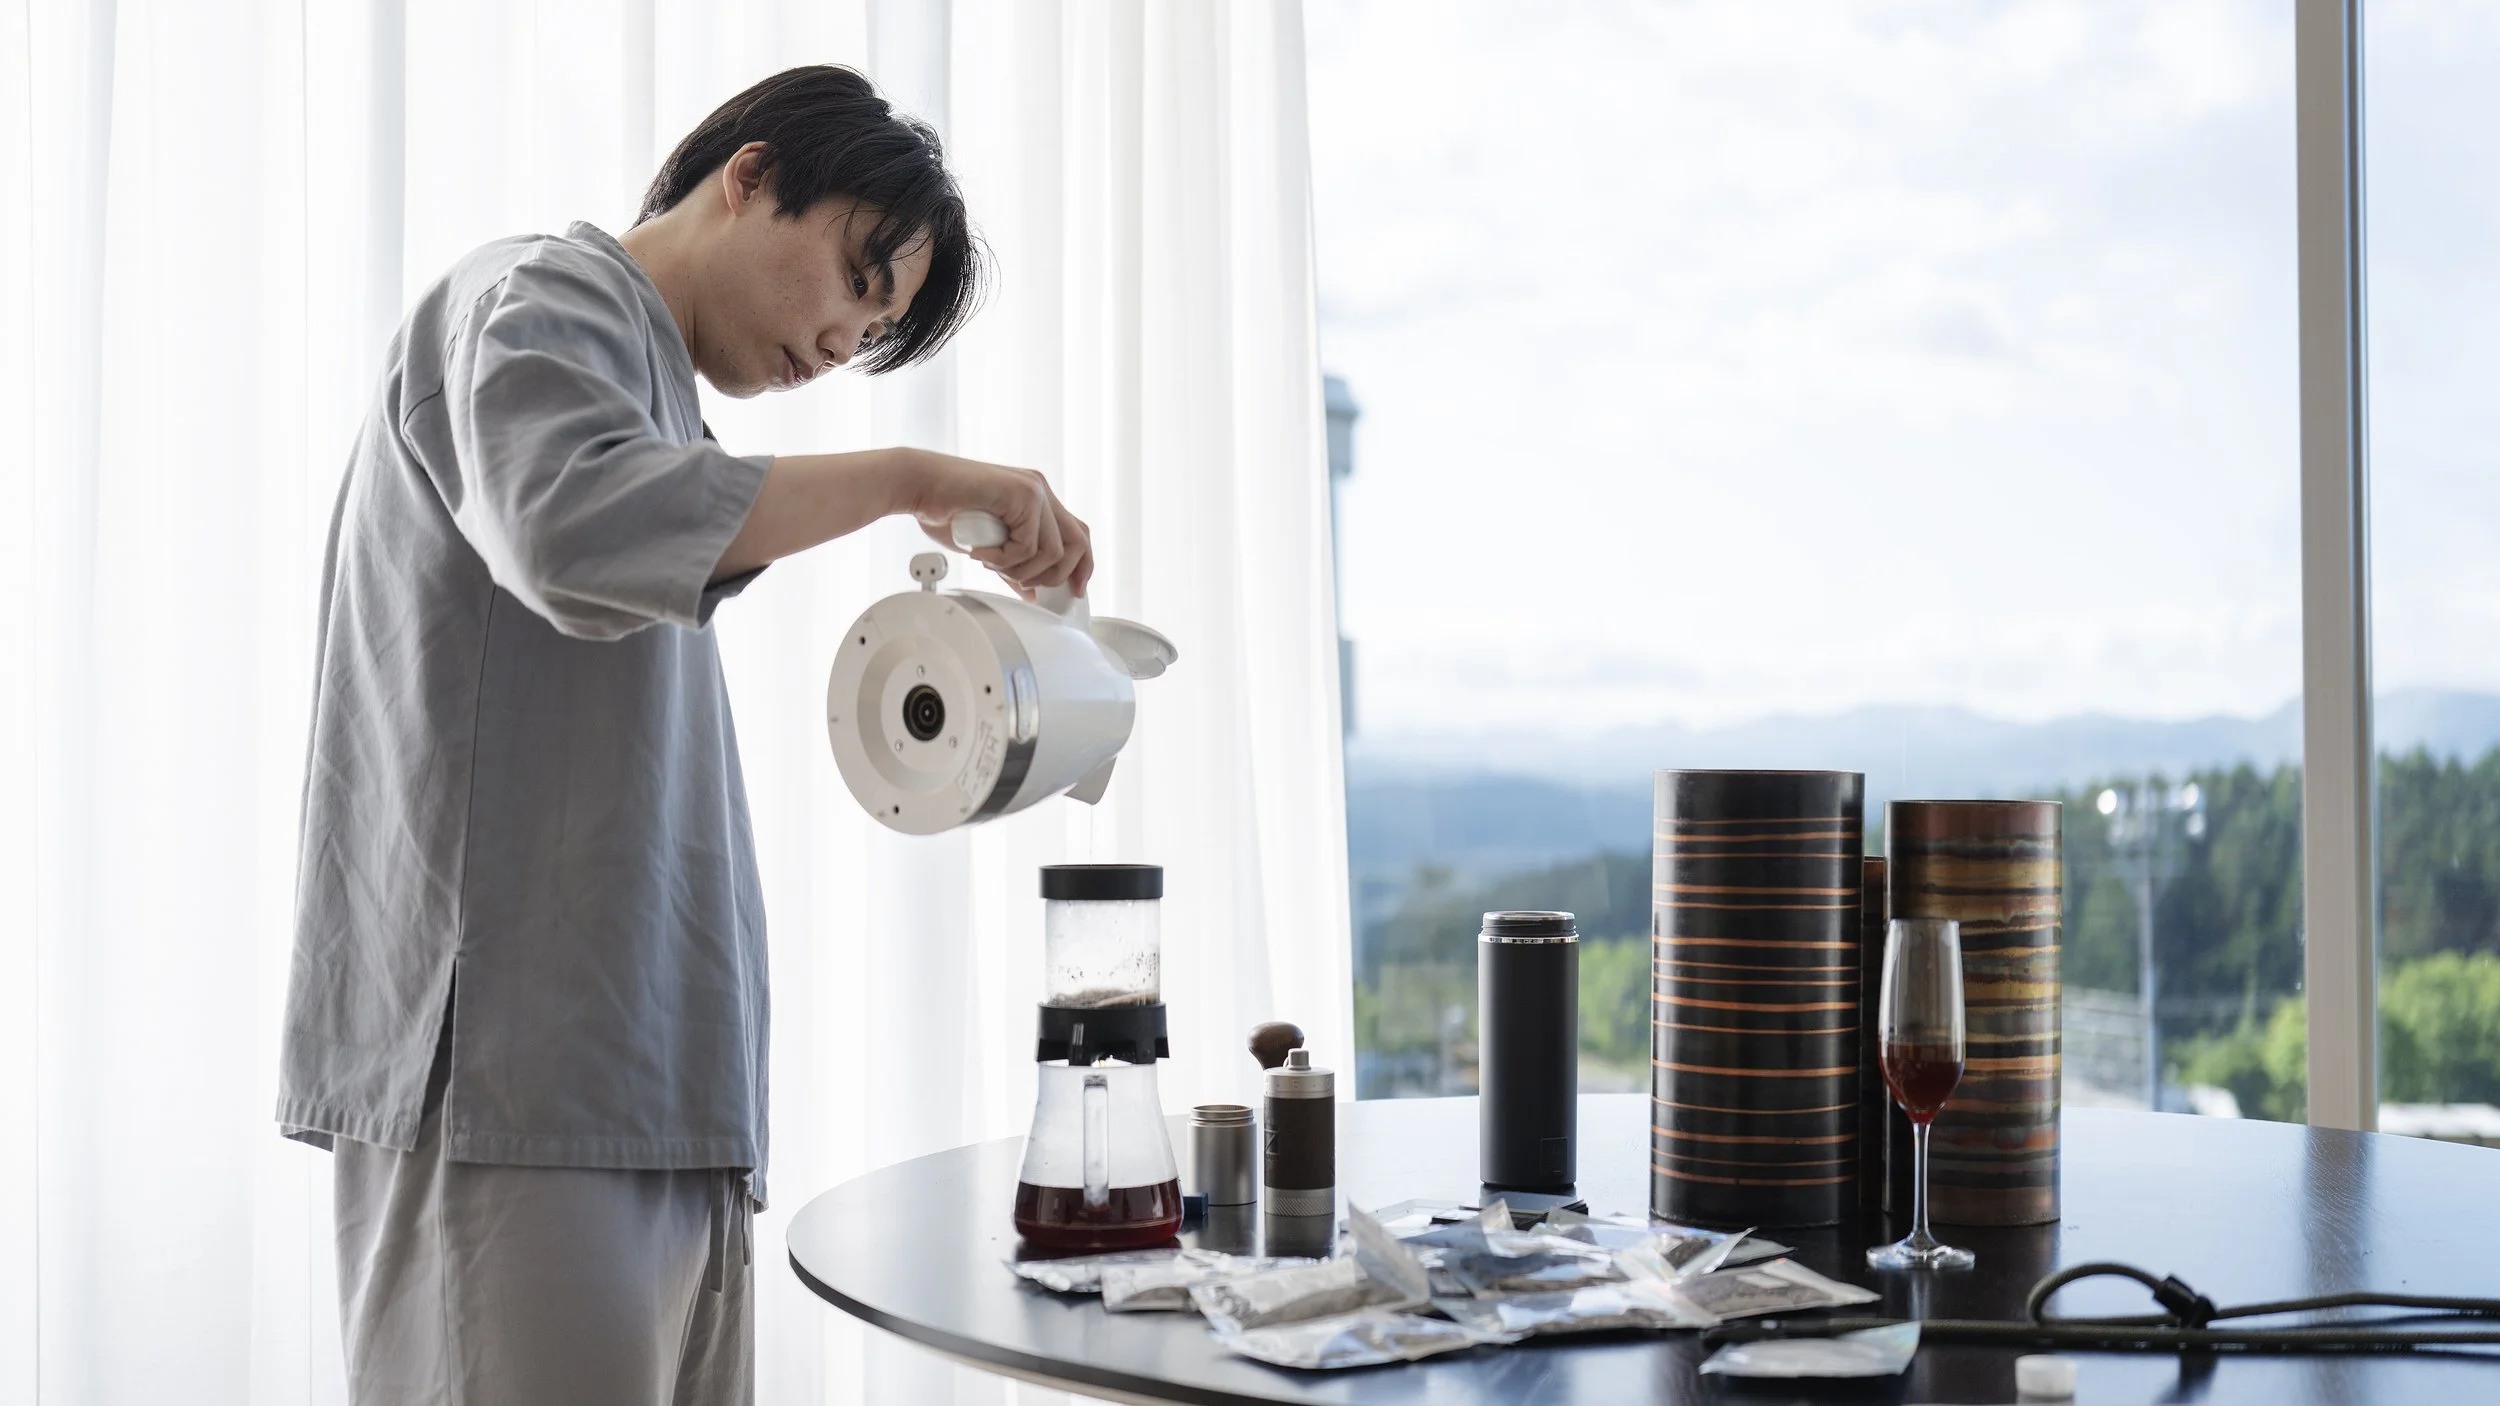
If you can make a tasty cup in front of a lightsaber battle, you can brew anywhere
Go through the motions
The worst thing to do is theorize a protocol + kit and go somewhere without verifying it works first. On your days leading up to the trip, dial in your travel setup and treat those as your daily cups, the worst thing would be to start from 0 on grind settings and finding a recipe that works when you’re already at your destination. Your fellow travelers may not be so enthused that they need to wait every morning until you’ve dialed things in. Throw yourself some curveballs - try brewing with your tap water (filtered depending on where you live), or with some brand of bottled water. If you’re traveling with post-mineral drops to balance out your mineral composition, build a sense of intensity that each drop provides.
Be kind to yourself and practice to ensure you can always get to an 8/10 cup, rather than aiming for 9 or 10/10’s and ending up with a 5-6/10 due to punishing technique/gear/brew approaches.
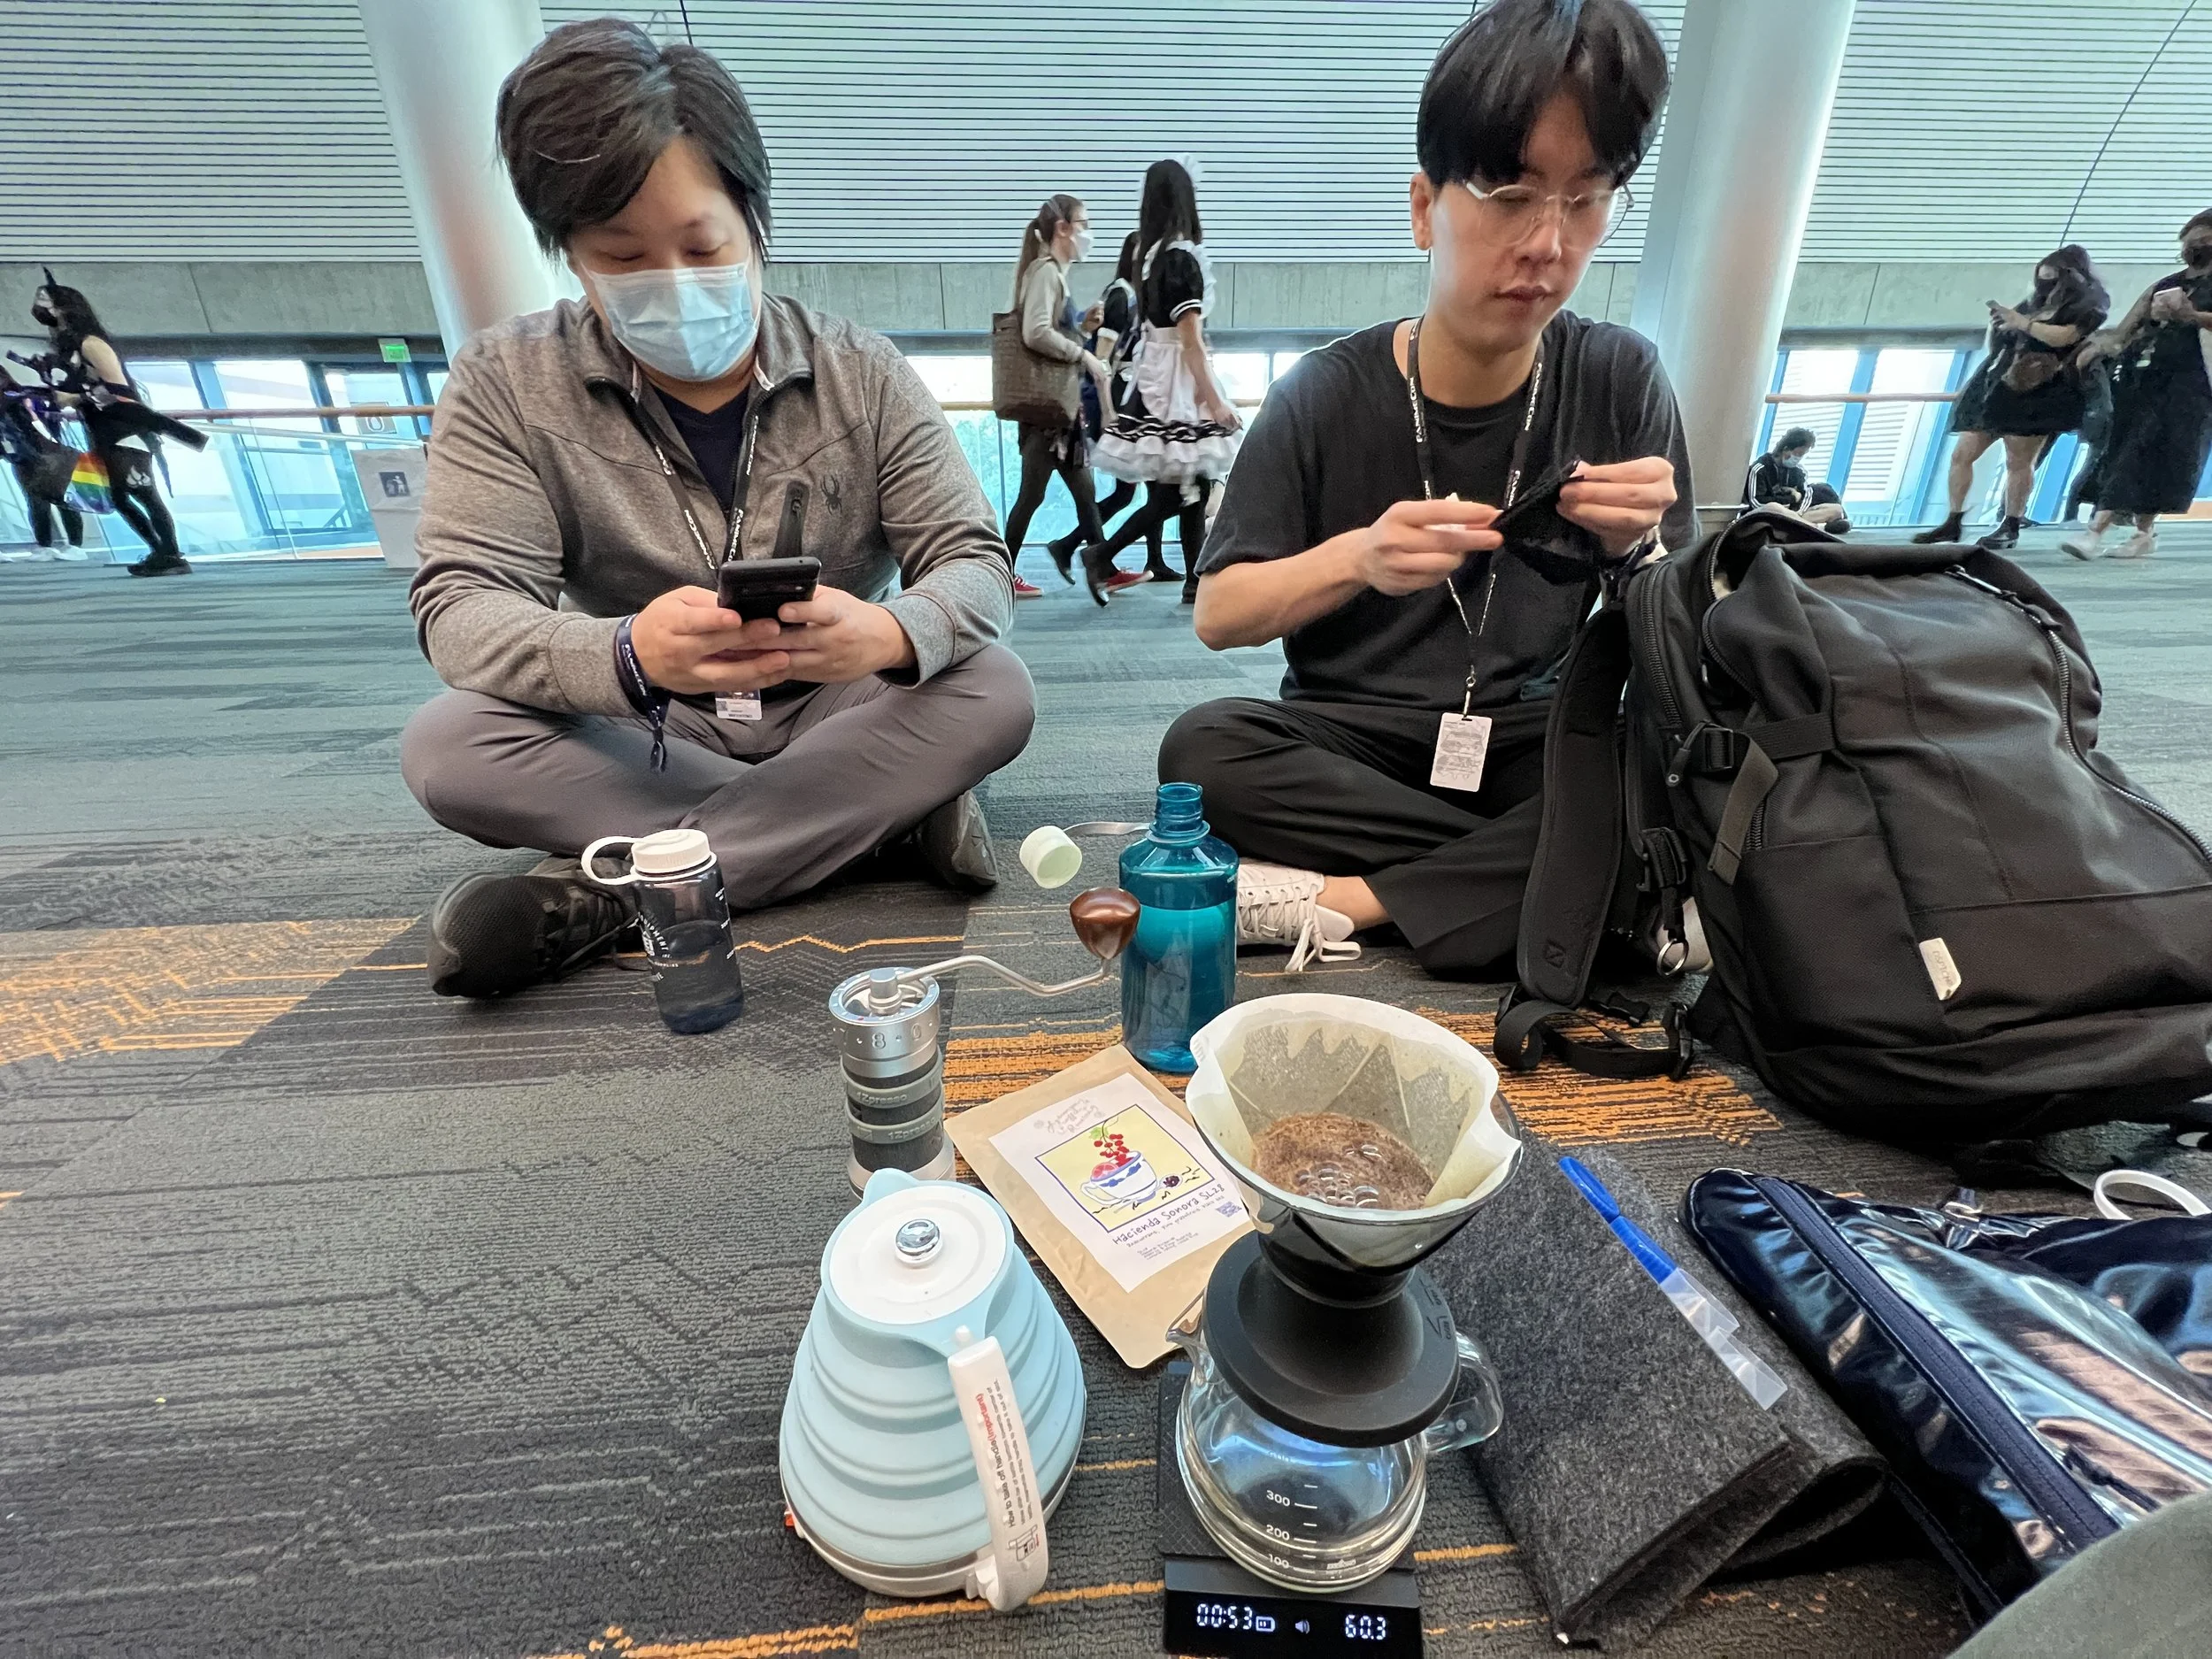
Gallery of beans brewed abroad + travel setup pics:
Add your own travel brew pics to this gallery through this submission link