
Water you doing: An intro to water for coffee

“Wetness is the essence of beauty.”
“The quality of water you use for your coffee is important.”
You nod your head at how obvious and intuitive the above statement is.
And yet, our effort and respect for it doesn’t match the impact it has. We chase the fun stuff, and water is boring.
In your coffee journey, you’ve likely wondered, "Why does the same coffee brewed at the cafe taste so different when I buy the beans and brew it at home?”
The expensive commercial equipment is one thing, but it’s probably the water.
Your brews are better with a $200 grinder & taking control of your water than with a $2000 grinder with questionable water.
I’ll bet you… the cost of minerals it takes to make the right water (a legitimate, standing offer).
Coffee nerd up-leveling often looks like this:
Get better beans and grinder, hope things get better
Incorporate a new workflow step, learn more recipes, hope things get better
Buy more toys (dripper, tool, accessory), hope things get better
Repeat
At some point a product for water might sneak in as a bored, fun purchase, and then an “oh wow” moment - water is a game changer.
In order of making it to market - Third Wave Water, Aquacode, Lotus Drops, Apax Labs, Empirical.
It’s as big or even bigger than the a-ha moment when you try your first “high-clarity” grinder.
But water is just… so un-sexy.
This post hopes to disrupt that pattern and bring water dialing earlier into your coffee nerd journey. And we’ll do it without reliving chemistry class.

This time-period relevant image summarizes the overarching point.
New York’s magical tap water is credited for their delicious pizzas and pretzels. The river water in Scotland makes their eponymous Scotch whisky - why though?
The magic in a certain water source is not in the pH, it’s not the TDS or just the water being hard/soft, and it’s not using a Brita filter - it’s the breakdowns of various minerals in the water supply.
Some concentration of one mineral, let’s say calcium, and some concentration of another mineral, let’s say magnesium, adds up to make water of a certain composition of mineral ratios. That breakdown may or may not be suitable for specific applications like making bread, brewing beer, and especially brewing coffee.
Bringing it back to coffee, here’s a curveball -
The “perfect’ water for pourover tastes bad for espresso. And vice versa.
The “right” water, of course is preference-based, but there’s no single water that suits all coffees or brew methods, which is why we’re here:
Your coffee is sub-optimal until you take control of your water.

Nuances in grinders, drippers, and filters get all the attention, but we take this part for granted. Thanks Alex
Some mental justifications for why we may not want to deal with water:
Laziness: Coffee is complex enough. I want to think about coffee. Water sounds like an extra annoyance.
Financial: My water source is bad and it’s expensive to change filters often.
Technical: It’s just coffee. I don’t want to get a degree in chemistry.
Existing solutions: I already have a filter system, so I’m good.
Privileged water source: My tap water where I live is already soft.
And that’s what we’re here to challenge - it’s not good enough.
The money you spend on expensive beans and equipment. The time and effort spent dialing in new recipes. All of these will be limited by the composition of minerals in your water.
I’m guilty of this myself. In my first year of coffee as a hobby, I ordered the importance of variables like this (descending):
Beans (big effect) > grinder (big) > recipe (big)> brewing gear (drippers, espresso machine) (medium), water (small)
and I’d now suggest it as:
Beans (big effect) > water (big) > grinder (medium) > recipe (small) > brewing gear (small)
Put another way, you could’ve spent less money to get really far if you invest effort in water and beans early on.
Step 1: Predictable water
If your gear remains the same but your coffee tastes different from time to time, you might blame your roaster, try a new recipe, or buy some new gear. But a huge effect lies in your tap water that fluctuates throughout the seasons, even if filtered via fridge/sink filter or Brita. You could download your municipal water report, but it’s likely a headache to comprehend.
To take control of your brew water, it’s easier to start from a consistent, predictable baseline water, then re-add minerals to a given recipe.
At a Bae Area Coffee meetup
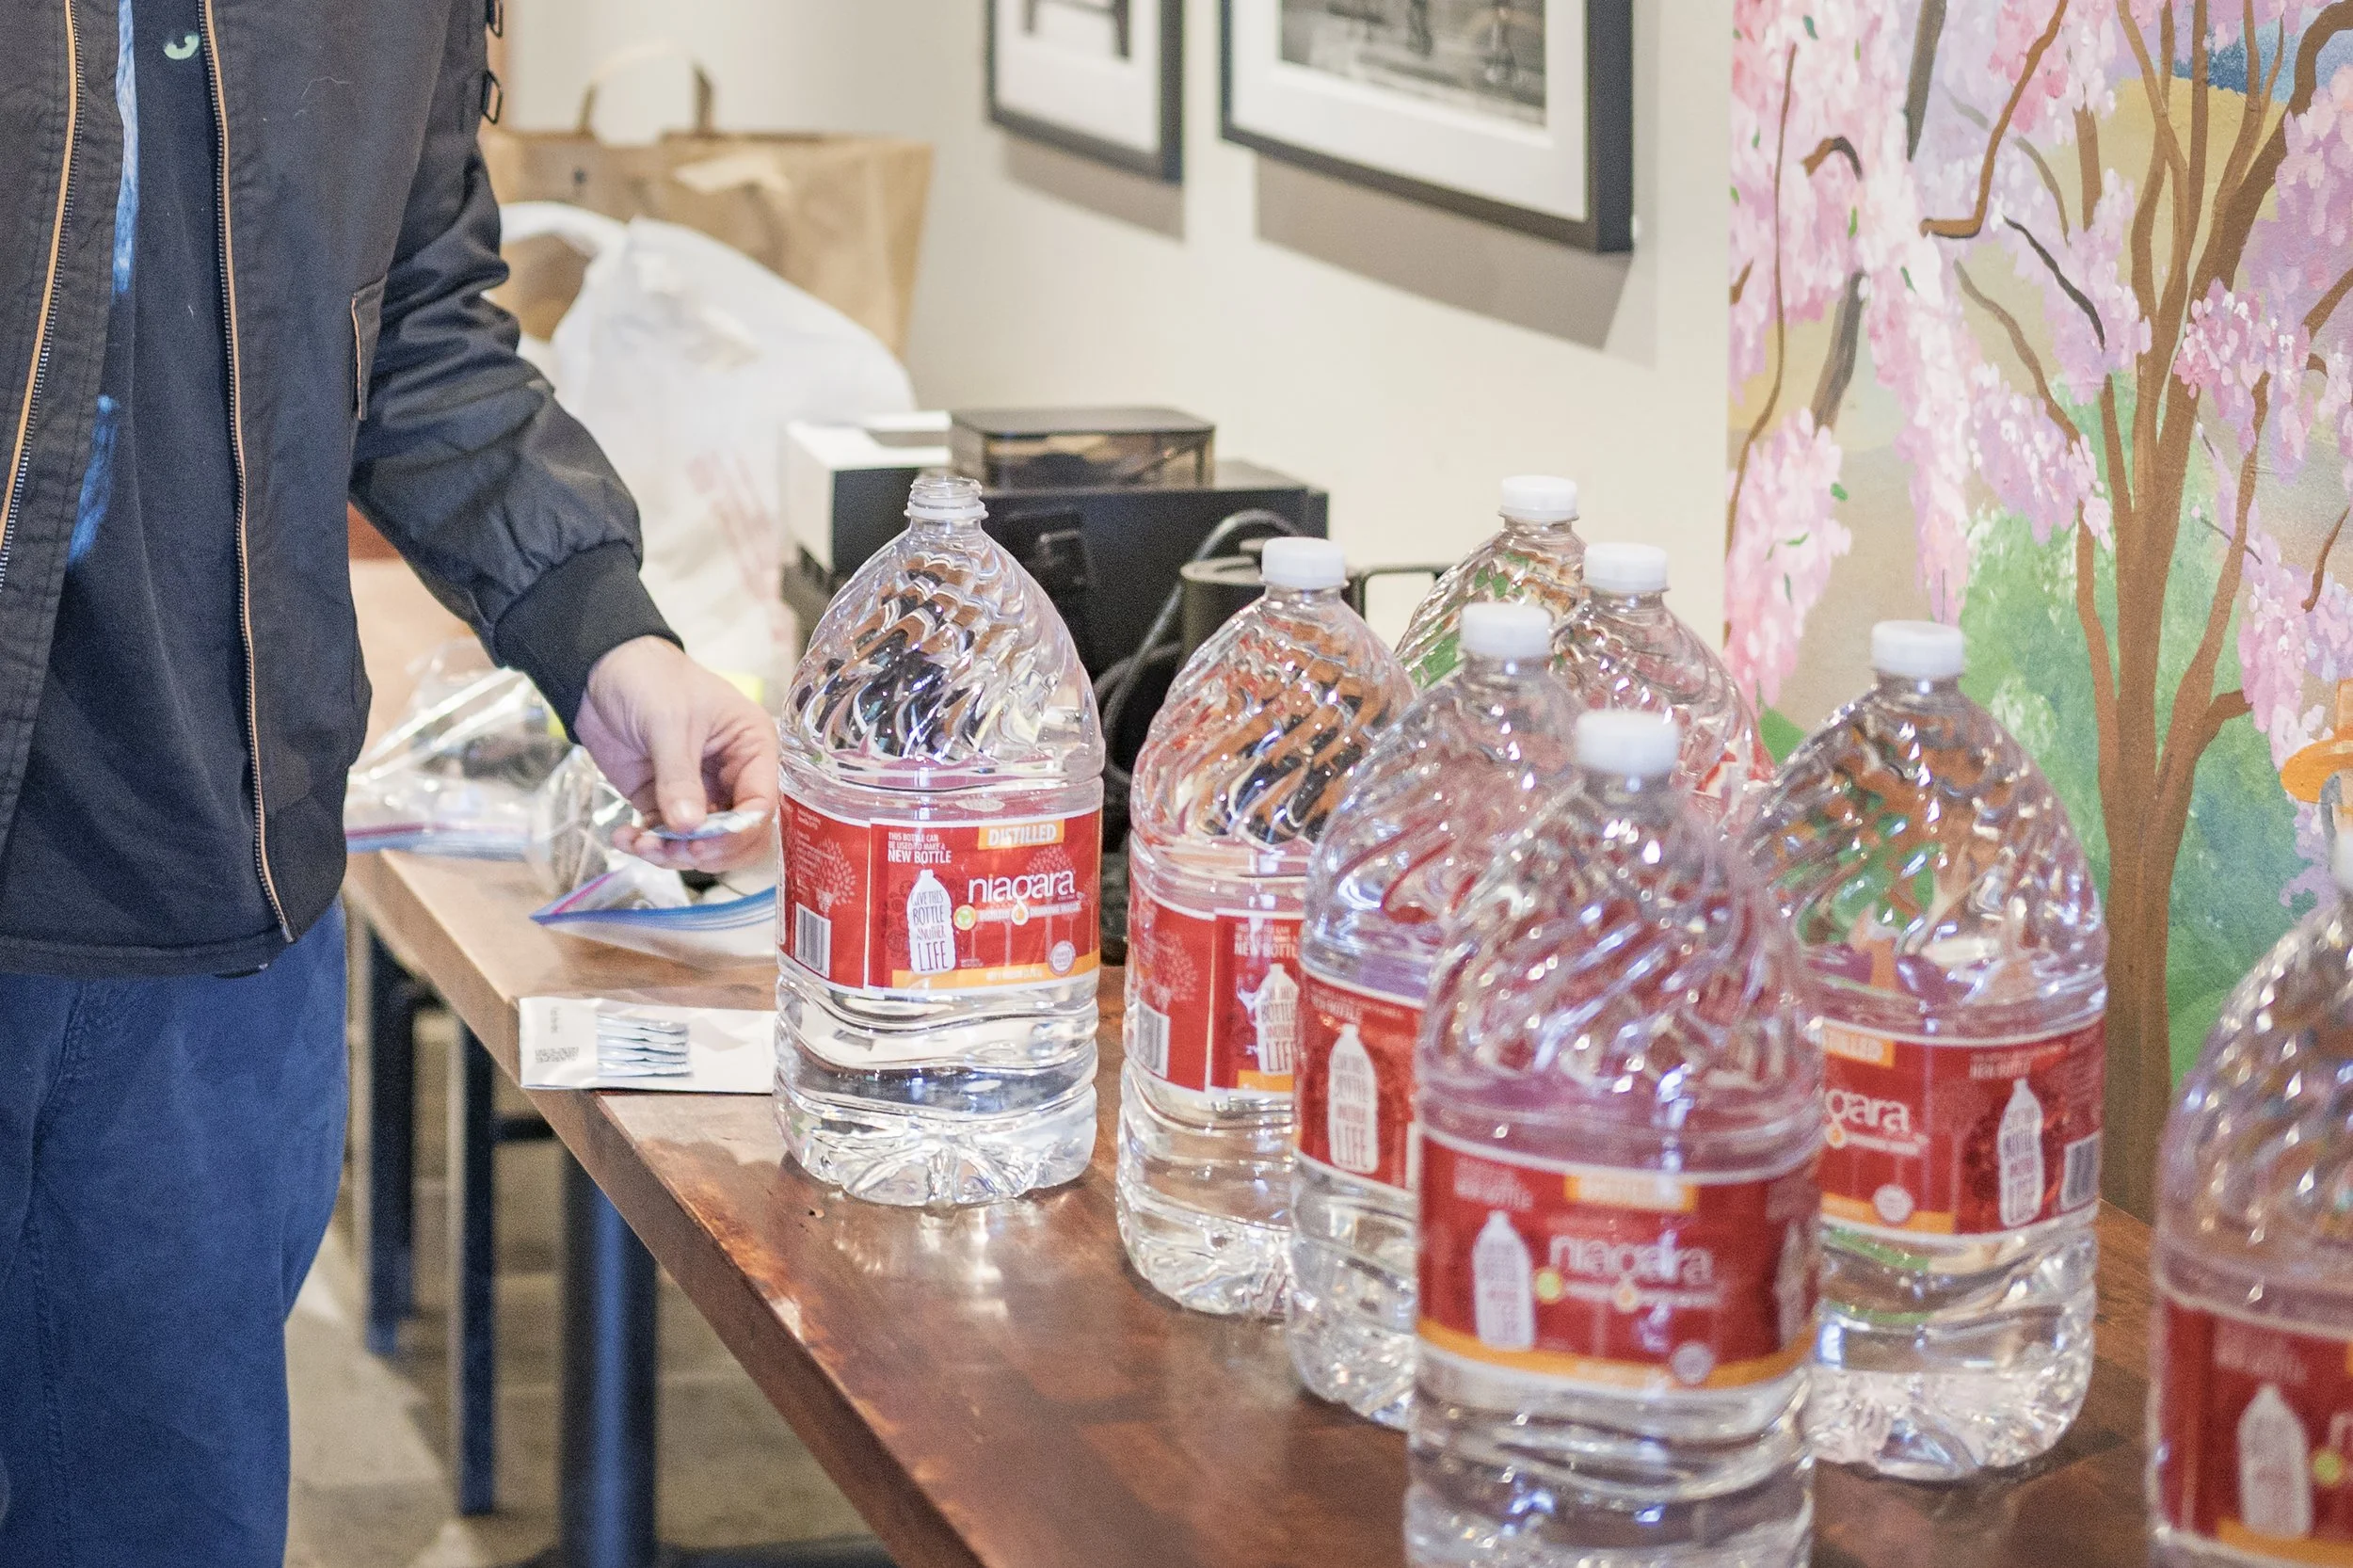
Option 1: Jugs of distilled water
Distilled water contains no minerals, the perfect starting point. Expect to pay $1-$1.50 per gallon at your local grocery store. This is the cheapest way to try out and be convinced this is a worthwhile effort. Start here for a couple gallons and then consider one of the options below long-term.
Pros:
Lowest cost for initial experimentation
If your tap water source is known to be bad, this may be cheaper than replacing Zerowater filters every month or so.
Cons:
Plastic waste, especially for pourover/filter drinkers. Limited availability in certain countries/regions.
Carrying home heavy jugs and storing its bulkiness.

ZeroWater in various sizes
Option 2: Culligan ZeroWater
It’s not a Brita, which is considerably weaker at filtration. ZeroWater is the real deal - take your water from 300TDS (example number) and spit out 0TDS water. They come in various sizes and include a good-enough TDS pen.
Note: TDS pens are only useful for broad strokes and hot or cold water temperatures affect the reading. It is useful to tell you if the filter is failing and roughly how hard your water source is.
Pros:
Shockingly effective at making 0TDS, or basically distilled water.
In comparison, a Brita filter may take 200TDS water and bring it down to 80TDS, maybe down to 65 if double filtered; there’s physical limits to its porosity. Zerowater is simply a more capable, “stronger” filter.
Cons:
Slow to filter compared to Brita since it’s doing way more work. A gallon may take 8-10min depending on what’s being filtered.
Filter lifespans are obviously shorter if your input water source is hard.
For reference, I make around 8-10 gallons a month for coffee. My tap fluctuates between 20-150TDS throughout the year, and my filters last roughly 8 months.

Pentair FreshPoint 5-Stage
Option 3: Reverse-osmosis (RO) + remineralize
Don’t start here and go out and buy an RO system for coffee. If you already have one, learn to take control of it and try to figure out the baseline. Perhaps it’s suitable as a base water (even if not 0TDS) to remineralize on top of.
A shop is most likely to go this route because of the volume they need to operate at; they can’t run a business off of gallon jugs.
Pros:
You might have this set up in your house already. Once set up, regular use is seamless until it needs seasonal re-dialing.
After some up-front tinkering to calibrate and dial-in, it may work out as the laziest option.
Cons:
An expensive, laborious home project all on its own.
Possibly not worthwhile or viable option for renters.
Still needs to be periodically re-measured and re-dialed to understand it as a baseline for further remineralization.
For example, your water source may fluctuate in the rainy season.
Micro-fluctuations can offur seasonally, if not daily. Check out this video for the effort Moonwake took on this issue.
Having the RO system alone is not enough, it doesn’t solve the mineralization ratio which is the whole point of this page.
It’s the same feeling as single dosing beans
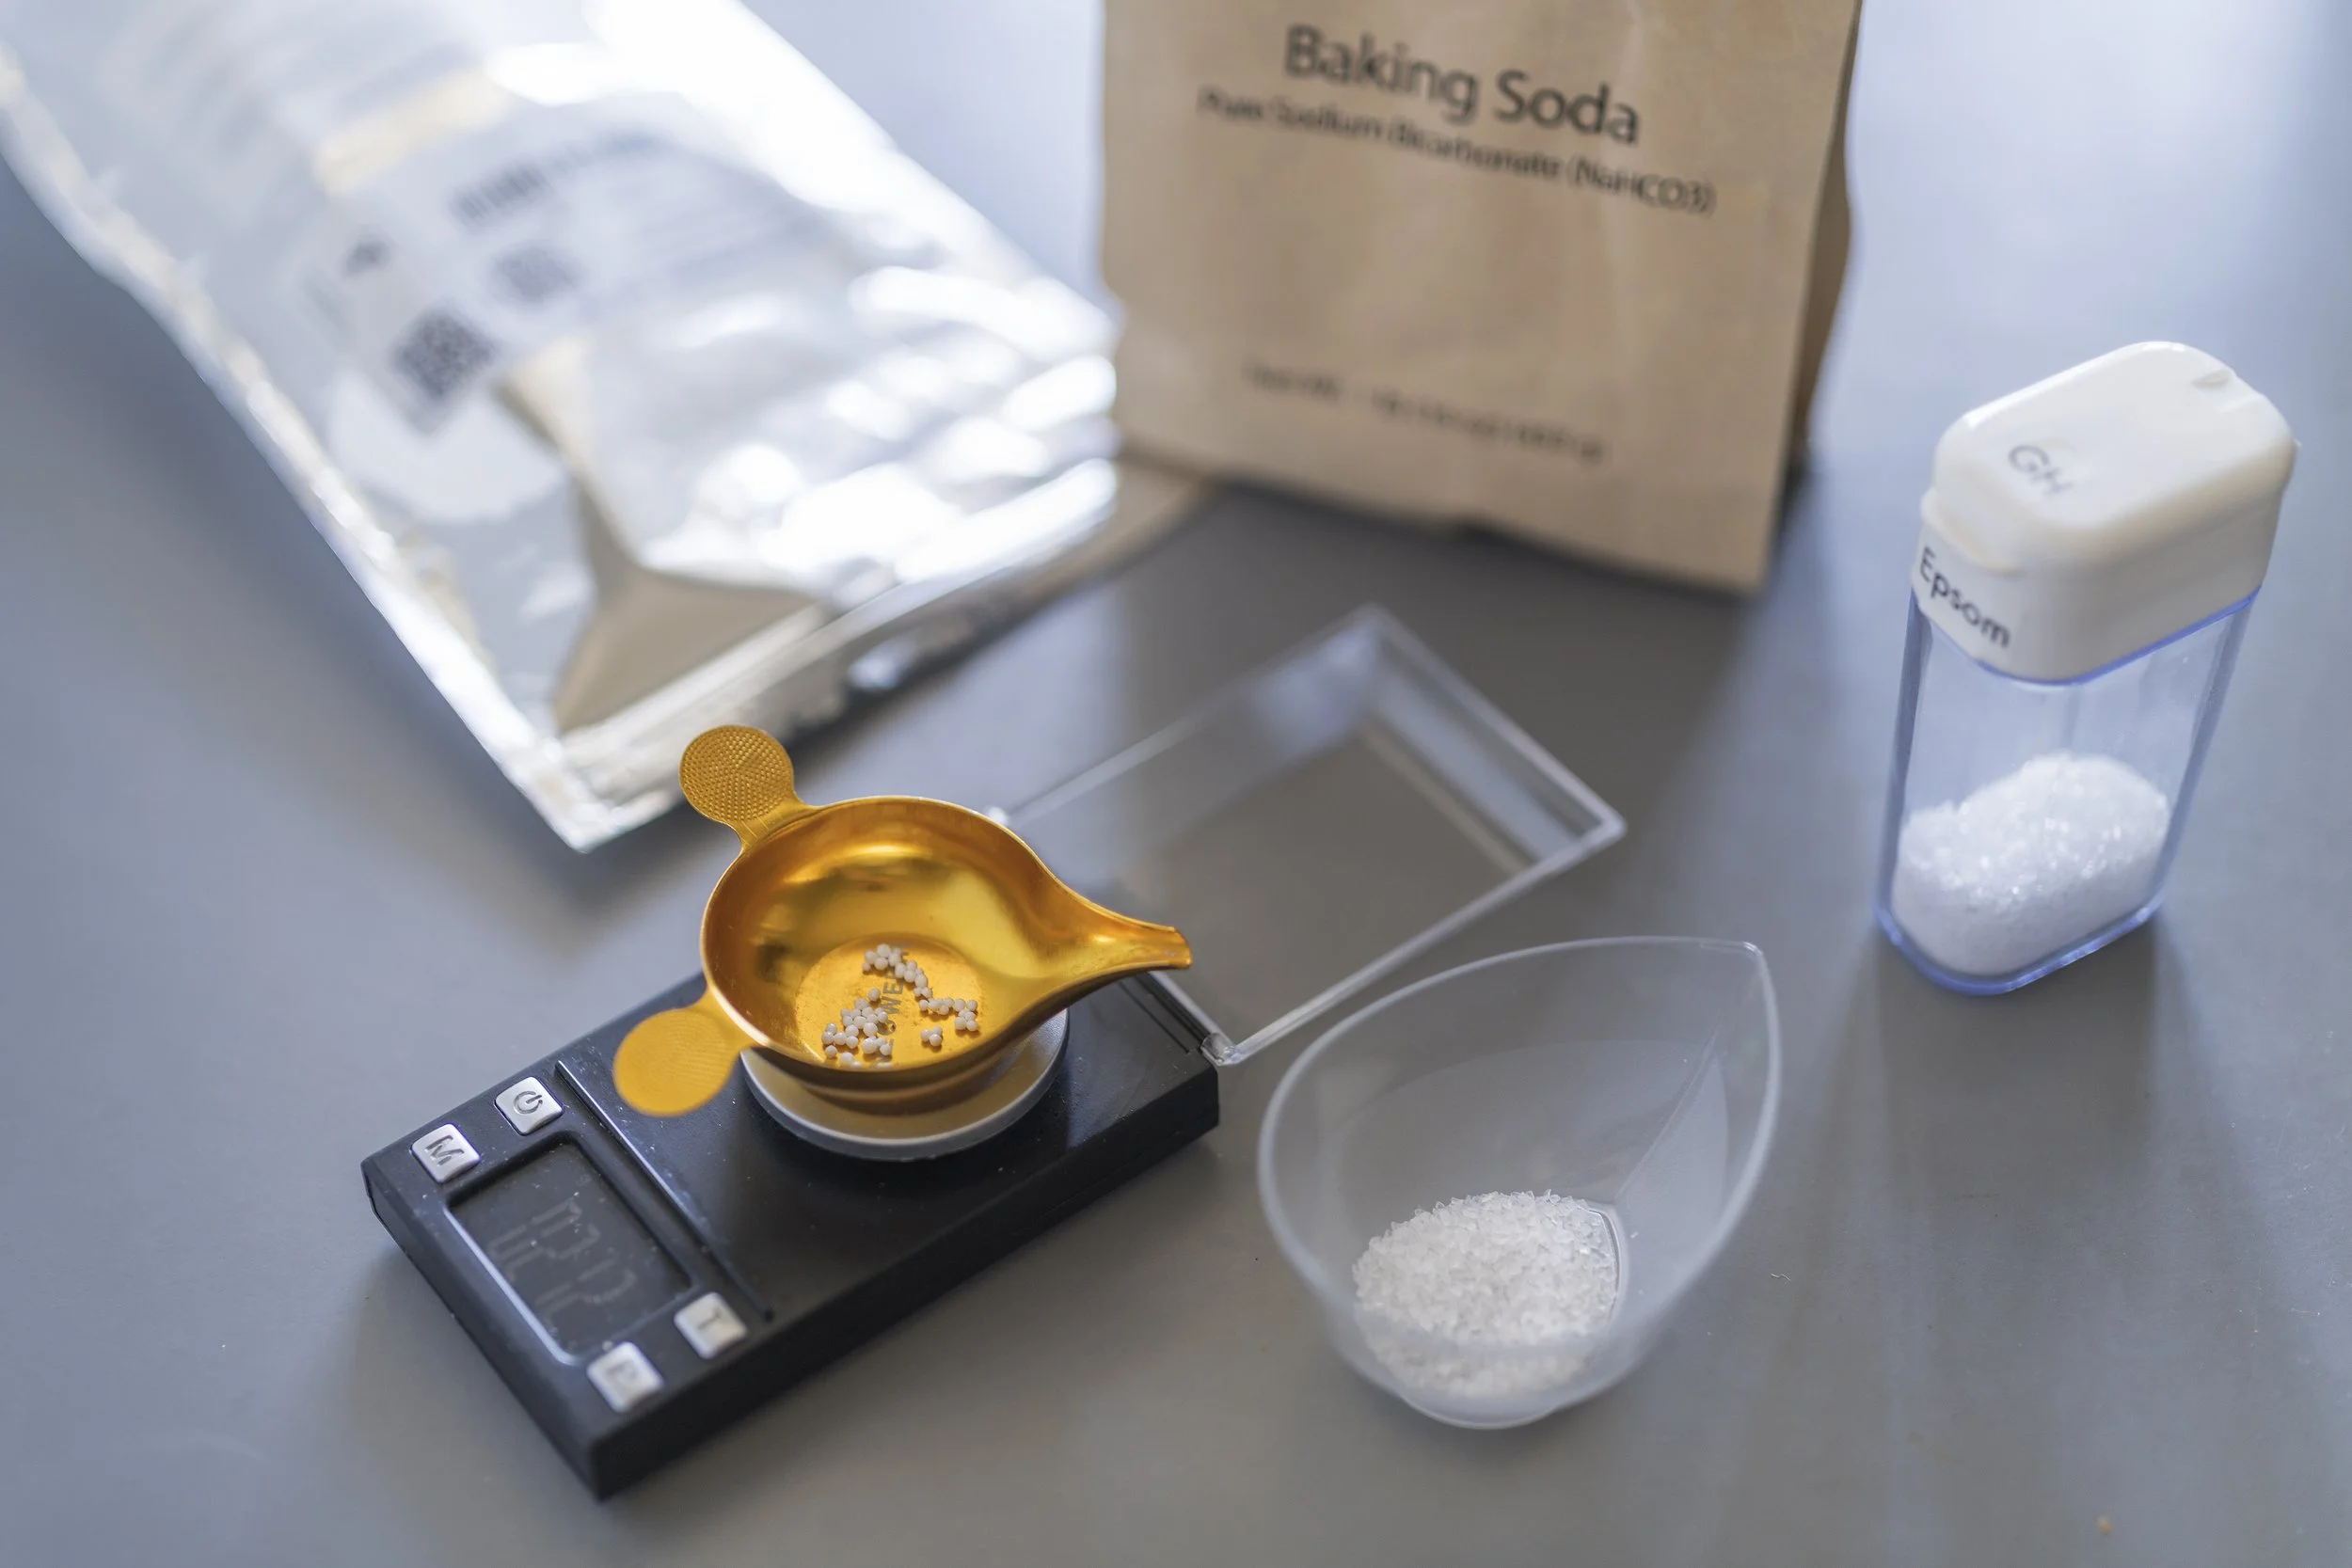
Step 2: Minerals
There are two classes of minerals to consider - general hardness (GH) and buffer (KH), which is chemistry we won’t touch on here.
This is not an exhaustive list, but a starting point.
Minerals for GH:
Epsom salt (magnesium sulfate, (MgSO4)
Calcium chloride (CaCl2)
Minerals for KH:
Baking soda (sodium bicarbonate, NaHCO3)
Calcium bicarbonate (Ca(HCO3)2)
Potassium bicarbonate (KHCO₃)
I recommend starting out with epsom salt and baking soda, as those are the most likely you already have on hand.
Different minerals will have drastically different effects on flavor, but it’s more important to start somewhere than overcomplicate at the start.
You’ll need what’s basically a drug dealer’s scale that goes down to 0.001g. Here’s a link to one. Expect to pay around $15, and ideally it comes with a dosing tray.
If at this point you’re thinking “this is getting a bit much”, you’re basically taking similar steps as single dosing coffee beans but with minerals. You’ve got this.
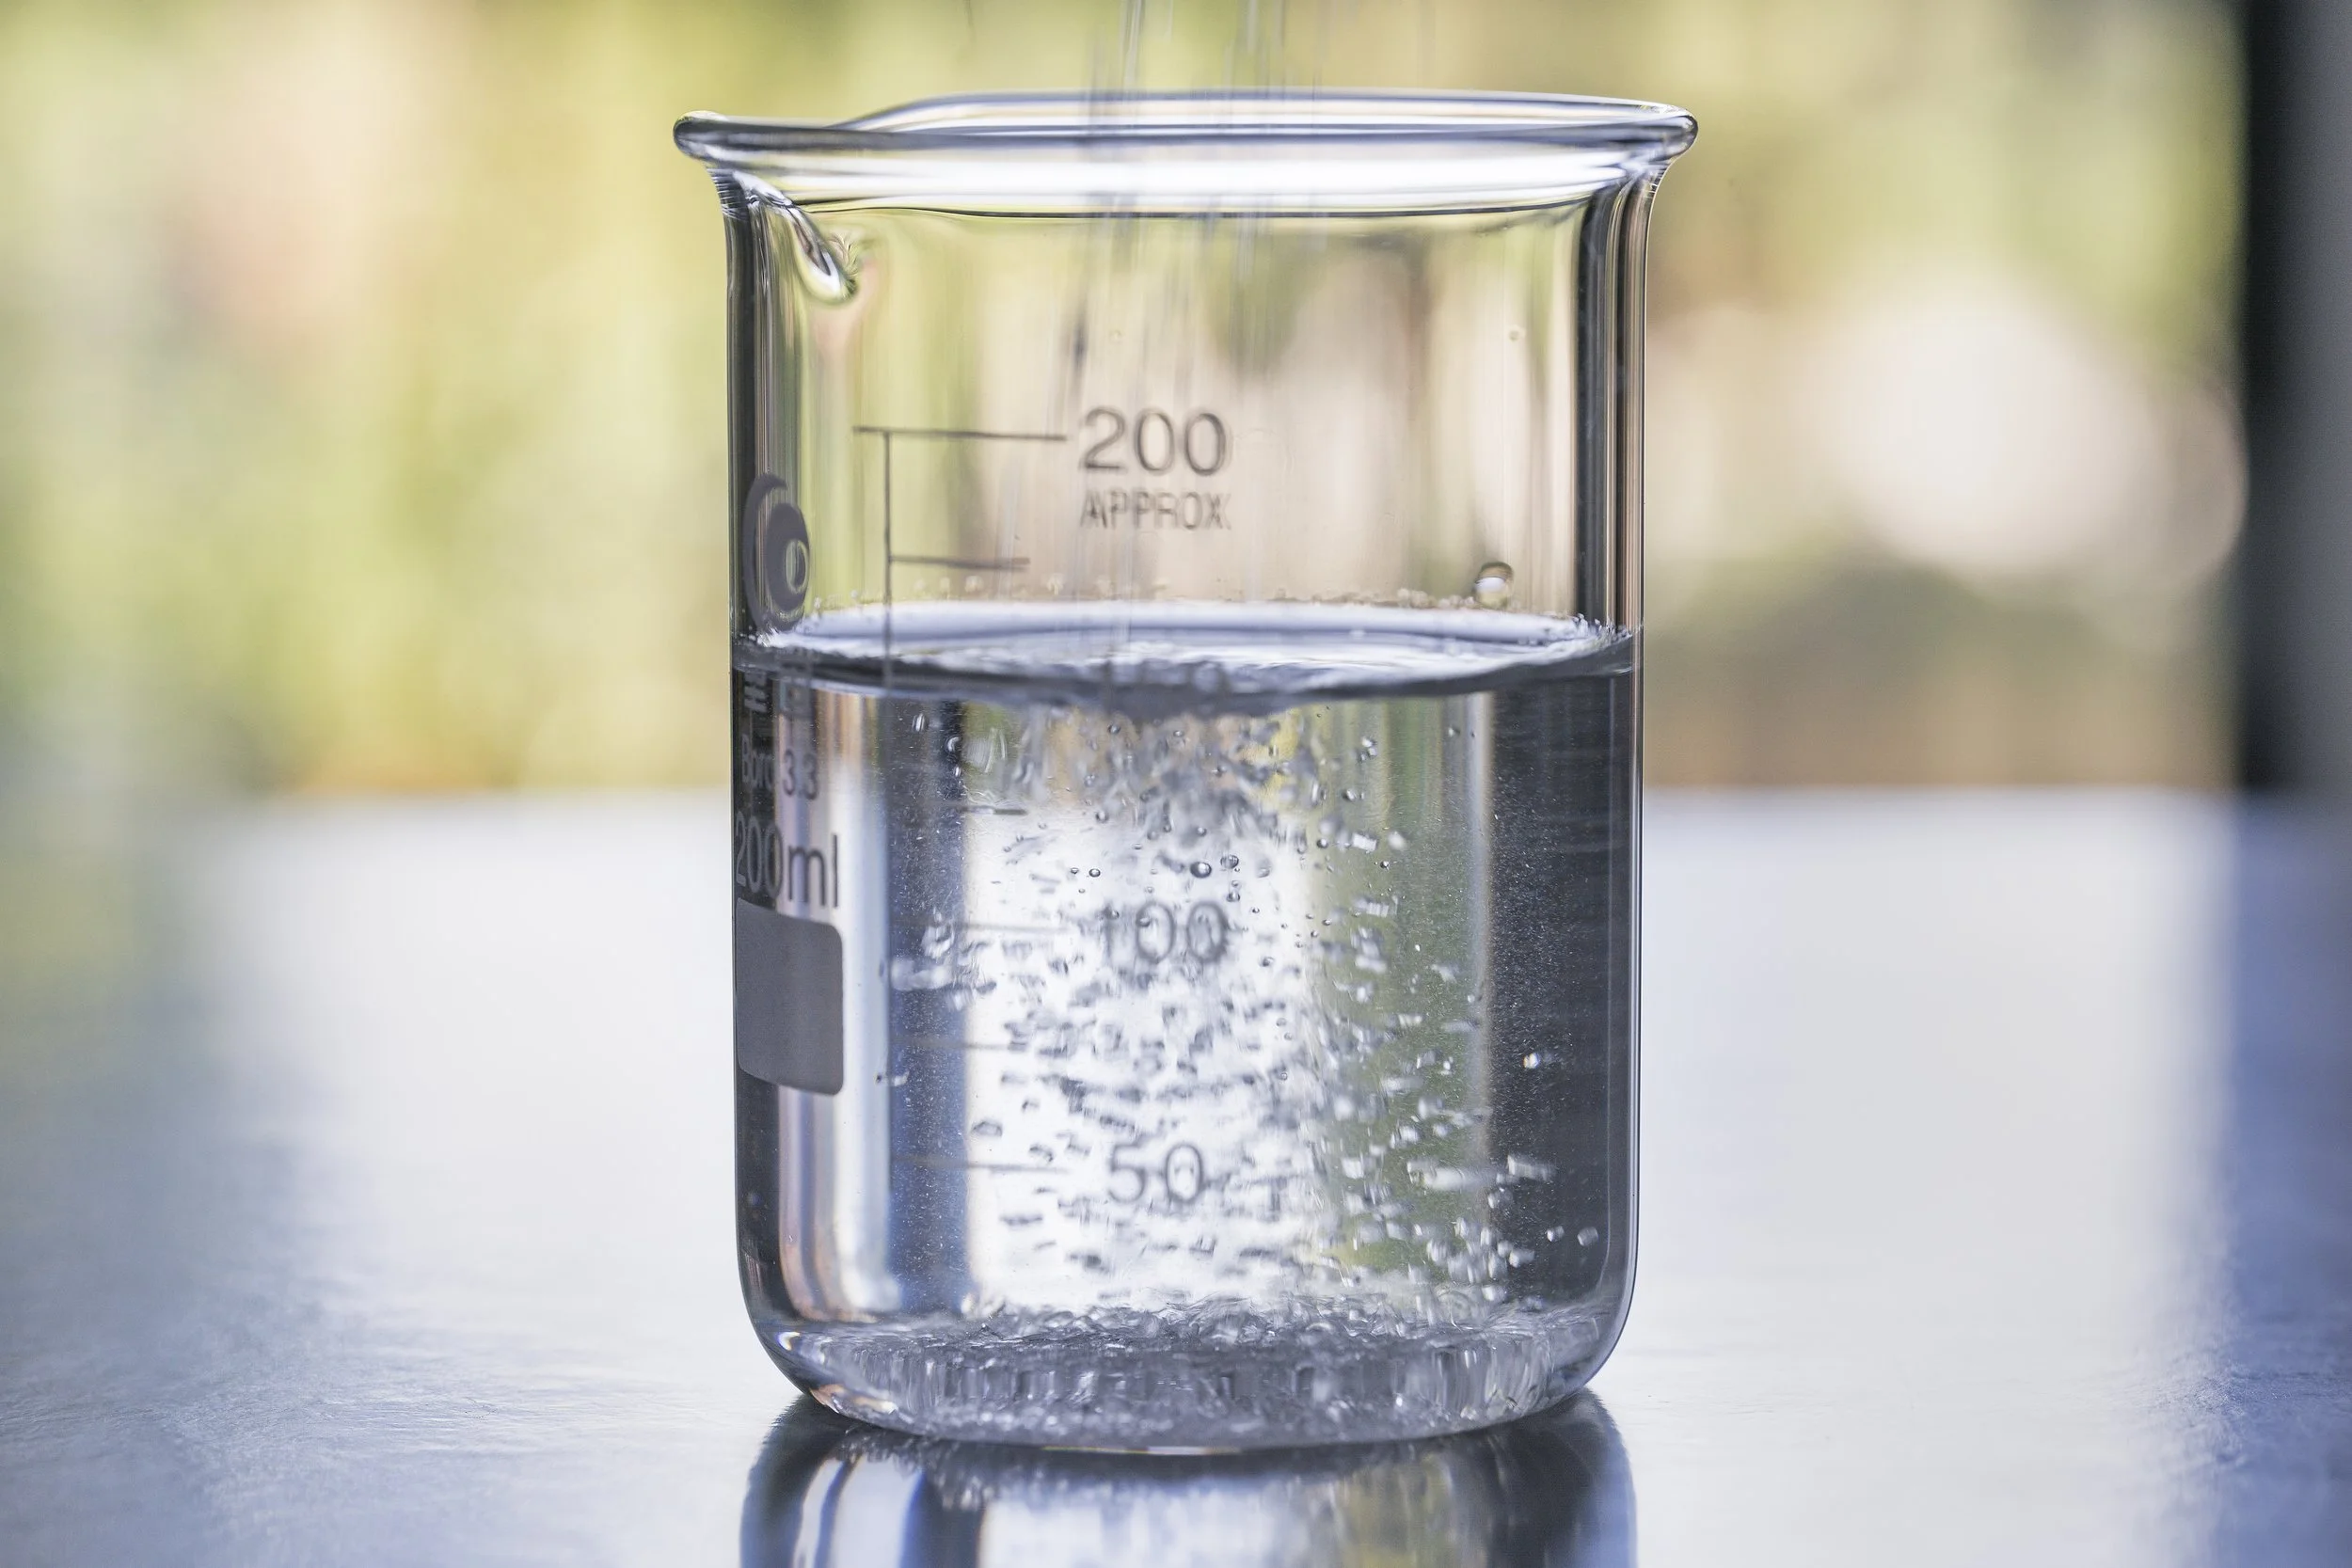
Just add to water
Step 3: Starting recipes
This is an introductory set of first recipes to try for light roast coffees. It should not be considered an ending point.
Pourover:
60GH/15KH (60 parts general hardness, 15 parts buffer)
In 1gallon of 0TDS water, mix 0.56g epsom salt and 0.1g baking soda.
Or, in 1liter of water, mix 0.148g (ehh, call it 0.15g) epsom salt and 0.025g baking soda
Espresso:
60GH/90KH (60 parts general hardness, 90 parts buffer)
In 1gallon of 0TDS water, mix 0.56g epsom salt and 0.572g baking soda.
Or, in 1liter of water, mix 0.15g epsom salt and 0.15g baking soda (wow, such convenient numbers)
Important note - This is a proof-of-concept and can cause scale in pump-driven espresso machines long-term. While manual machines like Flair are fine, electric machines like Brevilles should use non-scaling water recipes like Dr. Pavalis water - 0/50, or 0.318g baking soda per 1gal water, and post-mineralize for GH, covered in step 4.
Mix well, let the minerals even out for a few hours, and try a brew side by side to what you’d been doing before (perhaps easier on pourover than draining an espresso water tank).
Alternatively, you can use products like Third Wave Water (TWW), Aquacode, Lotus Drops, or Apax labs. If using TWW, I personally find the default formula way too concentrated, so I suggest diluting 1 sachet into 2 or 3 gallons for light roast coffee brews. These are essentially expensive proxies to figuring out the ratio of minerals like in the above recipes.

You’re down the rabbit hole when this image looks comfortably normal. Thanks Michelle.
Step 4: Next steps before going down the rabbit hole
If you’ve reached this step, you might be convinced! If you’re itching for something else to try, here’s a couple suggestions featuring other minerals:
Pourover water recipe for light roast, washed coffees:
40/15 (40 parts general hardness, 15 parts buffer), this time using Calcium chloride for GH, and other bicarbonates for KH.
In 1gallon of 0TDS water, mix 0.17g calcium chloride and 0.1g sodium bicarbonate (baking soda).
Or, in 1liter of water, mix 0.044g calcium chloride and 0.025g sodium bicarbonate
This recipe may highlight floral, delicate qualities vs. the comparatively juicy and fruity characteristics in the recipe in step 3. Different, not necessarily better. It does not mean that CaCl2 = floral. This is not a recipe I’d personally reach for with funkier, processed coffees.
Espresso water for light roast, washed coffees:
20/60 (20 parts general hardness, 60 parts buffer)
In 1gallon of 0TDS water, mix 0.084g calcium bicarbonate and 0.380g sodium bicarbonate.
Or, in 1liter of water, mix 0.022g calcium chloride and 0.1g sodium bicarbonate
Again, note that for pump-driven electric machines, this water may cause scale and isn’t an appropriate long-term solution.
I’d suggest this formulation for “high clarity” burrs such as the 64mm SSP multi-purpose to tone down the intense acid-punch of the above 60/90 recipe in step 3.
The two recipes covered here are the first in this weeklong exploration of various filter recipes.

Coffee nerds bring around grinders and drippers, why not minerals too?
Bonus: Post-brew mineralization
A surprise: Adding minerals to a brewed cup comes pretty close to if they were in the water during the coffee brewing extraction. This is huge because you can add minerals on the fly and quickly iterate towards your preferences rather than trying 1gal of a certain recipe to decide what to try next.
For espresso brewers, post-brew mineralizing is even more exciting because it lets you use Dr. Pavalis water in your machine, known for being safe on your boilers, but not tasty, and lets you add back the tastiness back by adding the minerals that would be scaling or corrosive to the pipes.
Lotus Drops inherently solves post-brew mineralization by not only being a concentrate for big batches, but also being at a dilution appropriate for single cups. Also consider Apax Labs.
If you want to DIY something similar for a fraction of the cost, refer to Vortalos’s DIY concentrates guide (thanks Brett!). Make a duplicate to your account, mind the comments on the fields, and adjust for whether you want to make big concentrations for 1gal or lower dilutions for single cups.
This might expose, for example, on your hand grinder that you like the same coffee at 50GH/15KH, but the same bean on your electric flat grinder at 60GH (with more CaCl2)/20KH. And at that point, you’ll realize how far down the rabbit hole you’ve truly come.
This is the keystone to unlocking the most “oh shit” moments in coffee.
It’s not $5000 grinders or espresso machines, it’s not living exclusively on auction-grade lots.
It IS exploring the range each bean has to offer across trying different water types, and realizing these small differences in water have such a profound effect on sensory outcomes.
Closing thoughts:
You should expect that different combinations of beans and grinder burrs benefit from revisiting the water. If you drink mostly washed Colombians on the same grinder, you can probably stick to one water.
There are many right answers. Some mineralizations may enhance juiciness at the expense of introducing a savory finish. Some might enhance florals at the risk of tasting chalky if taken too far. That’s down to your personal preference.
As a loose suggestion, lighter roasts assume a desire for acidity, and likely benefit from lower overall TDS water. But there’s plenty of situations where a light roast could pair well with 100+TDS water.
If you’re looking for specific answers to lock into and never change your water again… well good luck to you. There’s a whole world of different tastes you’d be missing out on with the gear and beans you already have.
Your homework/next steps: spend a bag of coffee trying different waters.
Let us aspire to be the real life version of this guy
9/9/2025 addendum: An official endorsement for this effort was sent to me hah
Next time:
In the follow-up to this post, we’ll go more in-depth. Maybe, hopefully, too in-depth.
More water-bean-grinder pairing analysis
Exploring how there can be multiple “right” water compositions for different outcomes
Revisiting high school chemistry concepts like molar mass and why it kinda matters
The crazy reality that different 0TDS base water can taste different
In the meantime, some further readings:
Note - consider that specific recipes in these resources may be dated for modern light roast styles. Don’t assume they are trying to make the same coffees you are!
Mineral dosing calculator (duplicate a copy to to make it editable!)
Apax labs loose theories on impacts of specific minerals (take with a big grain of… salt on the flavor impacts)